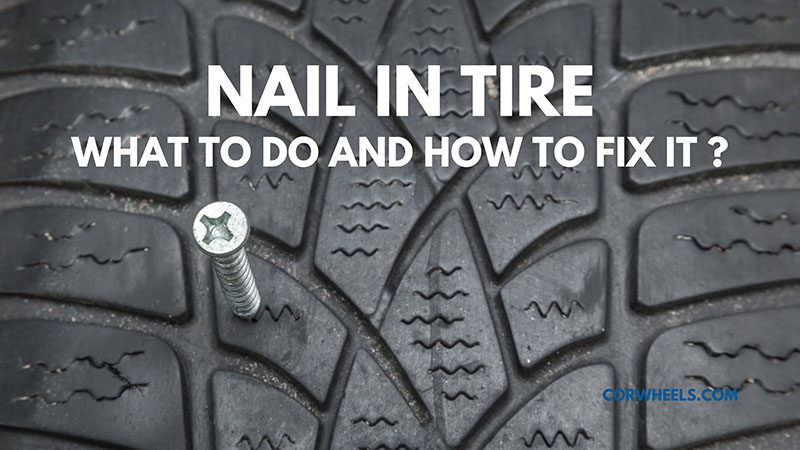
What To Do With Nail In Tire
Finding a nail in your tire is a surefire way to ruin your day. But before you panic and call a tow truck, understand that there are a few paths you can take depending on the location and severity of the puncture. This article will arm you with the knowledge to assess the situation, decide if a repair is feasible, and potentially perform the repair yourself. We'll go over the key considerations, the tools you'll need, and the safety precautions to keep in mind.
Purpose: Understanding and Addressing Tire Punctures
This article and the accompanying diagram serve two primary purposes: firstly, to empower you to accurately assess the damage inflicted by a nail or screw in your tire. Secondly, it provides a practical guide to repairing certain types of punctures yourself, saving you time and money. Understanding the anatomy of a tire and the potential consequences of a puncture is crucial, even if you ultimately choose to take your vehicle to a professional. The information herein will enable you to have a more informed conversation with your mechanic and make better decisions regarding your tire maintenance.
Key Specs and Main Parts of a Tire Relevant to Puncture Repair
Before diving into the repair process, let's briefly review the key components of a tire and how they relate to puncture repairs:
- Tread: The outermost layer of the tire, responsible for grip and traction. Punctures in the tread area are generally repairable if they meet certain criteria.
- Sidewall: The side of the tire, extending from the tread to the wheel rim. Sidewall punctures are almost never repairable due to the constant flexing and stress this area endures.
- Bead: The edge of the tire that seals against the wheel rim. Damage to the bead can cause air leaks and is generally not repairable.
- Inner Liner: An airtight layer inside the tire that prevents air from escaping. This is especially important in tubeless tires.
- Belts: Layers of steel, fabric, or other materials embedded within the tire carcass, providing strength and stability.
The "repairable area" is generally considered to be the central 70% of the tread. Punctures outside of this area, particularly near the sidewall, pose a significantly higher risk of failure after repair.
Decoding the Puncture Repair Diagram: Symbols and Conventions
The accompanying diagram uses several visual cues to illustrate different aspects of tire puncture repair. Here's a breakdown of common symbols and their meanings:
- Solid Lines: Typically represent the outline of the tire and the path of the nail/screw.
- Dotted Lines: Indicate the boundaries of the repairable area on the tread. Anything outside of these lines is generally considered unrepairable.
- Red Areas: Usually highlight areas of concern, such as the sidewall or areas too close to the edge of the tread for safe repair.
- Green Areas: Indicate the acceptable repair zone.
- Icons (e.g., Tire Plug, Patch): Represent different repair methods.
- Arrows: Illustrate the direction of force or movement during the repair process (e.g., inserting a plug, applying a patch).
Understanding these symbols will allow you to quickly interpret the diagram and assess the suitability of a repair.
How a Tire Puncture Repair Works
The fundamental goal of a tire puncture repair is to seal the hole created by the nail or screw, preventing air from escaping and maintaining tire pressure. There are two primary methods for DIY tire repair:
Tire Plugs: The Quick Fix
Tire plugs are self-vulcanizing rubber strips that are inserted into the puncture hole. The process typically involves the following steps:
- Remove the offending object (nail or screw) with pliers. Note the angle of entry.
- Use a reaming tool to clean and enlarge the puncture hole, making it easier to insert the plug. Apply lubricant if included in the kit.
- Thread a tire plug through the eye of the insertion tool.
- Force the insertion tool, with the plug, into the puncture hole, following the original angle of entry.
- Pull the insertion tool straight out, leaving the plug in place.
- Trim the excess plug material flush with the tire tread.
Tire plugs are a relatively quick and easy solution, but they are generally considered a temporary fix. They are best suited for small punctures in the center of the tread. It is essential to reinflate to correct tire pressure.
Tire Patches: The More Robust Solution
Tire patches are applied to the inside of the tire and offer a more permanent repair. This method requires removing the tire from the wheel.
- Remove the tire from the wheel. This requires a tire mounting/demounting machine or specialized tools and skills.
- Locate the puncture from the inside of the tire.
- Clean and buff the area around the puncture hole to create a smooth surface for the patch to adhere to.
- Apply vulcanizing cement to the buffed area.
- Apply the tire patch, ensuring it is centered over the puncture hole and pressed firmly into place. Some patches are heat-activated, requiring a heat gun or similar tool.
- Reinstall the tire on the wheel, ensuring proper inflation and balancing.
Tire patches provide a stronger and more durable repair than plugs, but they require specialized tools and expertise. This method is better suited for larger punctures or punctures closer to the edge of the tread (but still within the repairable zone). A patch with a plug is often used.
Real-World Use: Basic Troubleshooting Tips
Here are some troubleshooting tips to consider when dealing with a nail in your tire:
- Slow Leak: If the tire is losing air slowly, try to locate the puncture by listening for a hissing sound or by spraying soapy water onto the tire surface. Bubbles will form at the point of the leak.
- Rapid Deflation: If the tire is losing air rapidly, it's best to replace it with the spare tire immediately to avoid further damage to the tire and wheel.
- Puncture Location: Carefully examine the puncture location. If it's in the sidewall or near the edge of the tread, it's likely unrepairable.
- Puncture Size: Consider the size of the puncture. Large punctures may require a professional repair or tire replacement.
- Plug Failure: If a tire plug fails to seal the puncture, try a larger plug or consider using a patch instead.
Safety: Risks and Precautions
Working on tires involves inherent risks. Here are some important safety precautions to keep in mind:
- Eye Protection: Always wear safety glasses to protect your eyes from debris.
- Gloves: Wear gloves to protect your hands from sharp objects and chemicals.
- Proper Lifting Technique: When removing the wheel, use a jack and jack stands to support the vehicle safely. Never work under a vehicle supported only by a jack.
- Tire Pressure: Always inflate tires to the recommended pressure specified in your vehicle's owner's manual or on the tire placard.
- Sidewall Damage: Never attempt to repair a sidewall puncture. The sidewall is a critical structural component of the tire, and any damage to this area compromises its integrity.
- Explosions: Tires can explode if improperly inflated or handled. Be cautious when working with compressed air and avoid over-inflating tires.
High-pressure air is extremely dangerous! Always use a tire cage when inflating tires, especially after a repair.
Remember, if you are unsure about any aspect of tire repair, it's always best to consult with a qualified tire professional. Your safety is paramount.
We have the detailed tire repair diagram file available for download. This resource will provide a visual aid and further enhance your understanding of the repair process.