What To Put On Roof Rack
So, you've got a roof rack, and now you're staring at it, wondering what you can actually put up there safely and effectively. It's not as simple as just strapping anything on! Understanding the limitations of your rack, the proper mounting techniques, and the types of gear best suited for rooftop transport is crucial. This isn't just about convenience; it's about safety, fuel efficiency, and preventing damage to your vehicle or the gear you're hauling. We're going to dive into the world of roof rack loading, covering everything from weight limits to specific mounting strategies.
Key Specs and Main Parts
Before you load a single thing, you need to understand your roof rack's key specifications. This information is usually found in your vehicle's owner's manual or on a sticker directly on the rack itself. Ignoring these specs is a recipe for disaster.
Important Specs:
- Dynamic Weight Capacity: This is the maximum weight the rack can handle while the vehicle is in motion. This is the number you need to pay the most attention to.
- Static Weight Capacity: This is the maximum weight the rack can handle when the vehicle is stationary. It's usually much higher than the dynamic weight capacity. Think of it as the limit for when you're camping and have a rooftop tent setup.
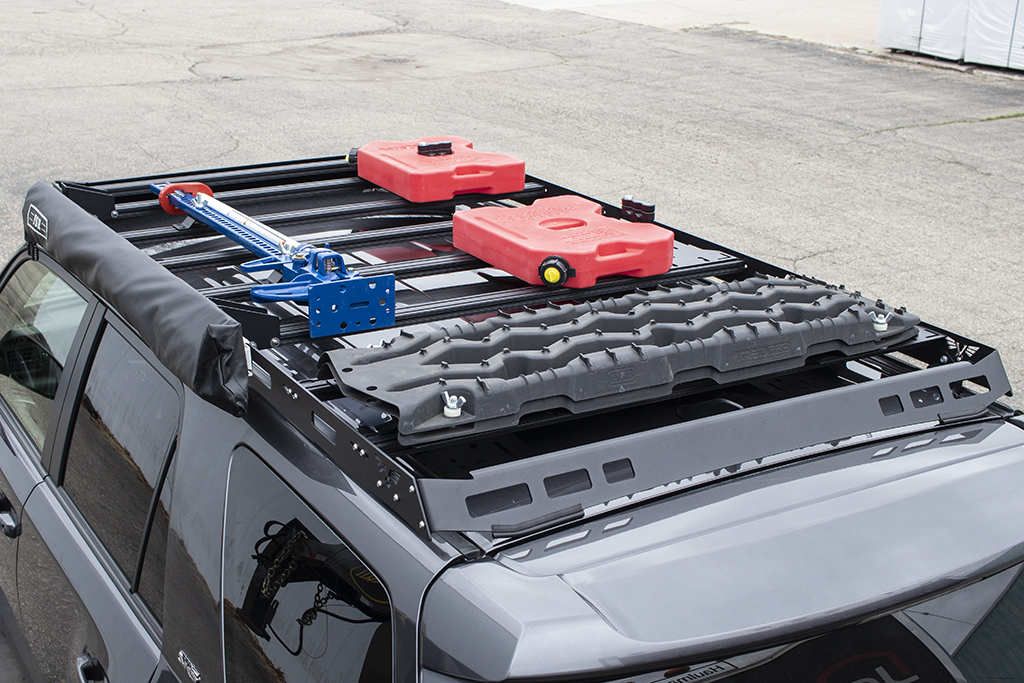
- Rack Type: Is it a factory-installed rack, an aftermarket crossbar system (e.g., Thule, Yakima), or a platform rack (e.g., Front Runner)? Each type has its own limitations and mounting considerations. Factory racks are often weaker than aftermarket systems.
- Vehicle Roof Capacity: Even if the rack itself can handle a certain weight, the vehicle's roof structure has its own limits. Exceeding this can damage the roof. Check your owner's manual!
Main Parts of a Typical Crossbar Roof Rack:
- Crossbars: These are the horizontal bars that span the width of the roof. They are the primary load-bearing components. They can be square, aero-shaped, or elliptical.
- Towers/Feet: These are the components that attach the crossbars to the vehicle's roof. They come in various designs depending on the vehicle's roof type (e.g., bare roof, raised rails, fixed points, gutters).
- Mounting Hardware: This includes bolts, clamps, and other hardware used to secure the towers to the vehicle. Proper torque is critical here.
- Locking Mechanisms (Optional): Many aftermarket racks offer locking mechanisms to deter theft of the rack itself.
How It Works
A roof rack system works by distributing the weight of the load across the vehicle's roof structure. The crossbars bear the brunt of the load, transferring the weight to the towers/feet, which then distribute it to the vehicle's roof at the mounting points. The key is to ensure that the load is evenly distributed across the crossbars and that all mounting points are securely fastened.
The strength of the system depends on the materials used (steel, aluminum, composites), the design of the crossbars and towers, and the quality of the mounting hardware. Aftermarket systems are often engineered for higher load capacities and better aerodynamics than factory-installed racks.
Aerodynamics play a significant role in fuel efficiency. A poorly loaded or inappropriately chosen roof rack can dramatically increase wind resistance, leading to a significant drop in MPG. Fairings and aero-shaped crossbars can help mitigate this effect. This is especially true with platform racks. The fuel efficiency hit from those racks even when unloaded can be noticeable.
Real-World Use – Basic Troubleshooting Tips
Here are some common issues you might encounter and how to address them:
- Rack Noise (Whistling/Humming): This is often caused by wind passing over the crossbars. Try adjusting the position of the crossbars or installing a wind fairing. You can also try wrapping paracord around the bars to disrupt the airflow.
- Loose Mounting Hardware: Regularly check the torque of the mounting bolts, especially after the first few trips. Vibrations can cause them to loosen over time. Use a torque wrench and consult the manufacturer's specifications.
- Damage to the Roof: This can be caused by exceeding the weight capacity or by improperly installed racks. Inspect the roof for any dents or scratches regularly. Using protective pads between the rack and the roof can help prevent damage.
- Difficulty Loading Gear: Consider using loading accessories like rollers or loading bars to make it easier to lift heavy items onto the rack.
- Uneven Load Distribution: Make sure the weight is evenly distributed across the crossbars. Concentrating the weight in one area can overload the rack and potentially damage the vehicle.
Safety – Highlight Risky Components
The most risky components in a roof rack system are the mounting points and the crossbars themselves. If the mounting points are not securely fastened, the entire rack can detach from the vehicle, leading to a catastrophic accident. If the crossbars are overloaded, they can bend or break, causing the load to shift or fall off.
Here's what to watch out for:
- Corrosion: Inspect all metal components for rust or corrosion. Replace any parts that show signs of significant degradation.
- Cracks or Bends: Carefully examine the crossbars and towers for any cracks or bends. These are signs of stress and can indicate that the rack is about to fail.
- Missing Hardware: Ensure that all mounting hardware is present and in good condition. Replace any missing or damaged bolts or clamps.
- Over-Tightening: Overtightening bolts can damage the threads or crush the roof structure. Always use a torque wrench and follow the manufacturer's specifications.
- Improper Installation: Even with the right tools, improper installation is a common cause of accidents. If you're unsure about any part of the installation process, consult a professional.
Specific Examples of What To Put On (and NOT Put On) Your Roof Rack:
- Suitable Loads: Kayaks, canoes, surfboards, paddleboards (using appropriate carriers), bikes (using bike racks), luggage (in waterproof cargo bags or boxes), skis, snowboards.
- Loads Requiring Extra Caution: Lumber, ladders, furniture. These require extremely secure tie-downs and careful consideration of weight distribution and overhang. Often it's better to use a trailer.
- Loads to AVOID: Anything excessively heavy, bulky, or unstable. Things that can catch excessive wind, like mattresses without proper covering, or items that aren't properly secured. Anything exceeding weight limit.
Always use high-quality straps or ropes to secure your load. Ratchet straps are generally preferred for their strength and adjustability. Use multiple straps to secure the load from all directions. Double-check that the load is secure before driving and periodically during the trip.
Finally, remember to adjust your driving style when carrying a load on your roof rack. Reduce your speed, increase your following distance, and be extra cautious when cornering or braking. The added weight and height can affect your vehicle's handling, especially in windy conditions.
We have a detailed diagram illustrating various roof rack loading techniques and best practices available for download. This diagram provides visual guidance on proper load distribution, tie-down methods, and common pitfalls to avoid. It can serve as a handy reference guide for ensuring the safe and efficient transport of your gear.