What To Use To Clean Car Seats
So, you're looking to get those car seats clean, huh? Good for you. A clean interior not only looks better, but it also preserves the value of your vehicle and makes for a more enjoyable driving experience. Forget those one-size-fits-all solutions you see advertised. We're going to delve into the nitty-gritty of cleaning different types of car seats, using the right tools and techniques to avoid damage and achieve professional-level results. This isn't just about wiping down a surface; it's about understanding the material science of your seats and using the appropriate methods to lift dirt and stains without causing discoloration, cracking, or other forms of degradation.
Understanding Your Car Seat Material
Before you even think about grabbing a cleaner, you need to correctly identify the material of your car seats. This is the single most crucial step. Using the wrong product can cause irreversible damage. Common materials include:
- Cloth (Fabric): This is the most common type, often a blend of polyester and nylon. It's relatively durable but susceptible to stains.
- Leather: Requires specialized care to prevent drying, cracking, and discoloration. There are many different types of leather, including aniline, semi-aniline, and pigmented, each requiring slightly different treatment.
- Vinyl (Synthetic Leather): More durable than cloth and easier to clean than real leather, but can still be damaged by harsh chemicals. Often used as a leather substitute or for seat bolsters.
- Alcantara (Microsuede): A synthetic fabric that mimics suede. It's luxurious but prone to staining and requires gentle cleaning methods.
Testing Before Cleaning
Regardless of the material, always perform a spot test in an inconspicuous area before applying any cleaner to the entire seat. Choose an area like under the seat or on a side panel that isn't readily visible. Apply a small amount of the cleaner, let it sit for a few minutes, and then blot it dry with a clean cloth. Check for any discoloration, damage, or fading. If you observe any adverse effects, discontinue use immediately.
Tools of the Trade: Essential Cleaning Supplies
Having the right tools is just as important as choosing the right cleaner. Here's a breakdown of the essential supplies:
- Vacuum Cleaner with Attachments: A powerful vacuum is essential for removing loose dirt, dust, and debris. Look for a model with a crevice tool for reaching tight spaces and a brush attachment for gently agitating dirt on fabric surfaces. A shop-vac style vacuum can also be used for wet extraction.
- Microfiber Cloths: These are your workhorses. They're soft, absorbent, and won't scratch delicate surfaces. Keep a stack of clean cloths on hand.
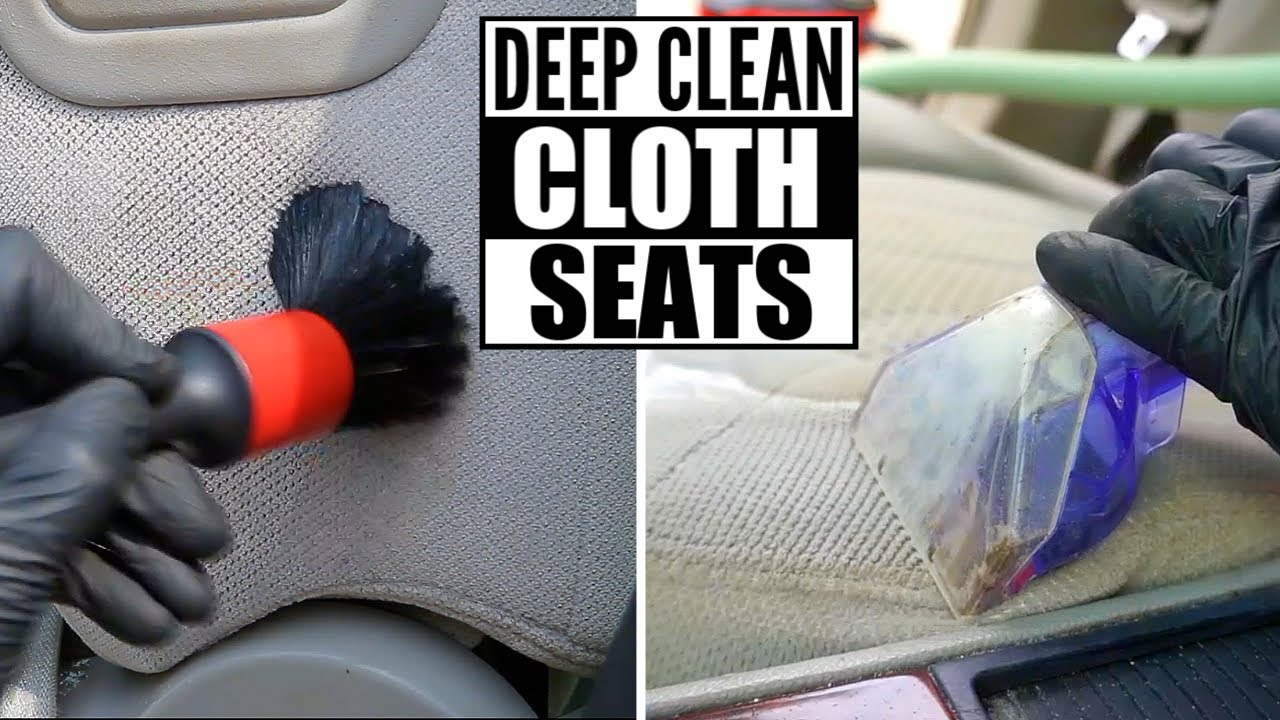
- Soft-Bristled Brushes: For gently scrubbing stains and agitating dirt. Use a smaller brush for intricate areas and a larger brush for larger surfaces. A toothbrush can be useful for cleaning seams and crevices.
- Spray Bottles: For applying cleaners and water. Ensure they have adjustable nozzles to control the spray pattern.
- Detailing Brushes: Smaller, more precise brushes for reaching tight spots and cleaning intricate details, like around stitching.
- Steam Cleaner (Optional): A steam cleaner can be a valuable tool for deep cleaning fabric seats and removing stubborn stains. The heat from the steam helps to loosen dirt and kill bacteria. Be careful when using steam on leather as excessive heat can dry it out.
- Wet/Dry Extractor (Optional): This is essentially a vacuum cleaner that can spray and extract liquid. It's ideal for deep cleaning fabric seats and carpets.
Cleaning Solutions: Choosing the Right Formula
This is where things get specific. The correct cleaning solution is crucial for effective cleaning and preventing damage.
- All-Purpose Cleaner: A good all-purpose cleaner can be diluted with water and used on a variety of surfaces, including vinyl and some types of cloth. Avoid using harsh chemicals or solvents, as these can damage or discolor the seats. Always test in an inconspicuous area first.
- Upholstery Cleaner: Specifically formulated for cleaning fabric car seats. Look for a pH-balanced cleaner to avoid damaging the fibers.
- Leather Cleaner and Conditioner: Leather requires specialized care. Use a dedicated leather cleaner to remove dirt and grime, followed by a leather conditioner to moisturize and protect the leather. Avoid using harsh chemicals or solvents, as these can dry out the leather and cause it to crack.
- Vinyl Cleaner: Formulated for cleaning vinyl surfaces. Avoid using abrasive cleaners, as these can scratch the vinyl.
- Alcantara Cleaner: Use a cleaner specifically designed for Alcantara. These cleaners are typically gentle and pH-neutral to avoid damaging the delicate fibers.
- Enzyme Cleaner: Excellent for removing organic stains like food, vomit, and pet stains. The enzymes break down the stain molecules, making them easier to remove.
- Distilled Water: Use distilled water for diluting cleaners and rinsing surfaces. Tap water can contain minerals that can leave residue on the seats.
The Cleaning Process: Step-by-Step Guide
Now that you have your tools and cleaners, it's time to get to work.
- Vacuum: Thoroughly vacuum the seats to remove loose dirt and debris. Use the crevice tool to reach tight spaces and the brush attachment to agitate dirt on fabric surfaces.
- Spot Treat Stains: Identify any stains and spot treat them with the appropriate cleaner. Apply the cleaner to a microfiber cloth or detailing brush and gently blot the stain. Avoid rubbing the stain, as this can spread it.
- Clean the Entire Surface: Once you've spot treated any stains, clean the entire surface of the seat with the appropriate cleaner. Apply the cleaner to a microfiber cloth or spray it directly onto the seat. Gently wipe the surface in a circular motion.
- Wipe Away Excess Cleaner: Use a clean, damp microfiber cloth to wipe away any excess cleaner. Be sure to remove all traces of the cleaner to prevent residue buildup.
- Dry the Seats: Allow the seats to air dry completely. You can speed up the drying process by using a fan or opening the car doors and windows. For leather seats, apply a leather conditioner after they are dry.
Real-World Use: Troubleshooting and Tips
- Stubborn Stains: For stubborn stains, try using a steam cleaner or wet/dry extractor. The heat from the steam can help to loosen the stain, and the extractor can remove the stain and excess moisture.
- Odor Removal: If your car seats have an unpleasant odor, try using an enzyme cleaner or baking soda. Sprinkle baking soda on the seats, let it sit for a few hours, and then vacuum it up.
- Preventative Maintenance: To keep your car seats clean, vacuum them regularly and wipe them down with a damp cloth. You can also use a seat protector to prevent stains and damage.
- Leather Seat Cracking: If your leather seats are starting to crack, apply a leather conditioner regularly to moisturize and protect the leather.
Safety Considerations
Always wear gloves and eye protection when cleaning car seats. Some cleaners can be irritating to the skin and eyes. Work in a well-ventilated area to avoid inhaling fumes. Never mix different cleaning products, as this can create dangerous gases.
Important: Disconnect the car battery's negative terminal before working on any electrical components, such as heated seats. This prevents accidental shorts and potential damage. Allow adequate drying time, especially if you've used a wet extraction method. Excess moisture can promote mold growth.
Conclusion
Cleaning car seats properly requires a bit of knowledge and the right tools, but the results are well worth the effort. By understanding the materials, choosing the appropriate cleaners, and following the correct cleaning procedures, you can keep your car seats looking their best for years to come. Remember, always test in an inconspicuous area first, and don't be afraid to consult a professional detailer if you're unsure about anything. With a little elbow grease and some patience, you can achieve professional-level results and keep your car's interior looking like new.