What's Included In An Oil Change
So, you're ready to tackle an oil change. Excellent! It's a fundamental part of vehicle maintenance, and understanding what's involved can save you money and prevent potential engine issues down the line. This article breaks down exactly what constitutes an oil change, going beyond just "draining and refilling." We'll cover the key components, processes, and best practices involved, empowering you to perform the job with confidence.
Purpose of Understanding the Oil Change Process
Understanding the intricacies of an oil change isn't just about saving a few bucks. A thorough understanding allows for:
- Informed Decision-Making: Knowing what your mechanic *should* be doing allows you to question services and avoid unnecessary charges.
- Early Problem Detection: Observing the old oil and components can reveal potential engine issues (e.g., coolant contamination, excessive metal shavings) before they become major problems.
- Improved Vehicle Performance: Properly performed oil changes, with the correct oil type and filter, optimize engine lubrication and cooling, extending engine life and improving efficiency.
- DIY Mastery: If you're a hands-on type, understanding the process allows you to confidently perform your own oil changes, saving money and developing valuable skills.
Key Specs and Main Parts
An oil change involves several key components, each playing a crucial role:
1. Engine Oil
The lifeblood of your engine. Engine oil lubricates moving parts, reduces friction and wear, cools engine components, and helps clean contaminants. Oil comes in various viscosities (e.g., 5W-30, 10W-40), denoted by the SAE (Society of Automotive Engineers) grade. The "W" stands for winter; lower numbers indicate better cold-weather flow. Synthetic oils offer enhanced performance and longevity compared to conventional oils.
2. Oil Filter
The oil filter removes contaminants from the oil, preventing abrasive particles from circulating through the engine. There are several types, including:
- Spin-On Filters: Most common type. A self-contained unit that screws onto the engine block.
- Cartridge Filters: Used in some modern engines. The filter element (cartridge) is housed within a reusable canister.
3. Drain Plug
Located on the oil pan (the reservoir at the bottom of the engine), the drain plug is removed to drain the old oil. A crush washer (typically copper or aluminum) seals the plug to the pan.
4. Crush Washer (or Seal)
A single-use washer designed to create a tight seal between the drain plug and the oil pan. Always replace this washer to prevent leaks.
5. Oil Filter Wrench (Optional)
A specialized wrench (often a cap-type or band-type wrench) used to loosen and tighten the oil filter.
6. Socket/Wrench for Drain Plug
You'll need a socket or wrench of the correct size to remove the drain plug. Size varies depending on the vehicle.
7. Oil Funnel
A funnel makes pouring new oil into the engine much easier and cleaner.
8. Drain Pan
A container to catch the used oil as it drains from the engine.
9. Rags or Shop Towels
Essential for cleaning up spills and wiping down components.
How an Oil Change Works: The Step-by-Step Process
The core of the oil change involves these steps:
- Preparation: Warm up the engine slightly (a few minutes of idling). This helps the oil flow more easily. Make sure the car is safely supported on jack stands, or a lift.
- Locate and Remove Drain Plug: Position the drain pan under the oil pan. Using the correct socket/wrench, carefully loosen and remove the drain plug. Be careful; the oil will be hot.
- Drain the Oil: Allow the oil to drain completely (typically 15-30 minutes).
- Remove the Old Oil Filter: Using the oil filter wrench (if needed), loosen and remove the old oil filter. Be prepared for some oil to spill. Lightly lubricate the rubber gasket on the new oil filter with fresh oil before installing.
- Install the New Oil Filter: Screw the new oil filter onto the engine block by hand until the gasket makes contact, then tighten it an additional ¾ to 1 full turn, or as specified on the filter. Do not overtighten!
- Reinstall the Drain Plug: Replace the crush washer on the drain plug and reinstall it. Tighten to the manufacturer's specified torque. Overtightening can damage the oil pan.
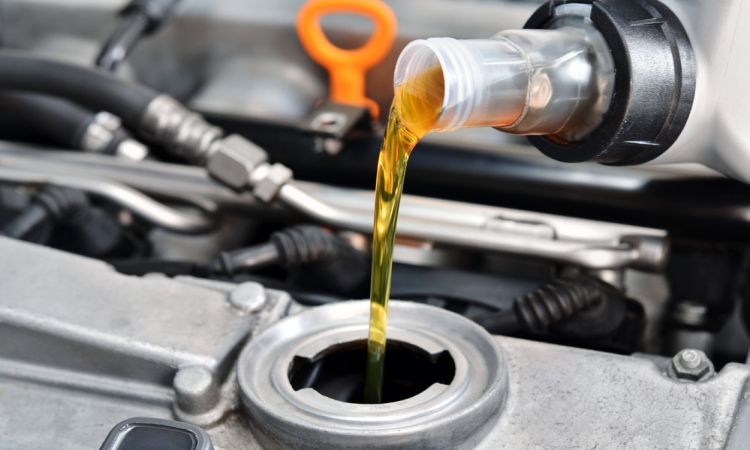
- Add New Oil: Consult your owner's manual for the correct oil type and quantity. Using a funnel, pour the new oil into the engine.
- Check Oil Level: Use the dipstick to check the oil level. Add more oil as needed to reach the "full" mark.
- Start the Engine: Start the engine and let it idle for a few minutes. Check for leaks around the drain plug and oil filter.
- Final Check: Turn off the engine and recheck the oil level after a few minutes. Top off if necessary.
- Reset Oil Life Monitor (if applicable): Many modern vehicles have an oil life monitoring system that needs to be reset after an oil change. Consult your owner's manual for instructions.
Real-World Use and Basic Troubleshooting
Even with a clear understanding of the process, problems can arise. Here are some basic troubleshooting tips:
- Drain Plug Stripped: If the drain plug is stripped, you may need to replace the oil pan or use a self-tapping drain plug.
- Oil Filter Stuck: If the oil filter is difficult to remove, try using a larger oil filter wrench or a screwdriver to puncture the filter and provide leverage.
- Oil Leak After Change: If you notice an oil leak after the change, double-check the drain plug and oil filter for proper tightening. Ensure the crush washer was replaced.
- Incorrect Oil Level: If the oil level is too high, it can cause foaming and damage to the engine. If it's too low, it can lead to inadequate lubrication and engine wear.
Safety Considerations
Safety should always be a top priority when working on your vehicle:
- Hot Oil: Be extremely careful when draining the old oil, as it can be very hot and cause burns. Wear gloves and eye protection.
- Exhaust System: Be mindful of the hot exhaust system. Allow the engine to cool down sufficiently before working near it.
- Proper Support: Always use jack stands to support the vehicle securely. Never work under a vehicle supported only by a jack.
- Disposal: Dispose of used oil and oil filters properly. Many auto parts stores offer recycling services.
Diagram and Further Resources
A detailed visual aid can be invaluable. We have a comprehensive oil change diagram available for download. The diagram highlights each step and component, making the process even easier to understand. It includes:
- Detailed illustrations of each part.
- Torque specs for the drain plug and oil filter.
- Step-by-step instructions with visual cues.