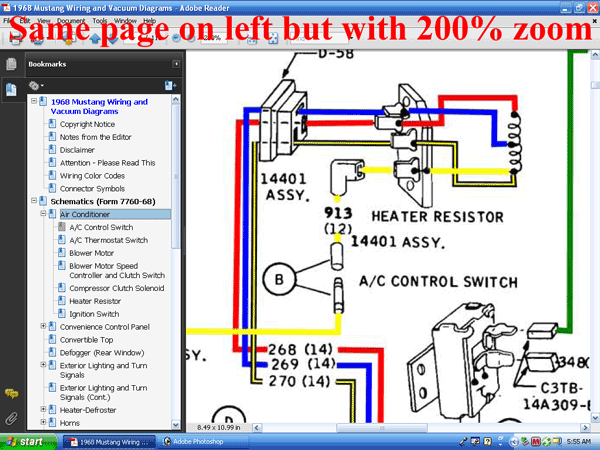
1968 Mustang Ignition Switch Wiring Diagram
The 1968 Ford Mustang is a classic, but like any vintage car, its electrical system can be a source of frustration. A clear understanding of the ignition switch wiring diagram is invaluable for troubleshooting electrical problems, performing repairs, or even upgrading your Mustang's electrical components. This article will guide you through the intricacies of the 1968 Mustang ignition switch wiring, providing a detailed breakdown and practical advice.
Purpose and Importance
Why bother understanding the ignition switch wiring? Several reasons:
- Troubleshooting Electrical Issues: The ignition switch is a central hub for the electrical system. Problems like a no-start condition, intermittent power loss, or malfunctioning accessories can often be traced back to a faulty switch or wiring.
- Performing Repairs: Whether you're replacing a damaged ignition switch or repairing frayed wiring, a diagram is crucial for ensuring correct connections.
- Upgrading and Modifying: If you're adding aftermarket accessories, installing an aftermarket ignition system, or performing other electrical modifications, you need to know how the ignition switch integrates into the overall electrical system.
- Restoring Your Mustang: For those meticulously restoring a '68 Mustang, adhering to the original wiring configuration is essential for authenticity and proper function.
Key Specs and Main Parts
The 1968 Mustang ignition switch is a multi-position switch that controls the flow of power to various circuits depending on the key's position. Here are the key components to be aware of:
- Ignition Switch Body: The physical housing containing the switch contacts and terminals.
- Key Tumbler: The part that accepts the key and rotates to activate the switch.
- Terminals: The connection points on the switch for the various wires. These are typically marked with letters or numbers, though these markings can fade with age.
- Wiring Harness Connector: The connector that plugs into the ignition switch, allowing for easy connection and disconnection of the wiring harness.
Understanding the different key positions is also crucial:
- LOCK: Steering wheel locked, engine off, and most electrical circuits are de-energized.
- OFF: Engine off, but some accessories may still receive power (e.g., headlights).
- ACC (Accessory): Engine off, allows power to accessories like the radio.
- ON (Run): Engine running, powers the ignition system, charging system, and most accessories.
- START: Engine cranking, powers the starter motor and ignition system. This position is spring-loaded and returns to the ON position when the key is released.
Symbols, Lines, and Colors in the Diagram
Wiring diagrams rely on standardized symbols and conventions to represent electrical components and connections. Let's break down the common symbols you'll encounter in a 1968 Mustang ignition switch wiring diagram:
- Lines: Solid lines represent wires. Thicker lines may indicate higher current-carrying capacity. Dashed lines can signify ground connections, or optional wiring configurations.
- Colors: Each wire is typically identified by its color (e.g., Red, Black, Green/Red stripe). The color code is essential for tracing wires and ensuring correct connections. Common colors in the '68 Mustang include:
- Red: Typically used for battery power (always hot).
- Black: Typically used for ground connections.
- Green/Red Stripe: Often associated with ignition circuits.
- Yellow: Often associated with starter circuit.
- Blue/Red Stripe: Often associated with accessory circuits.
- Symbols: Various symbols represent components like:
- Battery: Represented by alternating long and short parallel lines.
- Switch: Represented by a line that can be opened or closed, indicating the switch's state. The ignition switch will be depicted as a series of interconnected switches that change configuration based on key position.
- Fuse: Represented by a zig-zag line inside a rectangle or circle, indicating overcurrent protection.
- Relay: Represented by a coil symbol and a separate switch symbol, indicating a remotely controlled switch.
The diagram will also show terminal markings on the ignition switch. These markings, though not always perfectly preserved on original components, are critical for understanding which wire connects to which terminal. Typical markings might include "BAT" (battery), "IGN" (ignition), "ACC" (accessory), and "STR" (starter).
How It Works
Let's trace the power flow through the ignition switch:
- Battery Power: A heavy-gauge red wire connects directly from the battery (via the starter solenoid) to the "BAT" terminal on the ignition switch. This provides the constant power source for the entire electrical system.
- LOCK Position: In this position, no circuits are energized. The steering wheel lock mechanism is engaged.
- OFF Position: Battery power is still available at the "BAT" terminal, but no other circuits are actively powered.
- ACC Position: Turning the key to "ACC" energizes the "ACC" terminal. This terminal provides power to accessories like the radio and cigarette lighter. This circuit is often protected by a fuse.
- ON (Run) Position: The "ON" or "IGN" terminal receives power in this position. This terminal powers the ignition system (coil, distributor), the charging system, and other essential components for the engine to run. This circuit is also fuse-protected.
- START Position: When the key is turned to "START," the "STR" terminal is energized. This terminal sends power to the starter solenoid, which in turn engages the starter motor to crank the engine. The ignition system also receives power in this position to ensure the engine can fire as it cranks. The starter circuit is typically protected by a fusible link rather than a standard fuse.
It's important to note that some circuits may be interconnected. For example, the "IGN" terminal might also provide power to some accessories when the key is in the "ON" position.
Real-World Use: Basic Troubleshooting Tips
Here are some practical troubleshooting tips using the ignition switch wiring diagram:
- No Start Condition: If the engine doesn't crank at all, check for voltage at the "STR" terminal when the key is in the "START" position. If there's no voltage, the ignition switch or the wiring to the starter solenoid could be faulty. Also, verify the fusible link near the starter solenoid isn't blown.
- Engine Cranks But Doesn't Start: Check for voltage at the "IGN" terminal when the key is in the "ON" position. If there's no voltage, the ignition switch isn't providing power to the ignition system. The coil, distributor, or ignition module may not be receiving power.
- Accessories Not Working: If accessories don't work when the key is in the "ACC" position, check the fuse for the accessory circuit. If the fuse is good, check for voltage at the "ACC" terminal on the ignition switch.
- Intermittent Power Loss: Look for loose connections, corroded terminals, or frayed wiring at the ignition switch and surrounding wiring harness. A multimeter is essential for testing continuity and voltage.
Use a multimeter to verify voltage and continuity. Continuity testing should always be performed with the battery disconnected!
Safety Considerations
Working with automotive electrical systems can be dangerous. Here are some crucial safety precautions:
- Disconnect the Battery: Always disconnect the negative battery terminal before working on any electrical components. This prevents accidental short circuits and electrical shocks.
- Fuses and Fusible Links: Never bypass fuses or fusible links. They are designed to protect the electrical system from overcurrent damage. Use the correct amperage fuse when replacing them.
- Airbag Systems: If your Mustang is equipped with airbags (some later '68 models had optional airbags), be extremely cautious. Disconnect the airbag system according to the manufacturer's instructions before working on the electrical system. Improper handling of airbag systems can result in accidental deployment and serious injury.
- Fuel System: Be mindful of the fuel system. Sparks from electrical work can ignite fuel vapors. Ensure the area is well-ventilated and free of fuel leaks.
The ignition switch circuit carries significant current. Shorts can cause fires. Always use proper wiring techniques and ensure all connections are secure and well-insulated.
Final Thoughts
Understanding the 1968 Mustang ignition switch wiring diagram is a vital skill for any Mustang enthusiast. By understanding the components, symbols, and power flow, you'll be better equipped to troubleshoot electrical issues, perform repairs, and upgrade your classic car's electrical system safely and effectively. Remember to always prioritize safety and use the correct tools and techniques.
We have a high-resolution version of the 1968 Mustang Ignition Switch Wiring Diagram available for download. This detailed diagram will further aid you in your projects. Contact us to receive the file.