1989 Pontiac Firebird Aftermarket Radio Harness Wiring Kit
So, you're tackling the audio system in your 1989 Pontiac Firebird? Excellent choice. Swapping out the factory radio for a modern unit can dramatically improve your listening experience. But before you start ripping things apart, understanding the aftermarket radio harness wiring kit is crucial. This isn't just about plugging wires together; it's about ensuring proper functionality, preventing electrical damage, and making your life a whole lot easier down the road.
Why This Diagram Matters
Whether you're upgrading your head unit, troubleshooting a speaker issue, or just trying to understand the wiring of your classic 'Bird, the aftermarket radio harness wiring diagram is your best friend. It serves several important purposes:
- Installation: The most obvious reason. The diagram clearly shows which wires from the aftermarket harness connect to which wires in the factory harness. This eliminates guesswork and reduces the risk of incorrect connections.
- Repair: If you're experiencing problems with your radio (no power, no sound, etc.), the diagram helps you trace the wiring and identify potential faults like shorts or broken connections.
- Modification: Planning to add an amplifier, subwoofer, or other audio components? The diagram helps you identify the necessary signal and power wires for proper integration.
- Learning: Simply understanding the wiring setup provides valuable insight into your car's electrical system. This can be helpful for future repairs and modifications.
Key Specs and Main Parts of the Aftermarket Harness
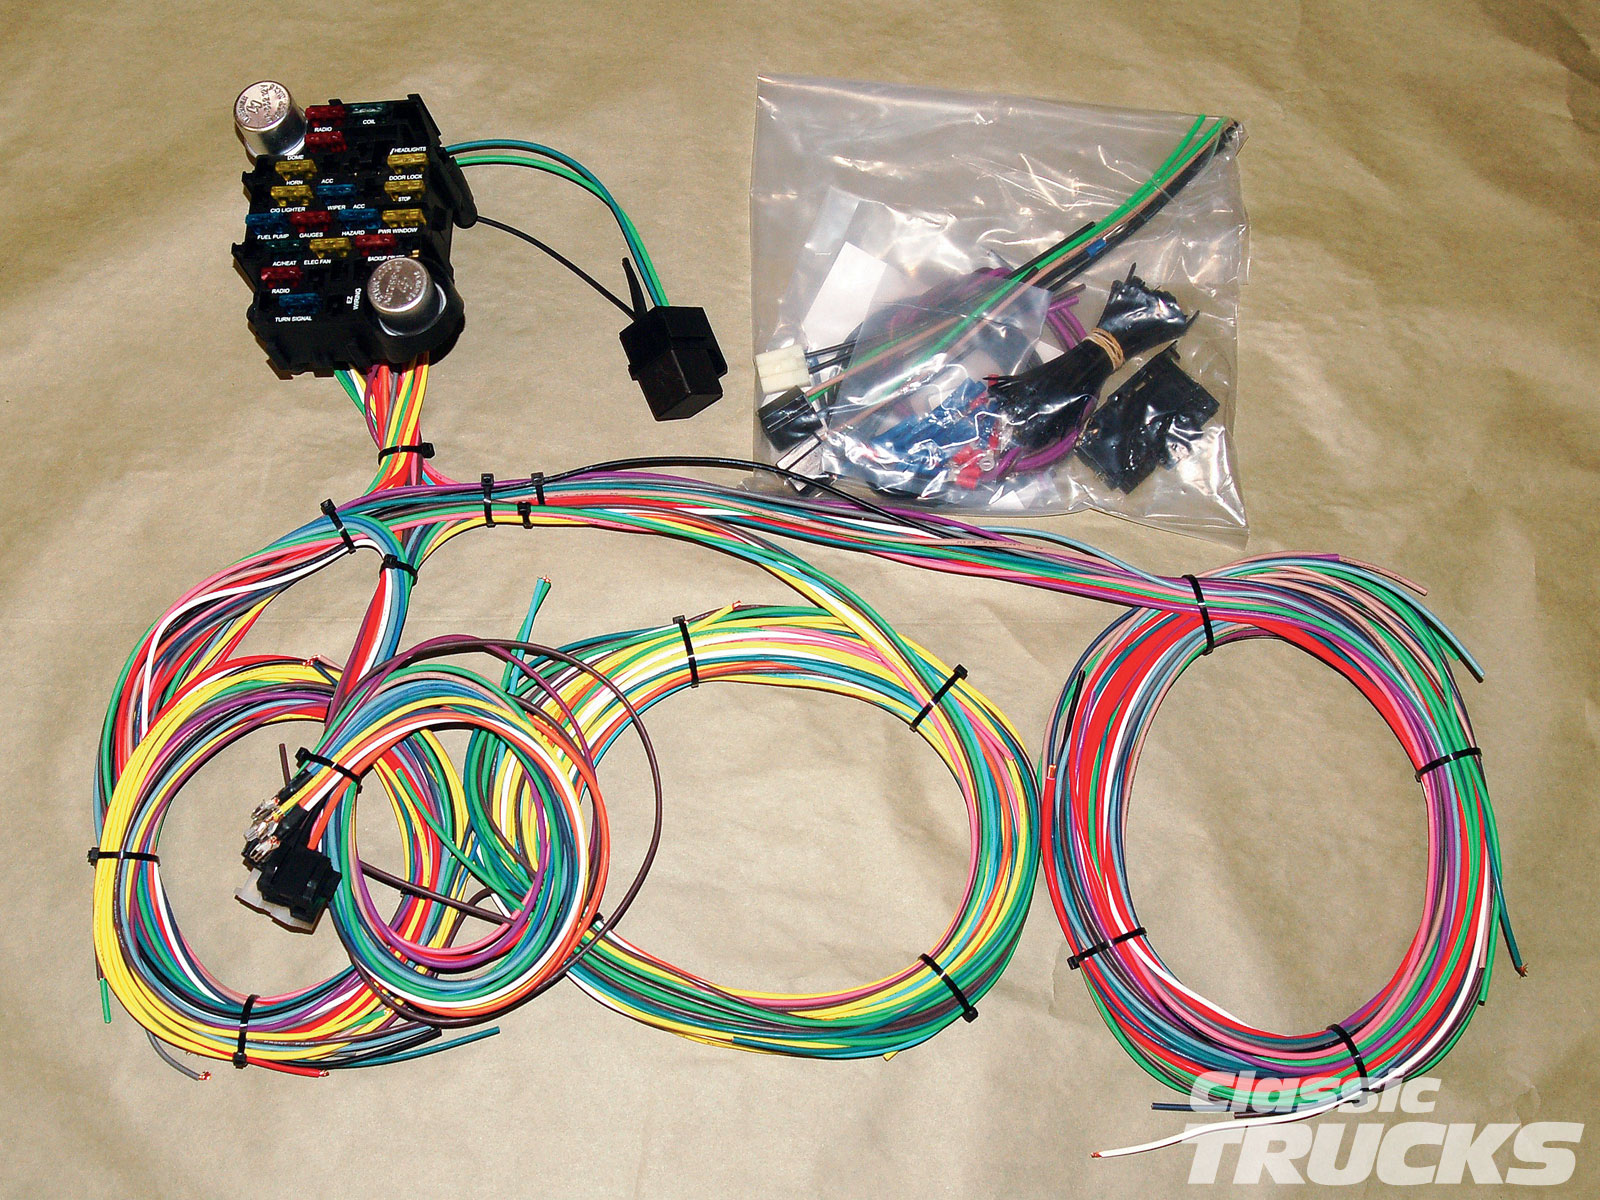
The aftermarket radio harness is essentially an adapter that allows you to connect a new radio to your car's existing wiring without cutting or splicing the factory wires. This preserves the integrity of your vehicle's wiring harness and makes it easy to revert to the original radio if needed. Here's a breakdown of the key components and specs:
Main Parts:
- Aftermarket Connector: This connector plugs directly into the back of your new aftermarket radio. It usually follows the industry standard ISO 10487 connector, but double check your radio's manual.
- Factory Connector: This connector plugs directly into the factory radio harness in your Firebird. It's designed to be a direct match, ensuring a secure and reliable connection.
- Color-Coded Wires: The individual wires connecting the two connectors are color-coded to match industry standards. This makes it easier to identify the function of each wire. (More on this later!)
Key Specs:
- Wire Gauge: Most aftermarket harnesses use 18 or 20 gauge wire. This is typically sufficient for the power and signal requirements of a standard car radio. However, if you're planning on running a high-power system with amplifiers, you might consider upgrading the power and ground wires with thicker gauge wire for better current flow.
- Fuse Rating: The harness itself doesn't usually include a fuse, but it's crucial to ensure the inline fuse on the radio's power wire is properly rated for the radio's power consumption. Check your radio's manual for the recommended fuse rating.
- Compatibility: The most important spec is compatibility with your specific vehicle and radio. Make sure the harness is designed for a 1989 Pontiac Firebird and compatible with the connector type on your new radio.
Decoding the Wiring Diagram: Symbols and Colors
The wiring diagram itself is a schematic representation of the electrical connections within the harness. It uses standard symbols and color codes to convey information clearly.
Common Symbols:
- Solid Line: Represents a wire connection.
- Dotted Line: Sometimes used to indicate a ground connection or a secondary circuit.
- Circle: A terminal or connection point.
- Rectangle: Represents a component, like the radio or a connector.
- Ground Symbol (Usually three horizontal lines): Indicates a connection to the vehicle's chassis ground.
Standard Color Codes (General Guide – Always Double Check!):
While color codes are generally standardized, always verify the wire functions with a multimeter before making any connections, especially on older vehicles. Wire colors can fade or be inconsistent.
- Red: +12V Constant (Battery Power). This wire provides constant power to the radio, even when the ignition is off, for memory functions.
- Yellow: +12V Switched (Ignition Power). This wire provides power to the radio only when the ignition is on.
- Black: Ground (Chassis Ground). This wire connects the radio to the vehicle's chassis for a good electrical ground.
- Blue: Power Antenna. This wire provides +12V to raise the power antenna when the radio is turned on. If your Firebird doesn't have a power antenna, this wire may be used as a remote turn-on for an amplifier.
- Blue/White Stripe: Remote Turn-On (Amplifier). This wire provides +12V to turn on an external amplifier when the radio is turned on.
- White: Left Front Speaker (+)
- White/Black Stripe: Left Front Speaker (-)
- Gray: Right Front Speaker (+)
- Gray/Black Stripe: Right Front Speaker (-)
- Green: Left Rear Speaker (+)
- Green/Black Stripe: Left Rear Speaker (-)
- Purple: Right Rear Speaker (+)
- Purple/Black Stripe: Right Rear Speaker (-)
- Orange: Illumination. This wire dims the radio display when the headlights are turned on.
How It Works: The Electrical Flow
The aftermarket harness acts as a bridge, translating the wiring of your new radio to the wiring of your car. Here's a simplified overview of the electrical flow:
- Power: The +12V constant (Red) and +12V switched (Yellow) wires from the Firebird's harness provide power to the radio. The constant power keeps the radio's memory (presets, settings) alive, while the switched power turns the radio on and off with the ignition.
- Ground: The Black wire provides a return path for the electrical current, completing the circuit. A good ground connection is essential for proper operation.
- Speakers: The speaker wires (White, Gray, Green, Purple and their corresponding black stripes) carry the audio signal from the radio to the speakers. Each pair of wires represents one speaker, with one wire carrying the positive (+) signal and the other carrying the negative (-) signal.
- Control Signals: The Blue (power antenna/remote turn-on) and Orange (illumination) wires provide control signals to external devices like power antennas, amplifiers, and the radio's display.
Real-World Use and Basic Troubleshooting
Okay, harness is installed, but something isn't working right? Here are a few common troubleshooting tips:
- No Power:
- Check the fuse on the radio's power wire.
- Verify that the +12V constant (Red) and +12V switched (Yellow) wires are receiving power with a multimeter.
- Ensure the ground (Black) wire has a solid connection to the vehicle's chassis. Scrape away any paint or corrosion for a good ground.
- No Sound:
- Double-check that the speaker wires are connected correctly (positive to positive, negative to negative).
- Verify that the speakers themselves are working.
- If you're using an amplifier, make sure the remote turn-on wire is properly connected and providing +12V when the radio is turned on.
- Dim Display:
- Check the illumination wire (Orange). If it's not connected properly, the display may not dim correctly when the headlights are turned on.
Safety First! Highlighting Risky Components
Working with electrical systems in a car can be dangerous if you're not careful. Always disconnect the negative terminal of the car battery before working on any electrical components. This will prevent accidental shorts and potential electrical shocks.
Specifically, be cautious when working with the following wires:
- +12V Constant (Red): This wire is always hot, even when the ignition is off. Accidental shorts to ground can cause a fire.
- Speaker Wires: While speaker wires themselves aren't particularly dangerous, shorting them to ground can damage the radio or amplifier.
Important: If you're not comfortable working with electrical systems, it's always best to consult a qualified professional. Incorrect wiring can damage your radio, your car's electrical system, or even cause a fire.
We have a downloadable PDF version of a typical 1989 Pontiac Firebird aftermarket radio harness wiring diagram available for you. This diagram will provide a visual guide and help you navigate the installation process. Understanding the wiring is key to a successful upgrade or repair!