1998 Jeep Grand Cherokee Stereo Wiring Diagram
Let's dive into the stereo wiring diagram for a 1998 Jeep Grand Cherokee. Understanding this diagram is crucial whether you're planning a stereo upgrade, diagnosing a blown fuse, or simply trying to comprehend the electrical backbone of your Jeep's audio system. A clear grasp of this diagram can save you time, money, and the frustration of accidentally wiring something incorrectly. We're going to break it down into digestible pieces, assuming you have some experience with automotive electrical systems.
Purpose of the Wiring Diagram
The 1998 Jeep Grand Cherokee stereo wiring diagram serves as a roadmap for all the electrical connections related to your vehicle's audio system. Its primary purposes include:
- Repairing Faulty Wiring: Pinpointing shorts, opens, or damaged wires within the stereo system.
- Upgrading the Stereo System: Safely installing aftermarket head units, amplifiers, speakers, or subwoofers.
- Identifying Component Locations: Locating specific wires, connectors, and components within the vehicle's wiring harness.
- Learning Vehicle Electrical Systems: Gaining a better understanding of how automotive electrical systems function.
- Troubleshooting Audio Issues: Systematically diagnosing problems like no sound, distorted audio, or intermittent power.
Key Specs and Main Parts
The 1998 Jeep Grand Cherokee typically came equipped with a factory-installed AM/FM radio with cassette or CD player. Important components shown on the wiring diagram usually include:
- Head Unit: The central control unit of the stereo system. It provides the interface for selecting audio sources, adjusting volume, and controlling other functions. Also known as the radio or receiver.
- Speakers: Typically four speakers: two in the front doors and two in the rear.
- Amplifier (If Equipped): Some models have a separate amplifier to boost the audio signal to the speakers. This is often located under a seat or in the cargo area.
- Wiring Harness: The bundle of wires that connect all the stereo components.
- Connectors: The plugs that connect the wiring harness to the head unit, speakers, and other components.
- Fuses: Protective devices that prevent damage to the electrical system in case of a short circuit. Knowing fuse locations is crucial.
- Antenna: Receives radio signals.
- Grounding Points: Points where the electrical system is connected to the vehicle's chassis, providing a return path for electrical current.
Symbols and Conventions
Understanding the symbols and conventions used in the wiring diagram is essential for accurate interpretation. Here are some common elements:
- Lines: Represent wires. Solid lines indicate direct connections, while dashed lines may indicate shielded wires or connections to ground.
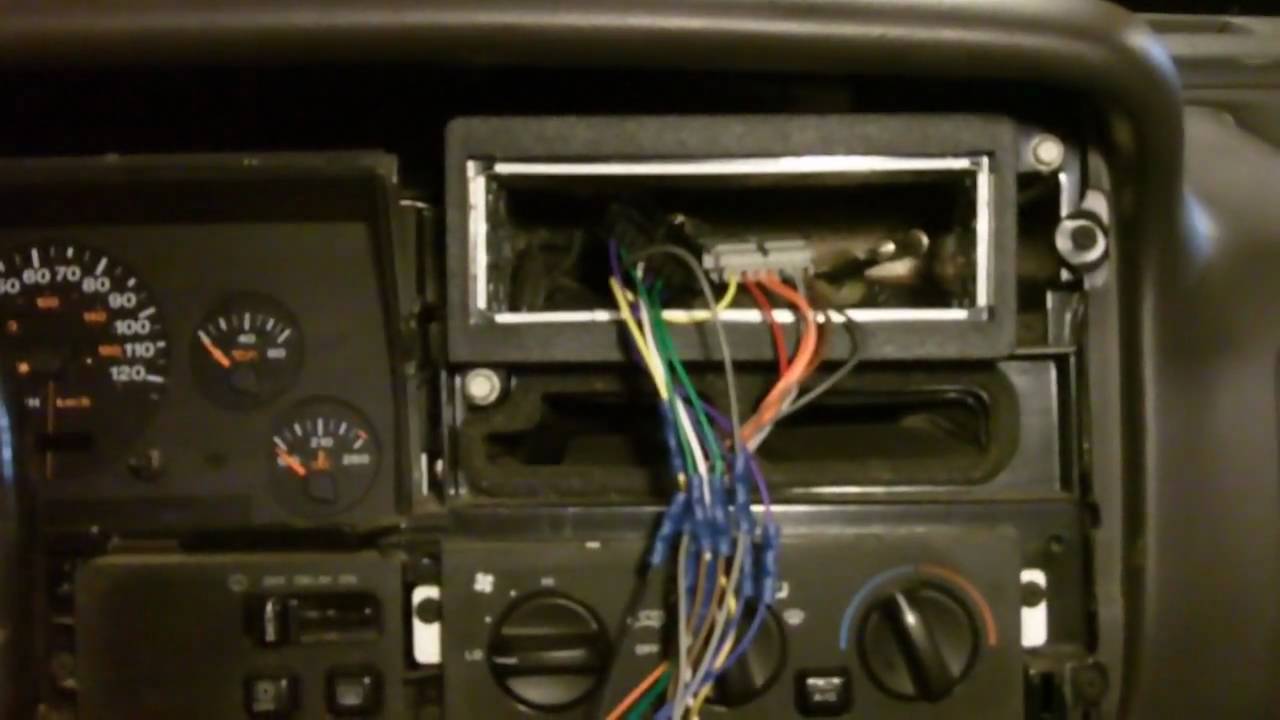
- Colors: Each wire is assigned a specific color, indicated by abbreviations like BLU (blue), RED (red), GRN (green), BLK (black), WHT (white), YEL (yellow), BRN (brown), ORG (orange). Often, wires are striped (e.g., GRN/WHT for green with a white stripe).
- Connectors: Represented by various shapes, usually squares or circles with numbers indicating the pin assignments. Knowing the connector *location* (C101, C202, etc.) is frequently noted.
- Ground Symbols: Represented by a downward-pointing triangle or a series of horizontal lines, indicating a connection to the vehicle's chassis.
- Component Symbols: Each component (e.g., head unit, speaker, amplifier) has a specific symbol representing it.
- Numbers: Pin numbers on connectors are clearly labeled, allowing you to identify which wire connects to each pin.
- Gauge: Wire gauge is often noted in the diagram, for example, 18 AWG.
Understanding wire color codes is vital. For example, a "RED/BLK" wire means a red wire with a black stripe. Always double-check the key or legend provided with the diagram, as color coding can vary slightly.
How It Works
The stereo system functions by receiving power from the vehicle's battery, typically through the ignition switch. When the ignition is turned on, power is supplied to the head unit. The head unit then processes audio signals from various sources (e.g., radio, CD player, auxiliary input) and sends them to the speakers or, in some cases, to an amplifier. The amplifier boosts the audio signal and sends it to the speakers. Each speaker has a positive (+) and negative (-) connection. Properly wiring these connections is crucial for correct sound reproduction (avoiding the "out of phase" sound).
The wiring diagram shows the flow of electricity from the power source (battery) through the various components and back to ground. The diagram also shows the signal flow from the head unit to the speakers. Tracing these paths on the diagram helps you understand how the system works and where to look for potential problems.
Real-World Use: Basic Troubleshooting
Here are some common troubleshooting scenarios where the wiring diagram comes in handy:
- No Power to the Head Unit: Use the diagram to trace the power wire from the fuse box to the head unit. Check the fuse first. If the fuse is blown, replace it with one of the same amperage. If it blows again, there's a short circuit. Use the diagram to identify potential areas where the wire might be shorting to ground.
- No Sound from One Speaker: Use the diagram to trace the speaker wires from the head unit (or amplifier) to the speaker. Check the speaker connections for corrosion or damage. Use a multimeter to test the continuity of the speaker wire. Also, test the speaker itself.
- Distorted Sound: Check the speaker wires for damage or shorts. Make sure the speaker impedance matches the amplifier's requirements. A mismatch can cause distortion or damage.
- Stereo Turns Off Intermittently: This could be a loose connection or a faulty ground. Use the diagram to locate the ground connections and ensure they are clean and secure.
When troubleshooting, a multimeter is your best friend. Use it to check voltage, continuity, and resistance. Always disconnect the battery before working on the electrical system to prevent accidental shorts.
Safety
Working with automotive electrical systems involves inherent risks. Always disconnect the negative battery terminal before working on the stereo wiring. This prevents accidental shorts and potential damage to the electrical system. Fuses are there for a reason; don't bypass them with larger ones. If you're uncomfortable working with electrical systems, consult a qualified technician.
Specifically, be cautious when working near the airbag system. Disconnecting or tampering with airbag wiring can trigger the airbags, causing serious injury. Consult the vehicle's repair manual for proper procedures before working near the airbag system.
Avoid using test lights with sharp probes that can pierce wires. This can damage the insulation and lead to corrosion. Use a multimeter with back-probing pins instead.
When soldering wires, use rosin-core solder and avoid using acid-core solder, as it can corrode electrical connections over time. Properly insulate all soldered connections with heat-shrink tubing or electrical tape.
Aftermarket stereos and components may require different wiring than the factory setup. Consult the installation instructions for the new components and ensure that the wiring is compatible with the vehicle's electrical system.
Wiring diagrams provide a valuable service, but should be considered only a general guide. Verify all wires with a multimeter before cutting or splicing any wires.
We have the 1998 Jeep Grand Cherokee stereo wiring diagram file available for download. Click here to download: (hypothetical link, replace with actual link). Good luck with your project!