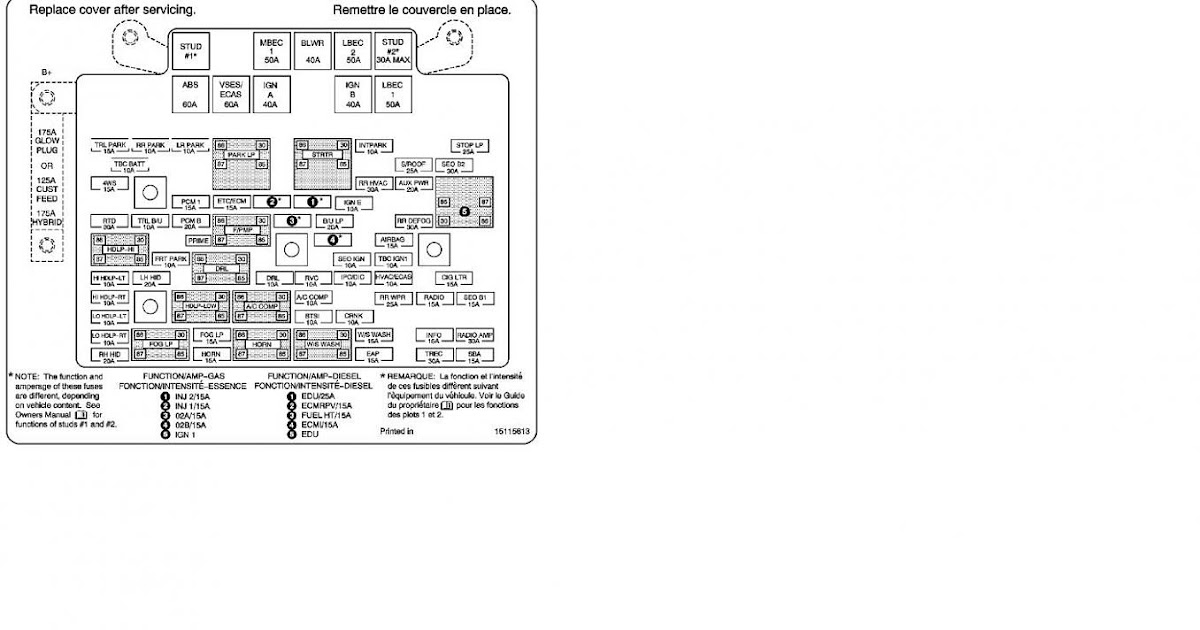
1999 Freightliner Fuse Panel Diagram
Alright folks, let's dive into the heart of your 1999 Freightliner's electrical system: the fuse panel. Understanding this often-overlooked component is crucial for anyone doing their own maintenance, upgrades, or troubleshooting on their truck. This isn't just about replacing a blown fuse; it's about comprehending the flow of power and the protection mechanisms in place.
Purpose: Why Bother with the Fuse Panel Diagram?
A fuse panel diagram is your roadmap to your truck's electrical soul. Why is it so important? Several reasons:
- Troubleshooting Electrical Issues: When a circuit fails – say your headlights suddenly quit working – the fuse panel is the first place you should investigate. The diagram tells you which fuse controls that circuit, saving you hours of aimless poking around with a multimeter.
- Safe Modifications and Additions: Planning to install auxiliary lights, a new radio, or other electrical accessories? Knowing the circuit amperage ratings and available circuits helps you avoid overloading the system and potentially causing a fire. It's paramount to understand the existing load before adding more.
- Understanding Your Truck's Systems: Even if you don't plan on performing any repairs yourself, the diagram provides valuable insights into how the various electrical components are connected and protected. This knowledge can empower you to better communicate with mechanics and understand their diagnoses.
- Preventative Maintenance: A quick check of the fuse panel, identifying any corrosion or loose connections, can prevent future electrical problems down the road.
Key Specs and Main Parts
The 1999 Freightliner fuse panel is typically located inside the cab, usually in one of two places: under the dashboard on the driver's side, or inside the glove compartment. Its exact location depends on the specific model and configuration of your truck (e.g., Classic, Century, etc.).
Here's what you'll typically find:
- Fuse Block/Panel: This is the main housing that holds all the fuses and relays. It's usually made of a durable plastic material.
- Fuses: These are the sacrificial elements that protect the electrical circuits from overcurrent. They come in various amperages, indicated by a number printed on the fuse itself (e.g., 5A, 10A, 20A, 30A). Common types in this era include blade-style fuses.
- Relays: Relays are electromechanical switches that allow a low-current circuit to control a high-current circuit. They're often used to control components like headlights, starter motors, and horns.
- Circuit Breakers: Some circuits, particularly those powering critical components like the engine control module (ECM), may be protected by circuit breakers instead of fuses. Circuit breakers automatically reset after tripping, once the overload condition is removed.
- Grounding Points: While not directly on the fuse panel, remember that proper grounding is essential for all electrical circuits to function correctly. Inspect the grounding points near the fuse panel for corrosion and secure connections.
- Fuse Puller: Usually clipped somewhere within the fuse panel area, this simple tool makes removing and replacing fuses much easier and avoids damaging them.
Symbols: Deciphering the Diagram
The fuse panel diagram uses a standardized set of symbols to represent different electrical components and connections. Here's a breakdown of some common symbols:
- Lines: Solid lines represent wires. Thicker lines typically indicate wires carrying higher current. Dotted lines may indicate shielded wires or control signals.
- Rectangles: Represent relays. The diagram may show the relay's internal connections, indicating which terminals are connected when the relay is energized.
- Circles with a line through them: Typically represent lamps or bulbs (headlights, taillights, etc.).
- Squares with a zigzag line: Represent resistors. These components limit the flow of current in a circuit.
- Diamonds: Sometimes used to represent diodes or other semiconductor devices.
- Numerical Values: Adjacent to a fuse location will be the amperage rating of the fuse (e.g., "15A" means a 15-amp fuse).
- Color Coding: While not always present in every diagram, wire colors are often indicated using abbreviations (e.g., "RED" for red, "BLK" for black, "GRN" for green).
Interpreting these symbols requires careful attention to detail. The diagram should also include a legend or key that defines each symbol used.
How It Works: A Simplified Explanation
The fuse panel acts as a central distribution point for electrical power in your truck. Power from the battery flows through the main wiring harness to the fuse panel. From there, it's distributed to various circuits, each protected by a fuse or circuit breaker.
Let's say you turn on your headlights. Power flows from the battery, through a fuse in the fuse panel (designated for the headlight circuit), through the headlight switch, and finally to the headlights themselves. If there's a short circuit in the headlight wiring (e.g., a wire chafes against the chassis), the current flow will increase dramatically. This excessive current will cause the fuse to blow, interrupting the circuit and preventing damage to the headlights, wiring, and other electrical components.
Relays, on the other hand, are used to control high-current circuits with a low-current signal. For example, the starter motor requires a large amount of current. Instead of running a thick wire from the ignition switch to the starter motor, a relay is used. The ignition switch sends a low-current signal to energize the relay, which then closes the high-current circuit to the starter motor.
Real-World Use: Basic Troubleshooting Tips
Here's a simple troubleshooting scenario:
- Symptom: Your windshield wipers aren't working.
- Check the Diagram: Locate the fuse designated for the windshield wiper motor. Consult the fuse panel diagram.
- Inspect the Fuse: Use the fuse puller to remove the fuse. Visually inspect it. A blown fuse will have a broken filament or a darkened appearance.
- Replace the Fuse: If the fuse is blown, replace it with a new fuse of the exact same amperage rating. Important: Do not use a higher amperage fuse, as this could damage the circuit.
- Test: Turn on the windshield wipers to see if they now work.
- If the Fuse Blows Again: If the new fuse immediately blows, there's likely a short circuit in the wiper motor circuit. You'll need to investigate further, potentially checking the wiring, the wiper motor itself, and the wiper switch. This might require the use of a multimeter to test for continuity and voltage.
Remember to always disconnect the negative battery cable before working on any electrical components to avoid accidental short circuits.
Safety: Handle with Care
Electrical systems can be dangerous if not handled properly. Here are some safety precautions:
- Disconnect the Battery: Always disconnect the negative battery cable before working on the fuse panel or any other electrical component.
- Use the Correct Fuse: Never replace a fuse with one of a higher amperage rating. This can overload the circuit and cause a fire.
- Inspect for Damage: Before working on the fuse panel, inspect it for any signs of damage, such as cracks, corrosion, or loose connections.
- Avoid Working in Wet Conditions: Never work on electrical components in wet conditions.
- Capacitors in Electronics: Many vehicle ECUs contain large capacitors that can hold a charge even after the battery is disconnected. Be careful around these components, and follow proper discharge procedures when necessary. A good rule of thumb is to wait a minimum of 15 minutes after disconnecting the battery before working on sensitive electrical components.
Specifically, the starting circuit is very high amperage. Use care whenever doing any work around the starter solenoid or the starter motor itself. Accidental shorts here can be very dangerous and cause burns or even fires.
Understanding your 1999 Freightliner's fuse panel and its diagram is a valuable skill for any truck owner. It can save you time, money, and frustration when dealing with electrical issues. Remember to always prioritize safety and consult with a qualified mechanic if you're unsure about any aspect of the electrical system.
We have the complete fuse panel diagram available for download. It contains detailed information about fuse locations, amperage ratings, and circuit descriptions. Click the link below to download your copy. [Download Link Placeholder – Replace with Actual Link]