2000 Club Car Wiring Diagram 48 Volt
Let's dive into the 2000 Club Car 48-volt wiring diagram. Whether you're troubleshooting a nagging electrical problem, planning a modification, or simply want a deeper understanding of your cart, knowing how to read and interpret this diagram is crucial. Consider this your roadmap to electrical success.
Purpose of the Wiring Diagram
Why bother with a wiring diagram? Simple. It's the language your cart speaks electrically. It allows you to:
- Troubleshoot Issues: Pinpoint shorts, opens, or faulty components.
- Perform Repairs: Ensure you're connecting wires correctly when replacing parts.
- Add Accessories: Safely install lights, radios, or other modifications.
- Deepen Understanding: Learn how the electrical system functions as a whole.
Without it, you're essentially guessing, which can lead to further damage, frustration, or even safety hazards.
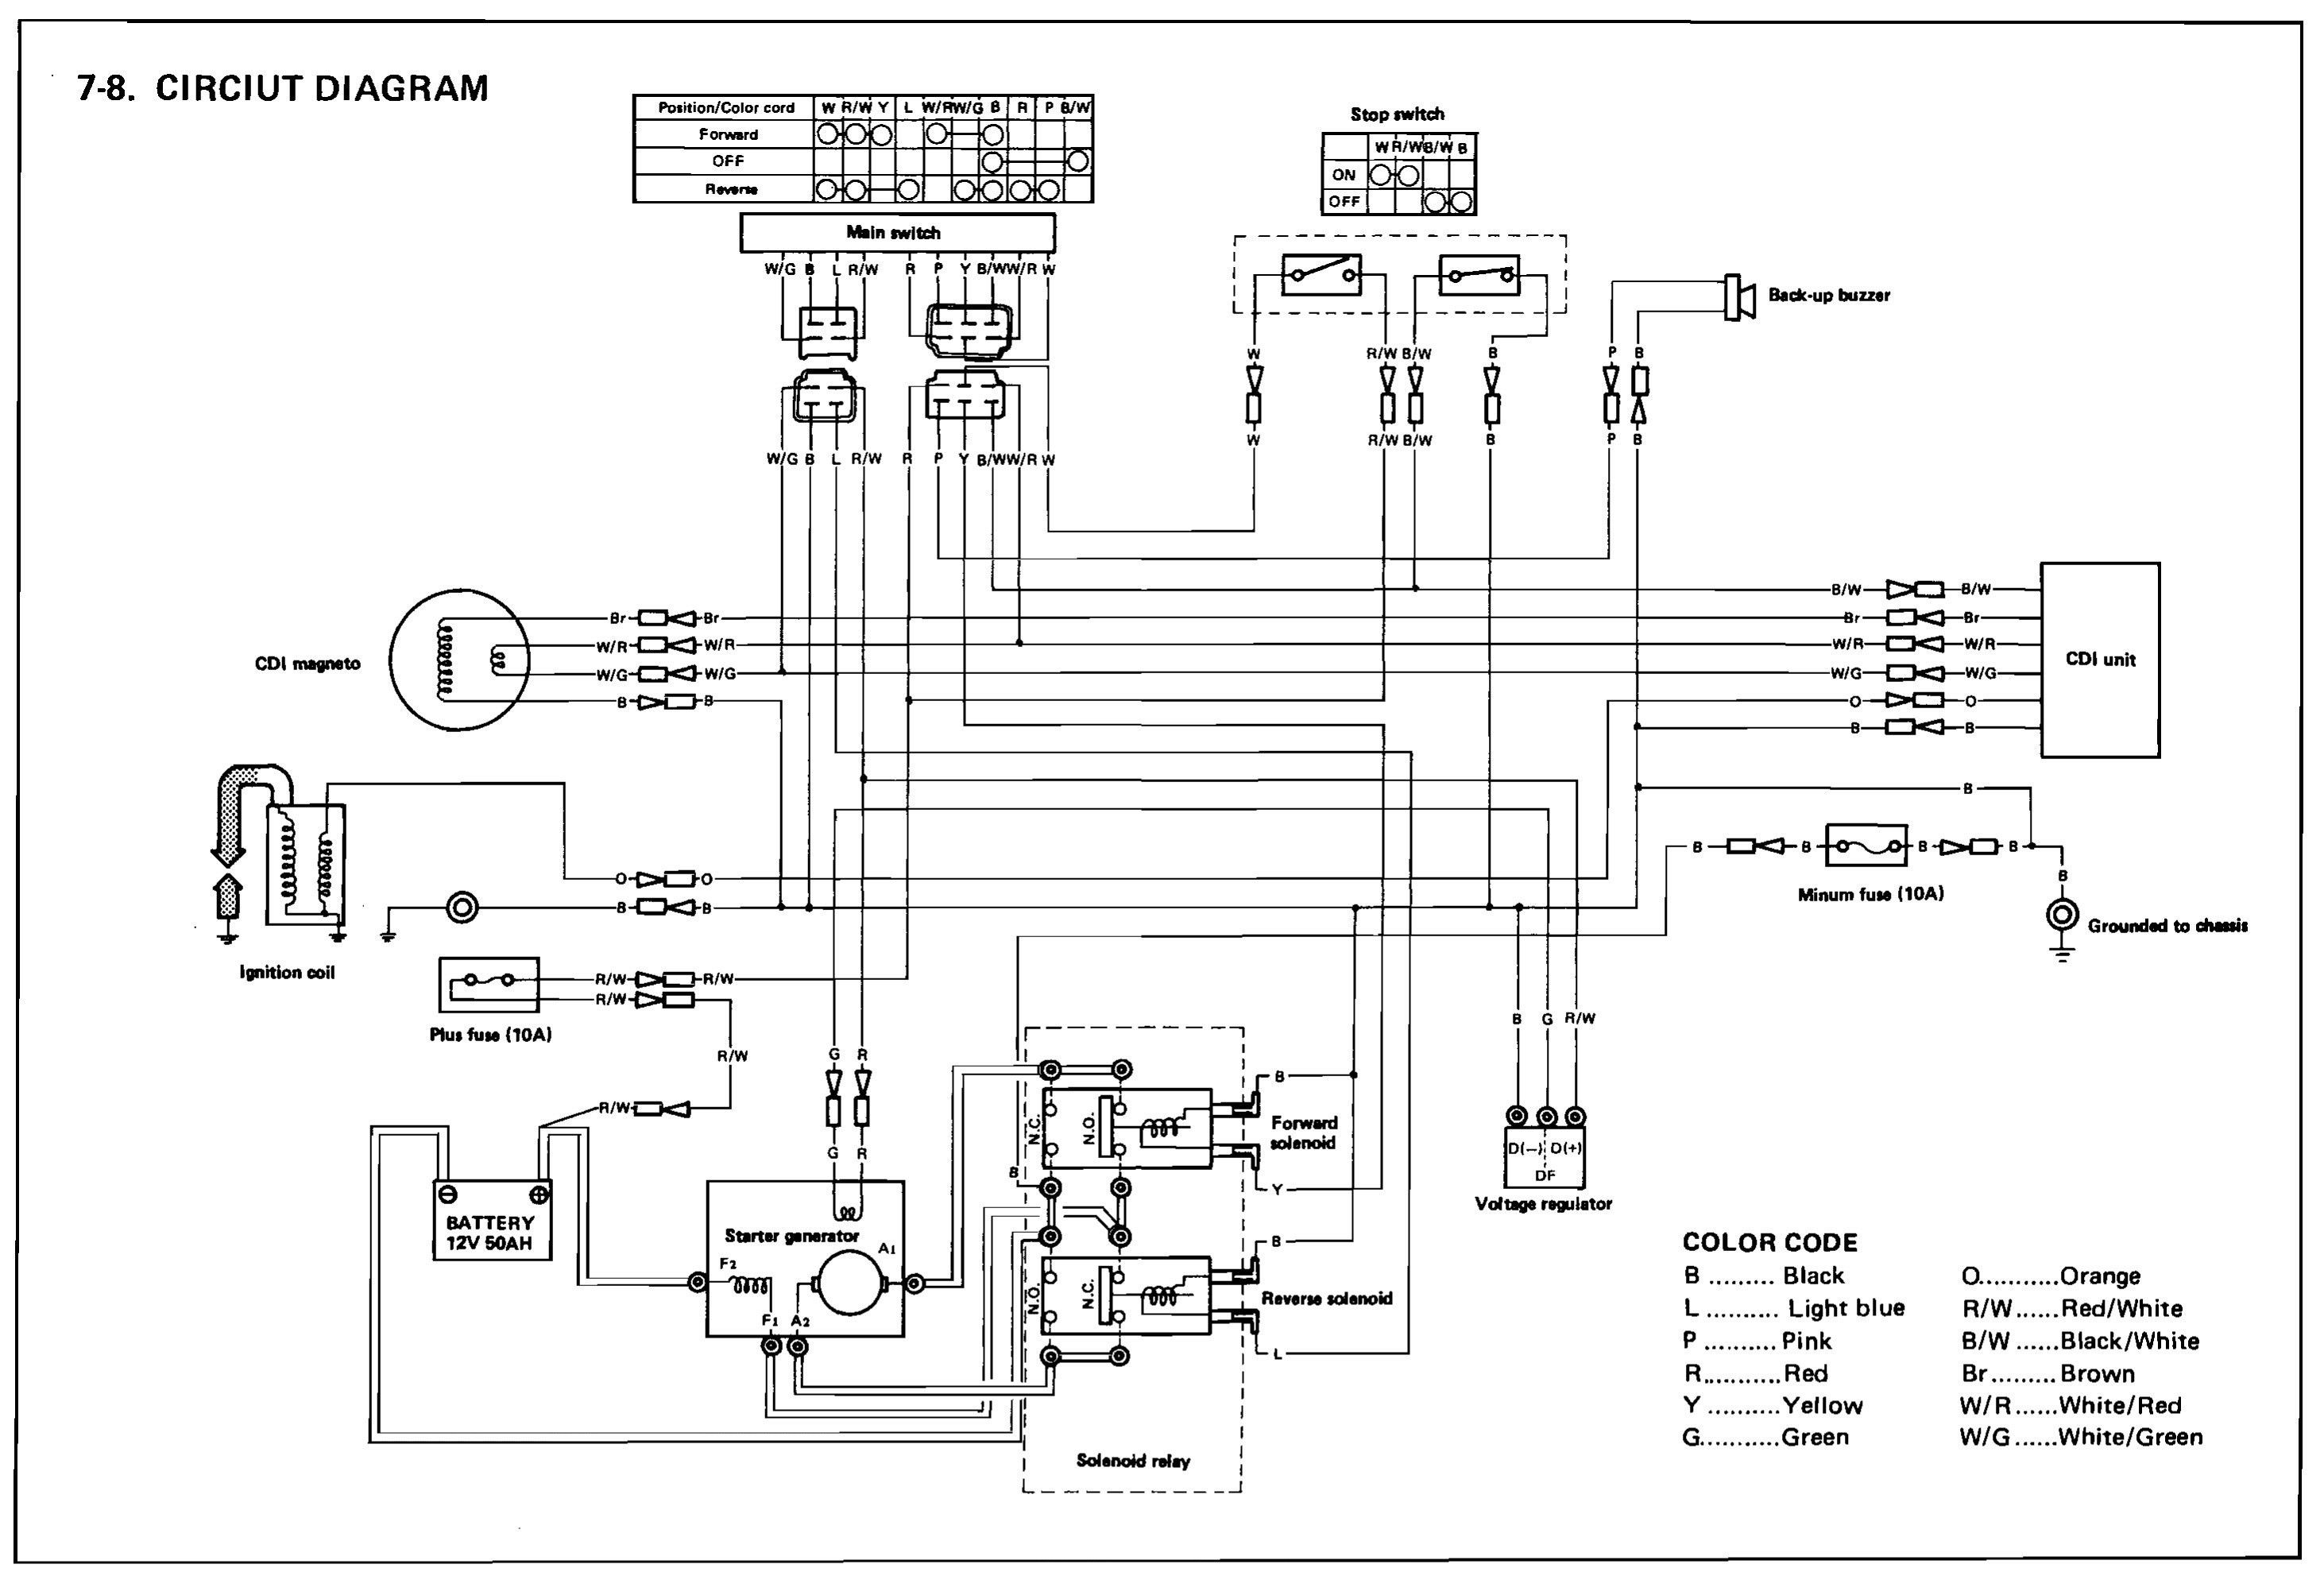
Key Specs and Main Parts
The 2000 Club Car DS (most common model) uses a 48-volt DC electrical system. This means it utilizes four 12-volt batteries connected in series to achieve the required voltage. Key components you'll find on the diagram include:
- Batteries: The heart of the system. Typically, four 12-volt deep-cycle lead-acid batteries. Maintaining proper voltage and electrolyte levels is crucial.
- Solenoid: An electrically operated switch. It's energized when you press the accelerator pedal, allowing high current to flow from the batteries to the motor. A faulty solenoid is a common culprit for "no-go" situations.
- Controller: The "brains" of the operation. It regulates the amount of current sent to the motor based on the accelerator pedal position, controlling speed and acceleration. The controller is a sophisticated electronic device and sensitive to voltage spikes.
- Motor: Converts electrical energy into mechanical energy, driving the cart. There are different motor types, but series-wound DC motors were common in 2000 Club Cars.
- Forward/Reverse Switch: Changes the direction of current flow to the motor, thus changing the direction of the cart. This can be a rotary switch or a rocker switch.
- Accelerator Pedal Assembly: Contains a throttle position sensor (TPS), often a potentiometer, which sends a signal to the controller indicating the desired speed.
- Fuses/Circuit Breakers: Safety devices that protect the wiring and components from overcurrent situations. These are critical for preventing fires and damage.
- Wiring Harness: The network of wires connecting all the components. Look for breaks, corrosion, or loose connections.
- Key Switch: Allows the cart to be turned on or off.
Understanding Wiring Diagram Symbols
The wiring diagram is a symbolic representation of the electrical system. Deciphering the symbols is key to understanding it.
Lines
Lines represent wires. Thicker lines usually indicate wires carrying higher current loads. Dashed lines often signify ground wires.
Colors
Color coding helps identify the function of each wire. While conventions exist, always refer to the specific legend on your diagram. Common color codes include:
- Red: Positive (+) battery connections, power supply.
- Black: Negative (-) battery connections, ground.
- White: Often used for ground or neutral.
- Blue/Yellow/Green: Used for various signals and control circuits.
Icons
Specific icons represent different components. Here are some common ones:
- Battery: A series of short and long parallel lines, often with a "+" and "-" symbol.
- Solenoid: A coil symbol connected to a switch symbol.
- Motor: A circle with an "M" inside or a more complex schematic representation of a DC motor.
- Fuse/Circuit Breaker: A squiggly line inside a rectangle or a simplified switch symbol.
- Resistor: A zigzag line.
- Switch: A line that can be open or closed. Different types of switches (SPST, SPDT, etc.) have different symbols.
- Diode: A triangle pointing to a line.
Always consult the legend provided with your specific wiring diagram. Symbols can vary slightly between manufacturers and even different years of the same model.
How It Works: A Simplified Explanation
Here's a simplified overview of how the 48-volt system works:
- Power Source: The batteries provide the 48-volt DC power.
- Key Activation: Turning the key switch on enables the control circuit.
- Accelerator Pedal: Pressing the accelerator pedal sends a signal to the controller.
- Controller Regulation: The controller interprets the signal from the accelerator pedal and regulates the amount of current sent to the motor.
- Solenoid Engagement: The controller energizes the solenoid, allowing high current to flow to the motor.
- Motor Operation: The motor converts electrical energy into mechanical energy, turning the wheels.
- Direction Control: The forward/reverse switch determines the direction of current flow through the motor, thus controlling the direction of the cart.
The wiring diagram shows the intricate connections between these components, allowing you to trace the flow of current and identify potential problems.
Real-World Use: Basic Troubleshooting Tips
Let's say your cart is dead. Here are some basic troubleshooting steps using the wiring diagram:
- Battery Check: Use a multimeter to check the voltage of each battery individually and the total pack voltage. A fully charged 48-volt system should read around 50-52 volts. If a single battery is significantly lower than the others, it may be faulty.
- Fuse/Circuit Breaker Inspection: Visually inspect all fuses and circuit breakers for signs of damage. Use a multimeter to test for continuity across the fuse. Replace any blown fuses with the correct amperage rating.
- Solenoid Test: With the key on and the accelerator pedal pressed, listen for a "click" from the solenoid. If you don't hear a click, the solenoid may be faulty or not receiving power. Use a multimeter to check for voltage at the solenoid terminals.
- Wiring Inspection: Visually inspect the wiring harness for any obvious breaks, corrosion, or loose connections. Pay particular attention to connections near the batteries, solenoid, and controller.
Remember to always refer to the wiring diagram to identify the correct wires and components to test.
Safety: Important Considerations
Working with electrical systems can be dangerous. Here are some crucial safety precautions:
- Disconnect Batteries: Always disconnect the batteries before working on the electrical system. This prevents accidental shorts and electrical shocks. Remove the main positive and negative cables from the battery pack.
- Use Insulated Tools: Use tools with insulated handles to prevent electrical shock.
- Wear Safety Glasses: Protect your eyes from sparks and debris.
- Avoid Working in Wet Conditions: Water conducts electricity. Never work on the electrical system in wet conditions.
- Proper Ventilation: Batteries can produce hydrogen gas, which is flammable. Work in a well-ventilated area.
- High Current Components: Be especially careful around the batteries, solenoid, and controller. These components handle high currents and can cause serious burns or shocks if mishandled.
Disclaimer
This article provides general guidance only. Electrical systems can be complex, and improper repairs can be dangerous. If you are not comfortable working on electrical systems, consult a qualified technician. We are not responsible for any damage or injury resulting from the use of this information.
This 2000 Club Car wiring diagram is essential for maintenance, repair, and modification. Remember to always double-check your work and prioritize safety. Good luck, and happy carting!