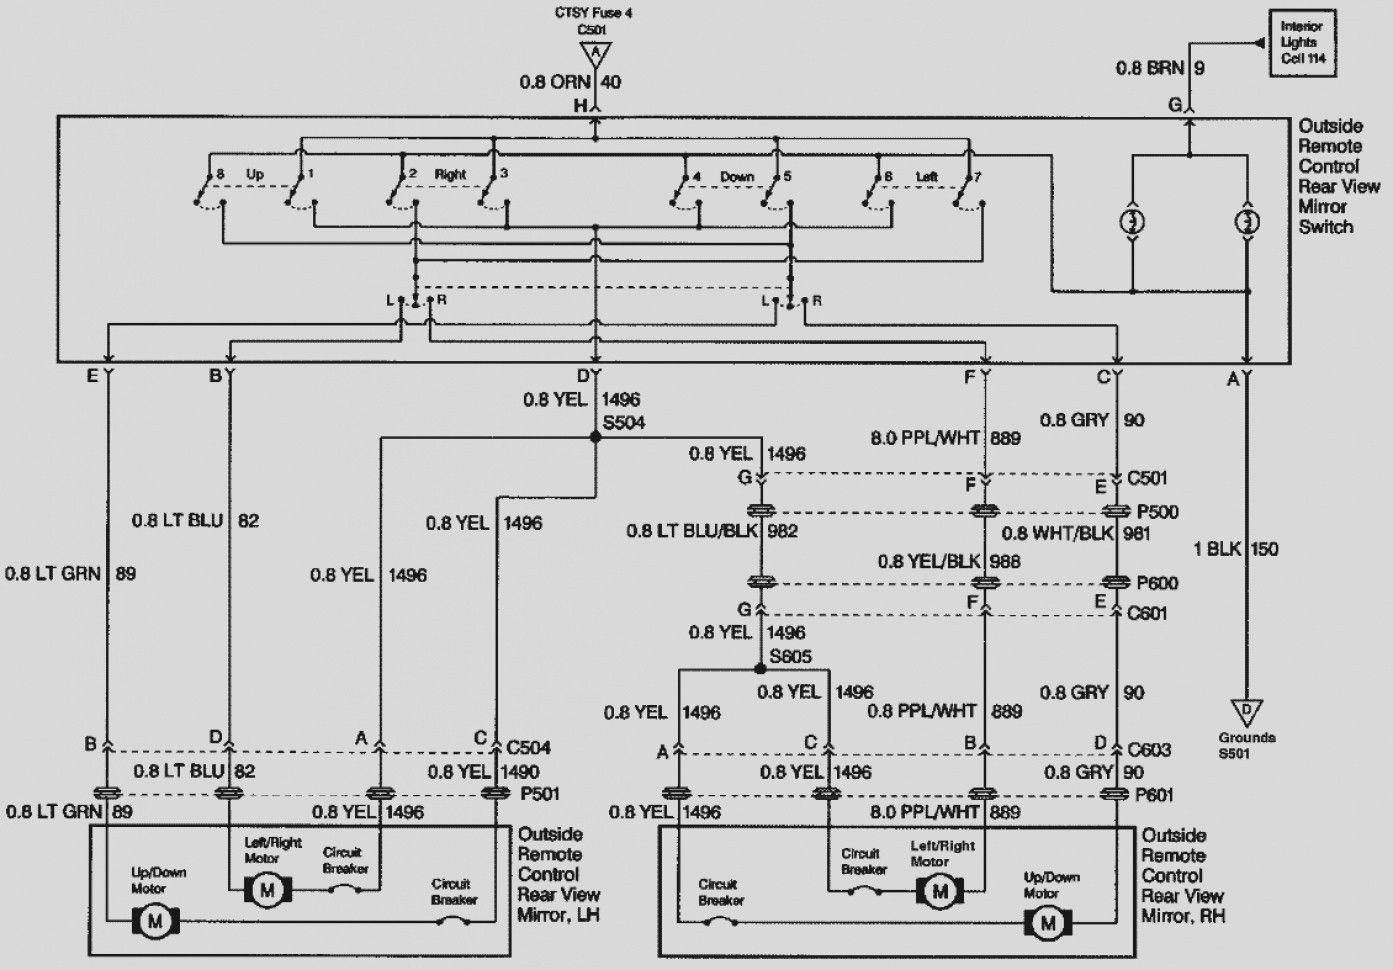
2002 Chevy Trailblazer Radio Wiring Diagram
So, you're tackling the audio system in your 2002 Chevy Trailblazer? Smart move. Understanding the radio wiring is crucial whether you're replacing a blown fuse, upgrading to a new head unit, installing aftermarket speakers, or just trying to diagnose why you've suddenly lost all sound. This guide will walk you through the 2002 Trailblazer radio wiring diagram, explaining its purpose, key components, and how to use it for practical troubleshooting. And the best part? We've got the actual diagram available for you to download at the end, making your life a whole lot easier.
Why Bother with the Wiring Diagram?
Let's be clear: blindly poking around with wires is a recipe for disaster. The wiring diagram isn't just a pretty picture; it's your roadmap to a successful and, more importantly, safe audio system modification or repair. Here's why it's indispensable:
- Proper Connections: Ensures you're connecting the right wires to the right places, preventing damage to your radio, speakers, or even the vehicle's electrical system.
- Troubleshooting: Allows you to trace circuits and pinpoint the source of problems like a blown fuse, a short circuit, or a dead speaker.
- Upgrades: Makes installing aftermarket stereos, amplifiers, and other audio components significantly easier and less prone to errors.
- Reverse Engineering: If someone has messed with the wiring before you, it gives you a baseline to return the system to its original, intended state.
Key Specs and Main Parts of the 2002 Trailblazer Radio System
Before diving into the diagram itself, let's familiarize ourselves with the major players:
- Head Unit (Radio): The brain of the system, providing the user interface, tuner, CD player (if equipped), and amplifier.
- Speakers: Typically, the 2002 Trailblazer had a 4-speaker system (front doors and rear pillars) though some models had an upgraded 6-speaker system with tweeters in the A-pillars.
- Amplifier (Optional): Some models came with a factory amplifier, usually located under the rear seat or in the cargo area. If present, the signal from the head unit is sent to the amplifier before going to the speakers.
- Wiring Harness: The collection of wires connecting all the components. The harness contains wires for power, ground, speakers, illumination, and other functions.
- Antenna: Receives radio signals.
- Chime Module: Interacts with the radio for warning chimes and other audible alerts. Important to maintain proper function when changing headunits.
- Class 2 Data Bus: This data bus is crucial. It allows the radio to communicate with other vehicle systems. Aftermarket radio installation may require a special adapter to maintain these communications and ensure proper function of features such as door chimes, OnStar, and steering wheel controls.
The head unit usually operates at 12V DC (Direct Current). Understanding the voltage and amperage ratings of the circuits is paramount to avoid overloading and blowing fuses.
Decoding the Symbols: Understanding the Wiring Diagram
Wiring diagrams use a standardized set of symbols to represent components and connections. Here's a breakdown of what you'll typically find:
- Lines: Represent wires. Different colors indicate different functions.
- Color Codes: The color of the wire is usually abbreviated (e.g., RED for red, BLU for blue, GRN for green, etc.). Pay close attention to these!
- Solid Dots: Indicate a wire splice or connection point.
- Open Circles: Indicate a wire termination point.
- Resistors: Represented by a zigzag line.
- Capacitors: Represented by two parallel lines.
- Ground: Usually represented by a series of horizontal lines getting progressively shorter, resembling an inverted pyramid.
- Fuses: Represented by a jagged line inside a rectangle. The amperage rating will usually be indicated next to the fuse.
- Relays: Show the coil and the switch contacts.
Crucially, the diagram will also include a legend or key that explains the specific color codes and symbols used in that particular diagram. Always refer to the legend first!
The diagram will also show the location of connectors and their pin numbers. These connectors are often labeled in the car and on the diagram. This is key for identifying the proper connection for each function.
How It Works: Tracing the Circuit
Let's imagine you want to trace the power circuit to the radio. Here's how you'd use the wiring diagram:
- Locate the Radio: Find the radio in the diagram.
- Identify the Power Wire: Look for the wire labeled "Power" or "Battery" (often a red or orange wire). The diagram will tell you which pin on the radio connector this wire goes to.
- Trace Backwards: Follow the line representing the power wire back through the circuit. You'll likely see a fuse in the path. The diagram will indicate the fuse's location in the fuse box and its amperage rating.
- Identify the Power Source: The power wire will eventually connect to the vehicle's battery (either directly or through the ignition switch).
By following this process, you can understand the complete path of the power circuit. Similarly, you can trace the ground, speaker, and other circuits.
Real-World Use: Basic Troubleshooting Tips
Here are some common issues and how the wiring diagram can help:
- No Power to Radio: Check the fuse identified in the diagram. If the fuse is blown, replace it. If it blows again immediately, there's a short circuit somewhere in the power circuit. Use the diagram to trace the wire and look for damaged insulation or pinched wires. A multimeter can be used to test for continuity between the power wire and ground.
- No Sound from One Speaker: Check the speaker wiring. The diagram will show you which wires are connected to that speaker. Use a multimeter to test the speaker wires for continuity. If the wiring is good, the speaker itself may be damaged.
- Aftermarket Radio Installation Issues: Double-check all connections against the wiring diagram. Many aftermarket radio installations require a wiring harness adapter to interface with the vehicle's factory wiring. Ensure the adapter is wired correctly and that all necessary connections are made.
Remember to always disconnect the negative battery terminal before working on any electrical components. This prevents accidental short circuits and potential damage to the vehicle's electrical system.
Safety First: Handle with Care
Working with automotive electrical systems can be dangerous if not done properly. Always disconnect the negative battery terminal before starting any work.
- Airbag Systems: Be extremely careful around airbag systems. Incorrect wiring can trigger airbag deployment, causing serious injury. If you're unsure about working around airbags, consult a qualified technician.
- High-Current Circuits: The vehicle's electrical system carries significant current. Short circuits can cause fires and severe burns.
- Data Buses: As mentioned, the Class 2 data bus is critical. Incorrect wiring can disrupt the communication between various vehicle systems.
If you're uncomfortable with any aspect of the electrical system, it's always best to consult a qualified mechanic.
By understanding the wiring diagram and taking the necessary precautions, you can confidently tackle your 2002 Chevy Trailblazer radio project. Now that you have this knowledge, you're ready to dive in and get your audio system working perfectly. And remember, we have the full, detailed 2002 Chevy Trailblazer radio wiring diagram ready for you to download. Good luck, and happy listening!