
2002 Ford Ranger 3.0 Vacuum Hose Diagram
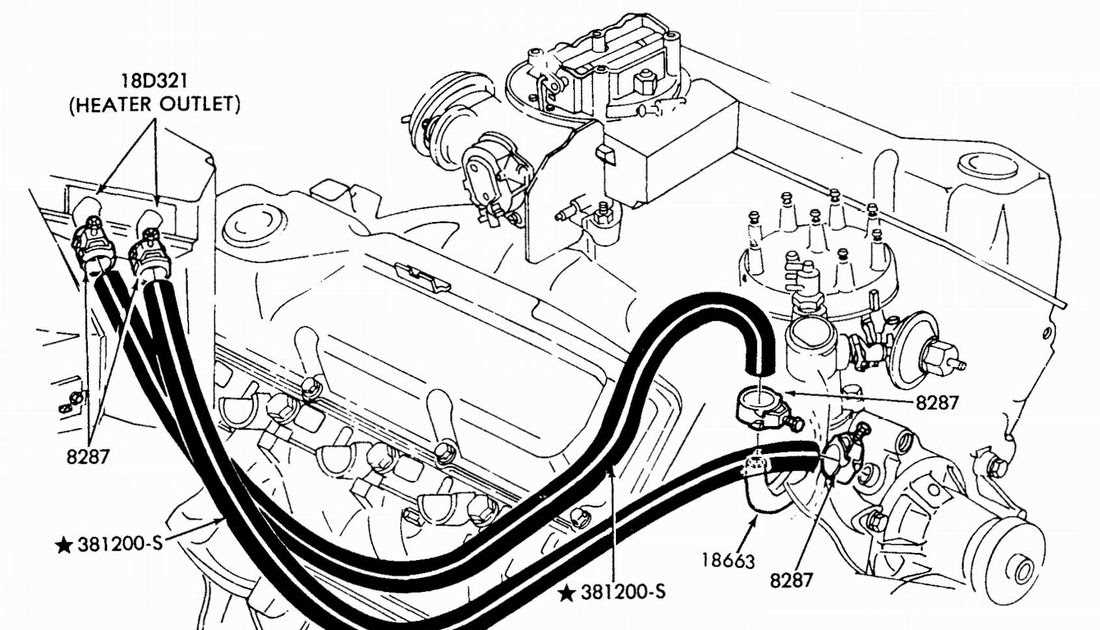
Alright, let's dive into the often-overlooked but crucial world of vacuum hoses on a 2002 Ford Ranger with the 3.0L Vulcan engine. We're going to dissect the vacuum hose diagram for this specific model year and engine, equipping you with the knowledge to troubleshoot issues, perform maintenance, and even tackle some performance modifications. This guide is aimed at the intermediate DIYer – someone who's comfortable wrenching but might need a refresher on the specifics of this particular system.
Purpose of the Vacuum Hose Diagram
Why bother with a vacuum hose diagram? Well, vacuum leaks are notorious gremlins. They can cause a myriad of problems, from rough idling and poor fuel economy to failed emissions tests and even drivability issues. The diagram is your roadmap to tracing and diagnosing these leaks. It also helps you:
- Repair Existing Issues: Identify cracked, broken, or disconnected hoses that are causing problems.
- Perform Routine Maintenance: Inspect hoses for wear and tear during tune-ups.
- Understand Engine Operation: Gain a deeper understanding of how different engine components interact via vacuum.
- Assist with Modifications: Essential if you're planning to modify the intake, exhaust, or other vacuum-dependent systems.
- Replace a Line This helps you find what the part is and how to replace it correctly.
In short, the vacuum hose diagram is an indispensable tool for maintaining the health and performance of your 2002 Ranger 3.0L.
Key Specs and Main Parts
Before we jump into the diagram itself, let's cover some key specs and identify the major players in the 2002 Ranger 3.0L vacuum system. This engine uses a relatively simple vacuum system compared to later models, but it's still vital to understand its components.
Major Components:
- Intake Manifold: The heart of the system. Vacuum is strongest here, and it's the source for many of the other components.
- Vacuum Reservoir (Often referred to as the "Vacuum Canister"): A small storage container that maintains a steady vacuum supply, especially during acceleration when engine vacuum drops.
- EGR (Exhaust Gas Recirculation) Valve: Reduces emissions by recirculating a portion of the exhaust gas back into the intake manifold. The EGR valve is controlled by a vacuum signal.
- PCV (Positive Crankcase Ventilation) Valve: Vents crankcase gases into the intake manifold to be burned, preventing pressure buildup and reducing emissions.
- Fuel Pressure Regulator: Maintains a consistent fuel pressure at the fuel injectors. Controlled by vacuum to adjust for engine load.
- Brake Booster: Provides vacuum assist to the brake pedal, making it easier to stop the vehicle.
- HVAC System (Heater, Ventilation, and Air Conditioning): Vacuum actuators control the blend doors and mode doors within the HVAC system, directing airflow.
- Canister Purge Valve: Controls the flow of fuel vapors from the evaporative emissions (EVAP) canister into the intake manifold.
- Vacuum Lines: The arteries of the system, connecting all the components. Usually made of rubber or plastic.
- Check Valves: One-way valves that prevent vacuum from flowing in the wrong direction. Critically important for maintaining proper system function.
Understanding the Symbols on the Diagram
Vacuum hose diagrams aren't always intuitive, but once you understand the basic symbols, they become much easier to decipher. Here's a breakdown of common symbols you'll encounter on the 2002 Ranger 3.0L diagram:
- Solid Lines: Typically represent vacuum lines. The thickness of the line doesn't usually indicate anything specific, although some diagrams might use thicker lines for main vacuum sources.
- Dotted or Dashed Lines: Often represent electrical connections or control signals related to vacuum-operated devices.
- Arrows: Indicate the direction of vacuum flow. Pay close attention to these, as they're crucial for understanding how the system works.
- Circles or Squares with Abbreviations: Represent specific components, such as the EGR valve (EGR), PCV valve (PCV), Fuel Pressure Regulator (FPR), etc.
- "T" Fittings: Indicate where one vacuum line splits into two or more lines.
- Check Valves: Usually depicted as a triangle pointing in the direction of flow.
- Restrictors: Small orifices within vacuum lines that limit the flow of vacuum. They're often represented by a smaller circle or oval within the line.
- Colors: While not always present, some diagrams use different colors to differentiate between different vacuum circuits (e.g., one color for the EGR system, another for the HVAC system).
Remember that the exact appearance of these symbols can vary slightly depending on the specific diagram you're using. Always refer to the diagram's legend or key for clarification.
How It Works: A Simplified Overview
The 2002 Ranger 3.0L vacuum system operates on the principle of manifold vacuum. As the engine runs, the pistons create a vacuum within the intake manifold. This vacuum is then distributed to various components via the vacuum lines.
Here's a simplified explanation of how some key components function:
- EGR Valve: The engine control unit (ECU) sends a signal to a vacuum solenoid, which then applies vacuum to the EGR valve. This vacuum opens the EGR valve, allowing exhaust gases to flow into the intake manifold.
- Fuel Pressure Regulator: Vacuum from the intake manifold is applied to the fuel pressure regulator. As engine load increases (and manifold vacuum decreases), the fuel pressure regulator increases fuel pressure to compensate.
- Brake Booster: Vacuum is constantly applied to the brake booster, creating a vacuum reserve that assists the driver in applying the brakes.
- HVAC System: Vacuum actuators control the movement of blend doors and mode doors within the HVAC system, directing airflow to different vents. When vacuum is lost, the system usually defaults to defrost.
The vacuum reservoir helps to maintain a steady vacuum supply to these components, even during periods of low engine vacuum (e.g., acceleration). Check valves ensure that vacuum only flows in the intended direction, preventing backflow and ensuring proper system operation.
Real-World Use: Basic Troubleshooting Tips
Here are some practical troubleshooting tips for diagnosing vacuum leaks on your 2002 Ranger 3.0L:
- Visual Inspection: This is the first and most important step. Carefully inspect all vacuum hoses for cracks, breaks, or loose connections. Pay close attention to areas where hoses bend or come into contact with other components.
- The "Hiss Test": With the engine running, listen for a hissing sound, which can indicate a vacuum leak. Try to pinpoint the source of the hiss.
- The Carb Cleaner Test (Use with extreme caution – see safety section below): With the engine running, carefully spray small amounts of carb cleaner around vacuum hoses and connections. If the engine RPMs increase or smooth out, it indicates that the carb cleaner is being sucked into a vacuum leak. Only use this method in a well-ventilated area and be extremely cautious around hot engine components.
- Smoke Test: A smoke test uses a special machine to inject smoke into the vacuum system. The smoke will escape from any leaks, making them easy to identify. This is the most effective method for finding small or hard-to-reach leaks.
- Check Valve Testing: Disconnect the check valve and try blowing through it in both directions. It should only allow airflow in one direction.
When replacing vacuum hoses, use high-quality replacement hoses that are designed for automotive use. Be sure to route the hoses correctly, following the diagram as a guide.
Safety Considerations
Working on the vacuum system involves some safety risks, particularly when dealing with the engine running. Here are some important precautions:
- Hot Engine Components: Be extremely careful around hot engine components, such as the exhaust manifold and engine block. Allow the engine to cool down before working on the vacuum system.
- Carb Cleaner: Carb cleaner is highly flammable. Use it sparingly and only in a well-ventilated area. Avoid spraying it near open flames or hot surfaces. Wear eye protection and gloves.
- Moving Parts: Keep your hands and clothing away from moving engine parts, such as the belts and pulleys.
- Battery Disconnect: For some repairs, it's best to disconnect the battery to prevent accidental electrical shorts.
- Fuel Lines: Be cautious when working near fuel lines. Relieve fuel pressure before disconnecting any fuel lines.
Remember that fuel pressure regulators and lines are the most risky. Take care when near these.
By following these safety precautions, you can minimize the risks associated with working on the 2002 Ford Ranger 3.0L vacuum system.
You now have a better idea how this system functions. By understanding the individual component functions and how they work together, and by combining that with a diagram, you are ready to tackle most vacuum problems. If you want the file, here is a link to download a diagram of your specific system. Use the tips here in conjunction with the diagram and you will be successful.