2002 Toyota Sequoia Fuse Box Diagram
For the seasoned DIY enthusiast or the intermediate car owner looking to delve deeper into their 2002 Toyota Sequoia's electrical system, understanding the fuse box diagram is absolutely crucial. Whether you're diagnosing a faulty power window, adding an aftermarket accessory, or simply trying to learn the inner workings of your vehicle, this diagram is your roadmap to electrical troubleshooting and modification.
Why This Diagram Matters
The fuse box diagram is more than just a picture; it's a key to unlocking your Sequoia's electrical system. It allows you to:
- Diagnose Electrical Problems: Quickly identify which fuse corresponds to a specific circuit, like headlights, windshield wipers, or the radio.
- Perform Repairs: Accurately locate and replace blown fuses, saving you time and money compared to taking your vehicle to a mechanic.
- Install Aftermarket Accessories: Safely tap into existing circuits to power new devices, such as amplifiers, lighting, or security systems.
- Understand Your Vehicle's Electrical System: Gain a deeper understanding of how the various electrical components of your Sequoia are interconnected.
- Prevent Damage: By understanding the amperage ratings of fuses, you can avoid overloading circuits and potentially damaging sensitive electronic components.
Key Specs and Main Parts of the 2002 Sequoia Fuse Box
The 2002 Toyota Sequoia typically has two main fuse box locations:
- Interior Fuse Box: Located inside the cabin, usually under the dashboard on the driver's side. This box primarily houses fuses for interior components like lights, the radio, power windows, and the climate control system.
- Engine Compartment Fuse Box: Located in the engine bay, often near the battery. This box contains fuses and relays for essential engine functions, headlights, and other critical systems.
Each fuse box contains:
- Fuses: These are safety devices designed to protect electrical circuits from overcurrent. A fuse contains a thin wire that melts and breaks the circuit if the current exceeds its rated amperage.
- Relays: These are electromechanical switches that use a small current to control a larger current. They are often used to control high-power components like headlights, the starter motor, and the fuel pump. A relay is basically a remote switch; applying power to the relay coil closes the circuit for a different component.
- Circuit Breakers: Similar to fuses, but they can be reset after tripping. They're less common in these fuse boxes than traditional fuses.
- Fuse Puller: A small plastic tool designed to safely remove fuses without damaging them or the fuse box.
Fuse Amperage Ratings
Fuses are rated in Amperes (A), which indicates the amount of current the fuse can handle before blowing. Common fuse ratings in the 2002 Sequoia range from 5A to 40A. It's crucial to replace a blown fuse with one of the same amperage rating. Using a fuse with a higher rating can overload the circuit and potentially cause a fire.
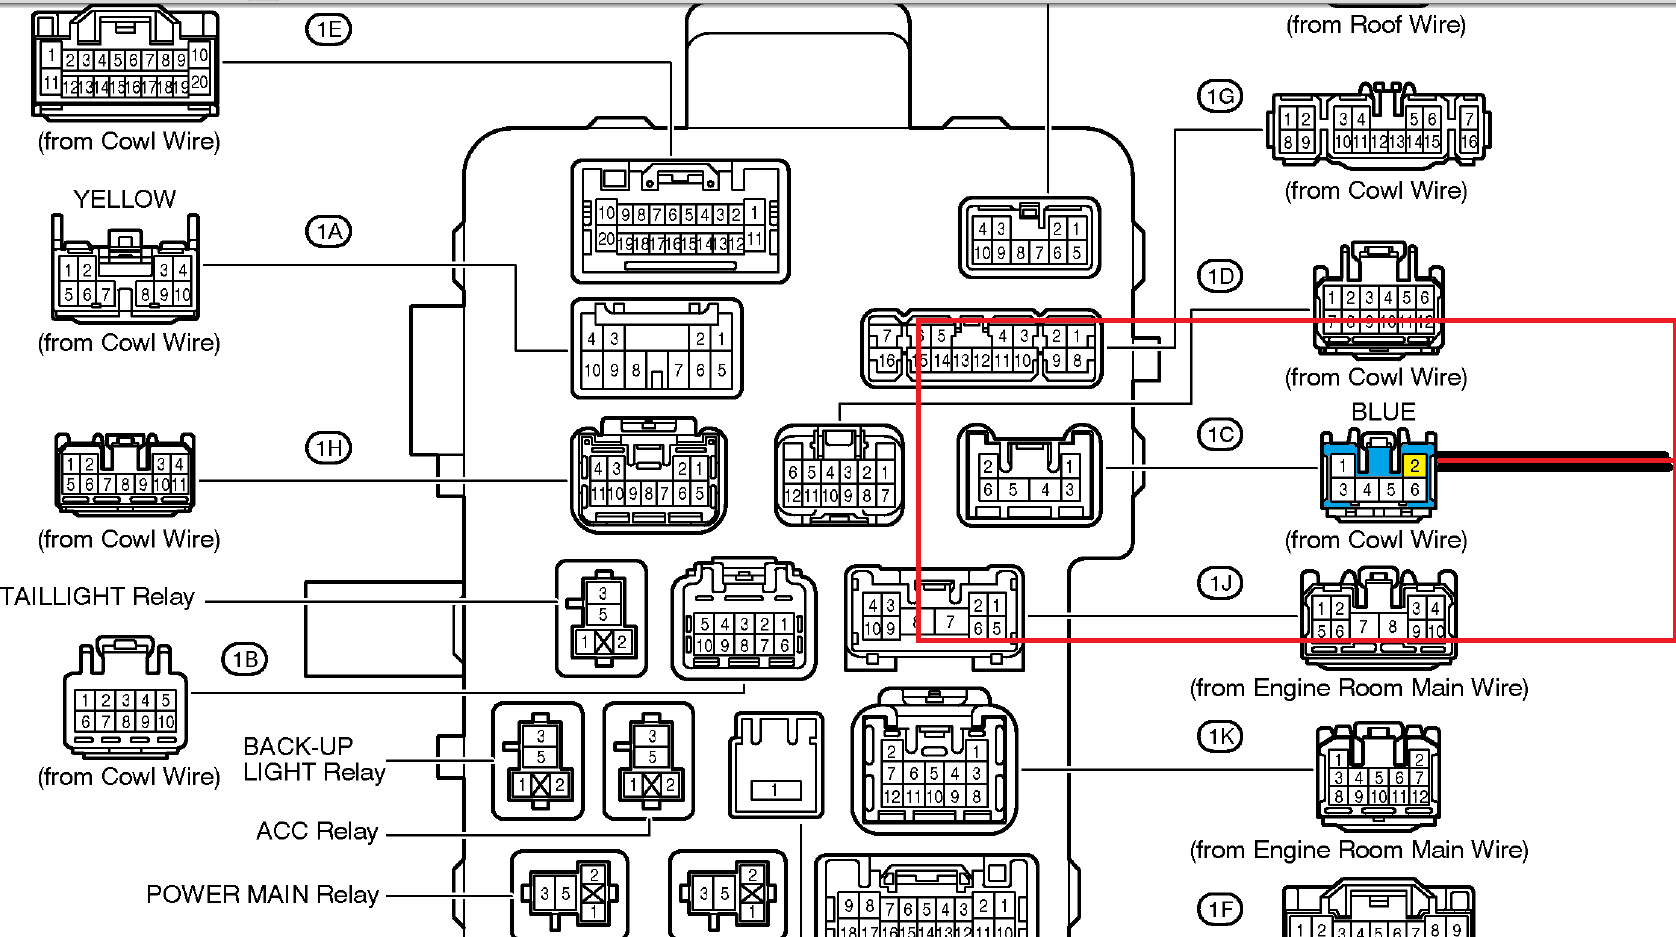
Understanding the Fuse Box Diagram: Symbols and Conventions
The fuse box diagram is a schematic representation of the electrical circuits protected by each fuse. It uses symbols and conventions to convey information concisely.
- Lines: Lines represent electrical wires. Thicker lines may indicate higher current-carrying capacity.
- Boxes: Boxes represent components like fuses, relays, and circuit breakers.
- Numbers: Numbers next to fuses indicate their amperage rating (e.g., 10A, 20A).
- Icons: Icons represent the specific circuits protected by each fuse. Common icons include:
- Headlight Icon: Indicates the headlight circuit.
- Horn Icon: Indicates the horn circuit.
- Radio Icon: Indicates the radio circuit.
- Window Icon: Indicates the power window circuit.
- Wiper Icon: Indicates the windshield wiper circuit.
- Cigar Lighter Icon: Indicates the accessory power outlet/cigarette lighter circuit.
- Color Coding: Sometimes, diagrams use color coding to represent different types of circuits or voltage levels. However, this is less common in simpler fuse box diagrams.
The layout of the diagram usually corresponds to the physical layout of the fuses in the fuse box. This makes it easier to locate the correct fuse.
How It Works: The Fuse Protection Mechanism
Let's say your radio suddenly stops working. The first step is to consult the fuse box diagram to identify the fuse that protects the radio circuit. Locate the interior fuse box, and then refer to the diagram. Find the icon that represents the radio (or look for a label indicating "RADIO" or "ACC"). Note the fuse number and amperage rating. Use the fuse puller to carefully remove the fuse. Examine the fuse. If the thin wire inside the fuse is broken or blackened, the fuse is blown. Replace the blown fuse with a new fuse of the same amperage rating. Turn on the radio to see if it works. If the fuse blows again immediately, there is likely a short circuit or an overload in the radio circuit that needs further investigation.
Real-World Use: Basic Troubleshooting Tips
Here are some troubleshooting tips using the fuse box diagram:
- Start with the Symptoms: Identify which component is not working (e.g., headlights, power windows, turn signals).
- Consult the Diagram: Locate the fuse associated with the malfunctioning component.
- Inspect the Fuse: Remove the fuse and visually inspect it for damage. A blown fuse will have a broken or blackened filament.
- Replace with the Correct Amperage: Always replace a blown fuse with a new fuse of the same amperage rating.
- Test the Circuit: After replacing the fuse, test the component to see if it is working.
- Persistent Problems: If the fuse blows again immediately after replacement, there is likely a more serious problem in the circuit, such as a short circuit or an overload. This may require professional diagnosis.
Safety: Highlighting Risky Components
Working with electrical systems can be dangerous. Here are some safety precautions:
- Disconnect the Battery: Before working on any electrical system, disconnect the negative terminal of the battery to prevent accidental shorts or shocks.
- Use Proper Tools: Use insulated tools to avoid electrical shock.
- Never Replace a Fuse with a Higher Amperage: This can overload the circuit and potentially cause a fire.
- Be Careful with Relays: Relays can get hot when they are operating. Avoid touching them directly.
- High-Current Fuses: Fuses protecting circuits like the starter motor and alternator carry very high currents. Be extremely cautious when working with these circuits. An accidental short can generate a large amount of heat and potentially cause burns or a fire.
Working on the electrical system can be hazardous, especially if you are not familiar with electrical concepts. If you are unsure about any aspect of the process, consult a qualified mechanic.
You can download a detailed fuse box diagram specifically for the 2002 Toyota Sequoia, offering a higher resolution and potentially more detailed information, including relay locations and connector details. This downloadable diagram will be a valuable resource for your troubleshooting and repair endeavors. It will show you the exact location of each fuse and relay, and explain what it controls.