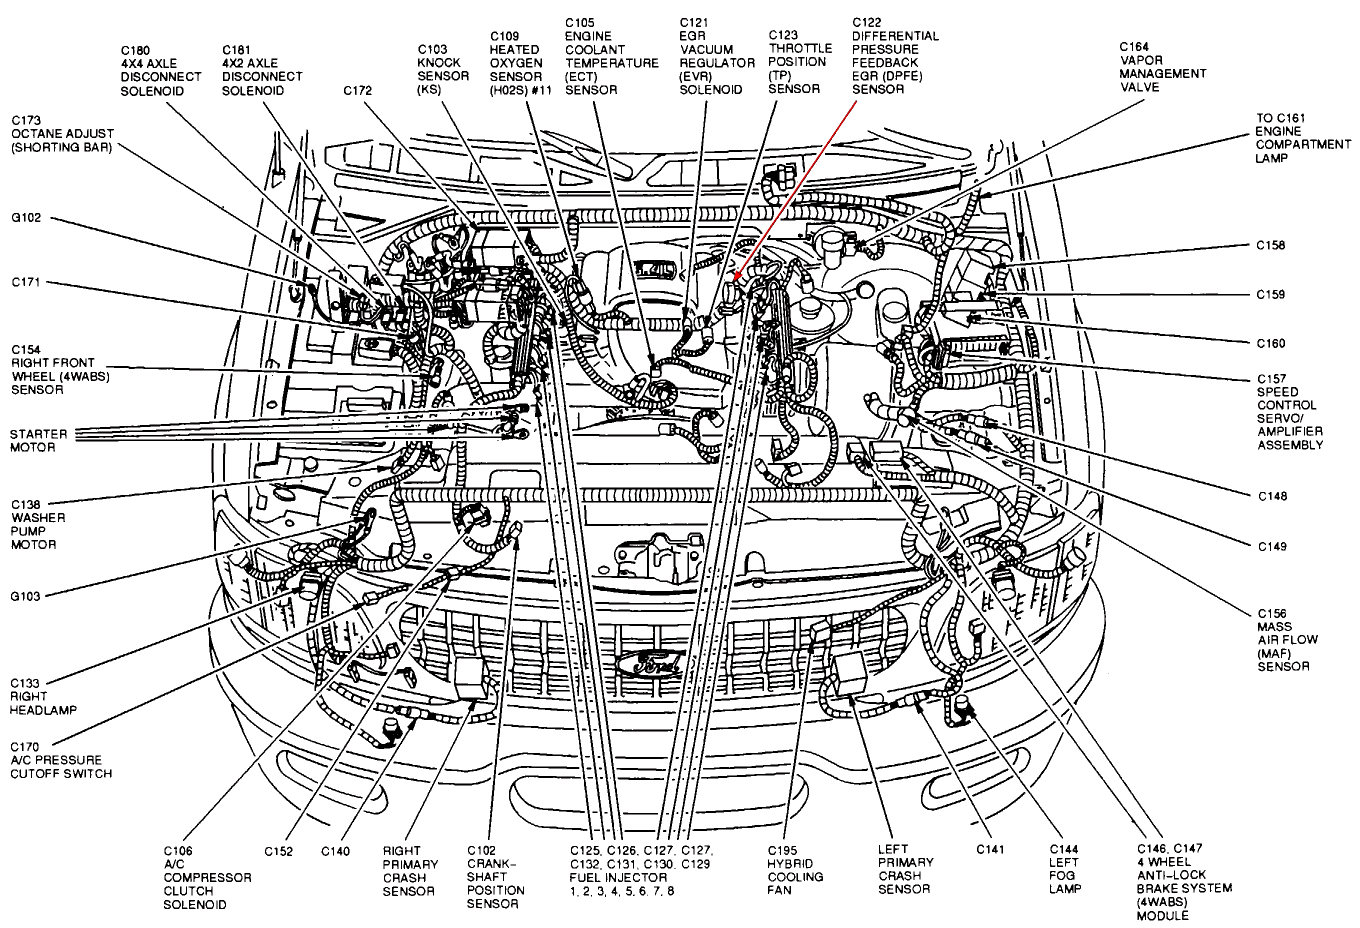
2003 Ford Expedition 5.4 Vacuum Hose Diagram
Alright, let's dive into the vacuum hose diagram for the 2003 Ford Expedition with the 5.4L engine. Understanding this system is crucial for diagnosing a variety of engine problems, from poor fuel economy to rough idling and even hard starting. This article will break down the diagram, explain its components, and provide you with the knowledge to troubleshoot common issues. We have the full diagram available for download, which will be invaluable as you work through this.
Purpose of the Vacuum Hose Diagram
Why bother with this diagram at all? Simple: vacuum leaks can wreak havoc on your Expedition's performance. Vacuum hoses are responsible for controlling several critical engine functions. When these hoses crack, dry rot, or become disconnected, unmetered air enters the intake manifold, disrupting the air-fuel mixture. This throws off the engine's computer (PCM - Powertrain Control Module) and can lead to a cascade of problems. The diagram is your roadmap to identify, inspect, and replace these hoses effectively. It’s invaluable for:
- Troubleshooting engine performance issues.
- Identifying vacuum leaks.
- Performing routine maintenance and hose replacements.
- Understanding how various engine components interact.
- Modifying or upgrading related systems (with caution!).
Key Specs and Main Parts
The 2003 Ford Expedition with the 5.4L Triton V8 utilizes a complex network of vacuum hoses. Here are some of the key components and their functions:
- Vacuum Reservoir: A container that stores vacuum to ensure consistent operation of vacuum-operated devices, especially when engine vacuum is low (like during acceleration).
- PCV (Positive Crankcase Ventilation) Valve: This valve regulates the flow of crankcase gases back into the intake manifold for combustion, reducing emissions and preventing pressure buildup in the crankcase. A faulty PCV valve or hose is a common culprit for vacuum leaks.
- EGR (Exhaust Gas Recirculation) Valve: The EGR valve recirculates a portion of the exhaust gas back into the intake manifold to lower combustion temperatures and reduce NOx (nitrogen oxides) emissions. Vacuum controls the EGR valve's opening and closing.
- Fuel Pressure Regulator: This component maintains a consistent fuel pressure in the fuel rail by adjusting the amount of fuel returned to the fuel tank. It relies on vacuum to compensate for changes in engine load.
- Canister Purge Valve: This valve controls the flow of fuel vapors from the evaporative emissions (EVAP) canister to the intake manifold for combustion. This system prevents fuel vapors from being released into the atmosphere.
- HVAC Controls: Vacuum lines operate the blend doors and mode doors within the HVAC system, controlling airflow direction (defrost, vent, floor) and temperature.
- Brake Booster: While not directly represented on all "engine" vacuum diagrams, the brake booster uses engine vacuum to assist braking, making it easier to apply the brakes. A large vacuum hose connects the intake manifold to the brake booster.
- Intake Manifold: The central hub of the vacuum system, providing vacuum to various components.
Understanding the Vacuum Hose Diagram Symbols
Vacuum diagrams use a standardized set of symbols to represent hoses, connections, and components. Here's a breakdown:
- Solid Lines: Typically represent vacuum hoses. The thickness of the line may indicate the hose's diameter.
- Dotted or Dashed Lines: Often indicate electrical wiring or other control lines, not vacuum hoses themselves, but associated with the vacuum system's control.
- Arrows: Indicate the direction of vacuum flow.
- Color Coding: Some diagrams use color coding to differentiate between different systems or hose sizes. Consult the specific diagram's legend.
- Symbols for Components: Standardized symbols represent components like valves, reservoirs, and actuators. Refer to the diagram's key or legend for specific meanings.
- Connectors (T-fittings, Elbows): Clearly show how hoses are connected and branched.
- Vacuum Check Valves: These valves allow vacuum to flow in only one direction, preventing backflow. They're represented by a symbol resembling a diode.
How the Vacuum System Works
The 5.4L engine generates vacuum in the intake manifold during normal operation. This vacuum is then distributed through a network of hoses to various components. Let's consider a few examples:
PCV System: Engine vacuum draws crankcase gases through the PCV valve and into the intake manifold. The PCV valve regulates this flow based on engine load. A leak in the PCV hose can cause excessive vacuum in the crankcase, leading to oil leaks and poor engine performance.
EGR System: The PCM controls a solenoid valve that regulates vacuum to the EGR valve. When the solenoid is energized, vacuum is applied to the EGR valve, causing it to open and allow exhaust gas to flow into the intake manifold. This reduces combustion temperatures and NOx emissions.
EVAP System: The PCM controls the canister purge valve, which regulates the flow of fuel vapors from the EVAP canister to the intake manifold. Engine vacuum draws these vapors into the engine to be burned, preventing them from being released into the atmosphere.
HVAC System: Vacuum actuators control the various doors within the HVAC system. When vacuum is applied to an actuator, it moves a door, changing the airflow direction or temperature blend. A vacuum leak in the HVAC system can cause the system to default to defrost mode.
Real-World Use: Basic Troubleshooting Tips
Here are some basic troubleshooting tips using the vacuum hose diagram:
- Visual Inspection: Start by visually inspecting all vacuum hoses for cracks, dry rot, or disconnections. Pay close attention to areas near heat sources or moving parts.
- The "Hiss" Test: With the engine running, listen for a hissing sound, which can indicate a vacuum leak. Use a stethoscope or a piece of hose to pinpoint the source of the leak.
- Smoke Test: A smoke machine can be used to introduce smoke into the vacuum system. The smoke will escape from any leaks, making them easy to identify. This is a very effective, though more advanced, method.
- Spray Test: With the engine running, spray small amounts of carburetor cleaner or starting fluid around vacuum hoses and connections. If the engine speed changes, you've found a leak. Be very careful doing this due to flammability!
- Using a Vacuum Gauge: Connect a vacuum gauge to a manifold vacuum source. Readings that are lower than expected or fluctuate abnormally can indicate a vacuum leak or other engine problems. A healthy engine should pull around 17-22 inches of mercury (inHg) at idle.
- Consult the Diagram: Always refer to the vacuum hose diagram to ensure you're checking the correct hoses and connections.
- Start Simple: Always check the most common leak points first – PCV valve and hose, EGR valve connections, and any hoses near the intake manifold.
Specific Troubleshooting Scenarios
- Rough Idle: Check the PCV valve and hose, as well as the intake manifold gasket.
- Poor Fuel Economy: A leak in the EVAP system can cause this.
- No Heat or Defrost: Check the vacuum lines to the HVAC actuators.
- Check Engine Light (CEL): Vacuum leaks can trigger various DTCs (Diagnostic Trouble Codes). Use a scan tool to retrieve the codes and consult the service manual for further diagnosis.
Safety Considerations
Working on the vacuum system involves working around a running engine. Exercise caution:
- Hot Engine: Be careful of hot engine components, especially the exhaust manifold.
- Moving Parts: Keep your hands and tools away from moving parts like the belts and pulleys.
- Flammable Materials: Be extremely careful when using carburetor cleaner or starting fluid to find leaks. These are highly flammable.
- Brake Booster: If you disconnect the brake booster vacuum hose, be aware that your brakes will require significantly more effort to apply.
Important Note: The vacuum system is interconnected with other systems, such as the fuel and emissions systems. Incorrect repairs or modifications can have serious consequences. If you're not comfortable working on the vacuum system, it's best to take your Expedition to a qualified mechanic.
With the vacuum hose diagram in hand and a solid understanding of the system, you'll be well-equipped to diagnose and repair vacuum leaks on your 2003 Ford Expedition 5.4L. Good luck!