
2003 Ford Taurus Serpentine Belt Diagram
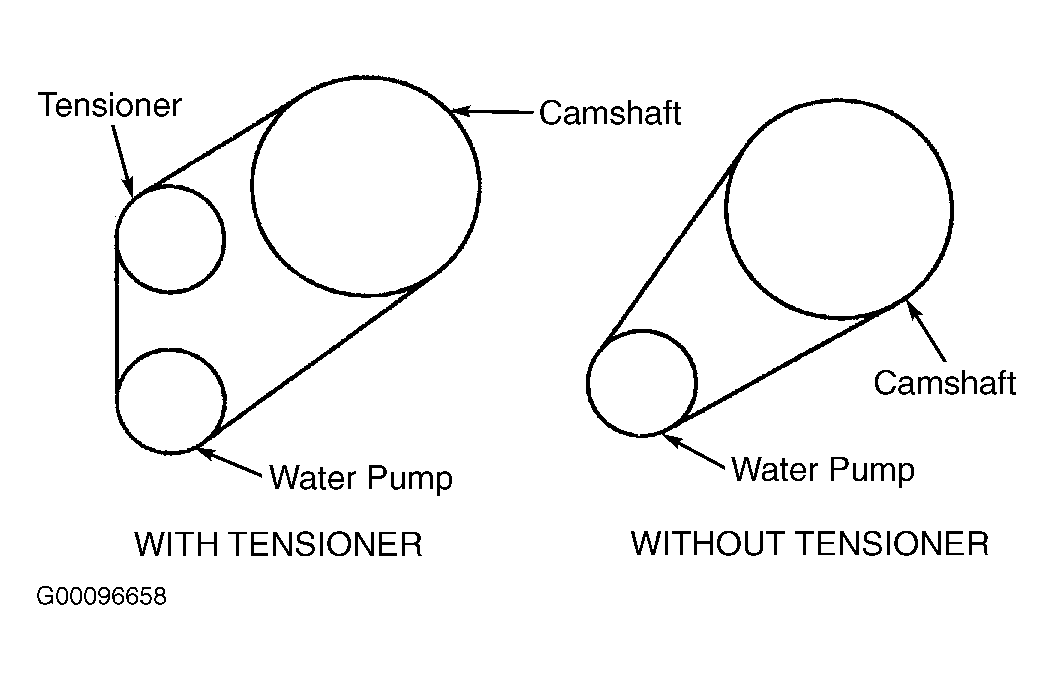
For the experienced DIYer tackling maintenance or repairs on a 2003 Ford Taurus, understanding the serpentine belt system is crucial. This article delves into the serpentine belt diagram for the 2003 Ford Taurus, providing a comprehensive guide to its components, function, and practical application in troubleshooting.
Purpose of the Serpentine Belt Diagram
The serpentine belt diagram is your roadmap to understanding the belt's routing around various engine accessories. Its primary purpose is to guide you during:
- Belt Replacement: Ensures the new belt is correctly installed, preventing premature wear or system failure.
- Accessory Troubleshooting: Helps identify which accessory is driven by the belt, aiding in diagnosing problems like a non-charging alternator or a malfunctioning power steering pump.
- General Engine Understanding: Provides a visual representation of how engine accessories are interconnected and powered.
Key Specs and Main Parts of the 2003 Ford Taurus Serpentine Belt System
The 2003 Ford Taurus came equipped with two primary engine options, each influencing the serpentine belt configuration:
- 3.0L Vulcan V6: A robust and reliable engine, this variant has a specific belt routing pattern.
- 3.0L Duratec DOHC V6: A more modern engine design with potentially different accessory placement, leading to a slightly different belt path.
Regardless of the engine, the system incorporates these key components:
- Serpentine Belt: The continuous belt itself, responsible for transferring rotational force from the crankshaft to the accessories. These belts are typically made of EPDM rubber for durability.
- Crankshaft Pulley: Driven directly by the engine's crankshaft, this pulley is the driving force of the entire system.
- Alternator Pulley: Powers the alternator, which charges the battery and provides electrical power to the vehicle.
- Power Steering Pump Pulley: Operates the power steering pump, providing hydraulic assistance for steering.
- Air Conditioning Compressor Pulley: Engages when the air conditioning is turned on, driving the compressor to cool the cabin.
- Idler Pulley(s): Smooth, non-driven pulleys used to guide the belt and maintain proper tension. They help to navigate the belt around other components.
- Tensioner Pulley: Spring-loaded pulley that maintains the correct tension on the serpentine belt. A properly functioning tensioner is critical for belt life and accessory performance.
Understanding Symbols on the Serpentine Belt Diagram
Serpentine belt diagrams employ standardized symbols to convey information efficiently. Understanding these symbols is vital for proper interpretation.
- Solid Lines: Represent the path of the serpentine belt as it physically travels around the pulleys.
- Dashed Lines: May indicate the *backside* of the belt in contact with a pulley. It is important to notice where the grooved side, and the smooth side, of the belt make contact with the pulleys.
- Arrows: Indicate the direction of belt travel and pulley rotation. Pay close attention to these, as incorrect routing can cause severe damage.
- Circles/Round Shapes: Represent pulleys. The diagram will often label each pulley with an abbreviation, such as "ALT" for alternator, "P/S" for power steering, "A/C" for air conditioning, "CRANK" for crankshaft, "IDLER" for idler pulley, and "TENSIONER" for the tensioner pulley.
- Color Coding: While not always present, color-coding may be used to distinguish between different sections of the belt or to highlight specific components. In most cases, the standard is a black line for the belt.
How the Serpentine Belt System Works
The serpentine belt system is a relatively simple yet crucial mechanism. The crankshaft pulley, directly connected to the engine's rotating crankshaft, drives the serpentine belt. As the crankshaft turns, it imparts rotational force to the belt, which in turn drives all the engine accessories mentioned earlier. The tensioner pulley maintains consistent tension on the belt, preventing slippage and ensuring efficient power transfer. Without proper tension, the accessories will not perform adequately, leading to issues like a weak alternator output or poor power steering assist. The idler pulleys serve as guides, optimizing the belt's path and preventing interference with other engine components.
The belt's path is engineered to provide the optimal amount of contact with each pulley, maximizing grip and minimizing slippage. The grooved side of the belt typically contacts the driven pulleys (alternator, power steering, A/C), while the smooth side often contacts the idler and tensioner pulleys, though this can vary depending on the specific engine and accessory layout.
Real-World Use: Basic Troubleshooting Tips
The serpentine belt diagram becomes invaluable when troubleshooting issues related to the belt or its associated accessories.
- Squealing Noise: A common symptom of a worn or loose serpentine belt. Check the belt for cracks, glazing, or excessive wear. Verify that the tensioner is functioning correctly and maintaining proper tension. A slipping belt will glaze over.
- Accessory Malfunction: If an accessory, such as the alternator or power steering pump, is not working correctly, use the diagram to confirm that the serpentine belt is properly routed and driving the component. Also, verify the accessory's fuse, and wiring, using a multimeter.
- Belt Slippage: Indicated by a glazed belt surface or visible rubber debris around the pulleys. Could be caused by a faulty tensioner, worn pulleys, or incorrect belt size. Ensure correct installation by checking the belt number.
- Visual Inspection: Regularly inspect the serpentine belt for cracks, fraying, or missing chunks. Any signs of damage necessitate immediate replacement.
Before replacing the belt, make a detailed sketch of the belt's routing path *before* removing the old belt. This will serve as a reference point during installation, even with the diagram. Take a picture using your phone or camera.
Safety Considerations
Working around the serpentine belt system requires caution, as it involves moving parts and potential pinch points.
- Engine Off: Always ensure the engine is completely off and the key is removed from the ignition before working on the serpentine belt system.
- Cooling System: Avoid touching the radiator fan if you suspect an electrical problem could cause it to start unexpectedly. Disconnect the battery to fully isolate the system.
- Protective Gear: Wear safety glasses to protect your eyes from debris and gloves to protect your hands from sharp edges and potentially hot components.
- Tensioner Tool: Use the correct serpentine belt tensioner tool to release the tension on the belt. Never attempt to force the tensioner with improvised tools, as this can lead to injury or damage to the tensioner.
- Avoid Loose Clothing: Ensure that loose clothing, jewelry, or long hair are secured to prevent them from getting caught in the moving parts.
The serpentine belt is an integral component of your 2003 Ford Taurus engine. Proper understanding of its routing and maintenance is crucial for vehicle reliability. A faulty belt or improperly routed belt can lead to significant engine damage, potentially leaving you stranded.
We have a detailed serpentine belt diagram file specifically for the 2003 Ford Taurus, covering both the 3.0L Vulcan and 3.0L Duratec engines. You can download it now for free to assist you with your maintenance and repair needs.