2003 Nissan Sentra Fuse Box Diagram
Alright, let's dive into the 2003 Nissan Sentra fuse box diagram. If you're tackling electrical repairs, modifications, or simply want a deeper understanding of your Sentra's electrical system, this diagram is your best friend. It's a roadmap, a legend, and a trouble-shooter all rolled into one.
Purpose of the Fuse Box Diagram
Why bother with a fuse box diagram? Several crucial reasons:
- Troubleshooting Electrical Issues: When a component stops working – headlights, radio, power windows – the first place to check is the fuse box. The diagram tells you which fuse protects that circuit.
- Performing Modifications: Adding aftermarket accessories like amplifiers or lighting? Knowing which circuits you can safely tap into and the appropriate fuse rating is critical.
- Preventing Electrical Fires: Using the wrong fuse rating or bypassing a fuse altogether is a recipe for disaster. The diagram ensures you use the correct protection for each circuit.
- General Knowledge: Understanding your car's systems is empowering. The diagram demystifies a crucial aspect of your Sentra's operation.
Key Specs and Main Parts
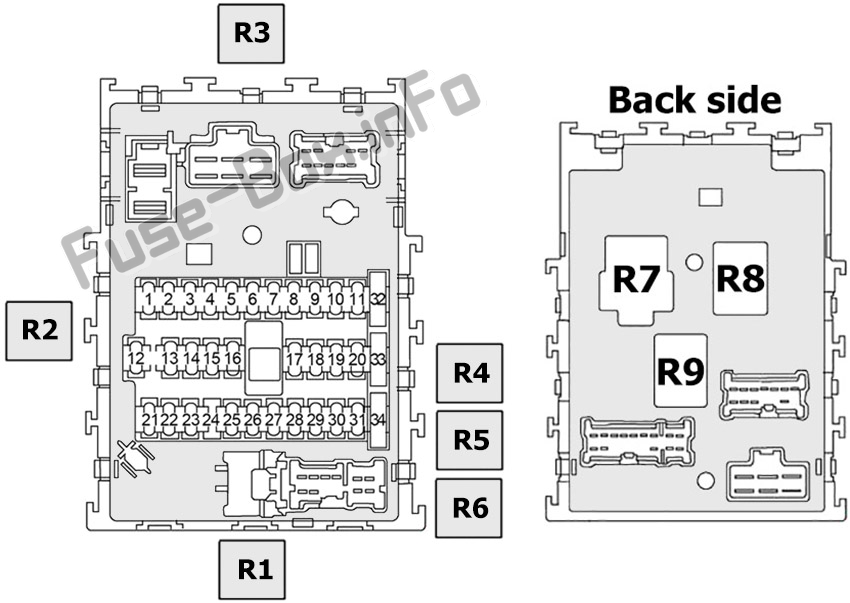
The 2003 Nissan Sentra, like most cars, has multiple fuse boxes. The primary one we'll focus on is located inside the cabin, usually under the dashboard on the driver's side. Some models might have a secondary fuse box in the engine compartment, near the battery. Let's break down the key components you'll find in the diagram:
- Fuses: These are the sacrificial lambs of your electrical system. They're designed to blow and interrupt the circuit if the current exceeds a safe level. Fuses are rated in amperes (A), indicating the amount of current they can handle before blowing. Common ratings are 5A, 7.5A, 10A, 15A, 20A, 25A, and 30A.
- Relays: Relays are electrically operated switches. They allow a low-current circuit to control a high-current circuit. For example, the headlight switch uses a relay to turn on the headlights, which draw a significant amount of current.
- Fuse Box Housing: This is the physical container that holds the fuses and relays. It's usually made of plastic and provides a secure and organized location for these components.
- Terminals and Connectors: These are the points where wires connect to the fuses and relays. They ensure a good electrical connection.
The diagram itself is usually a visual representation of the fuse box layout, with each fuse and relay labeled with its function and amperage rating. It might also include a key or legend that explains the symbols and abbreviations used.
Understanding the Symbols
Fuse box diagrams use standardized symbols to represent different components and connections. Deciphering these symbols is crucial for understanding the diagram. Here are some common ones:
- Solid Lines: Represent electrical wires or connections.
- Dashed Lines: May indicate a shielded wire or a less critical connection.
- Rectangles: Typically represent fuses. The number inside indicates the amperage rating.
- Circles: Often represent relays. The diagram may also show the relay's internal wiring.
- Specific Icons: Many diagrams use icons to represent the component the fuse protects. Examples include a lightbulb for headlights, a fan for the cooling fan, and a speaker for the audio system.
- Color Coding: While not always present, color coding can indicate the gauge (thickness) of the wire or the type of circuit. For instance, red wires are often used for power, while black wires are used for ground.
The diagram will almost certainly include a table that lists each fuse and relay, its amperage rating, and the component it protects. This table is invaluable for quickly identifying the correct fuse for a specific problem.
How It Works: The Electrical Circuit
To fully appreciate the fuse box diagram, it's essential to understand the basics of an electrical circuit. A circuit is a closed loop that allows electricity to flow from a power source (the battery) through a component (e.g., a headlight) and back to the power source. The fuse is placed in this circuit as a safety device. If the current in the circuit exceeds the fuse's rating, the fuse's internal element melts, breaking the circuit and stopping the flow of electricity. This prevents damage to the component and protects the wiring from overheating and potentially causing a fire.
The diagram shows you how these circuits are laid out in your Sentra. It tells you which components are connected to which fuses and relays, and how the power flows through the system.
Real-World Use: Basic Troubleshooting Tips
Let's say your Sentra's radio suddenly stops working. Here's how to use the fuse box diagram to troubleshoot the problem:
- Locate the Fuse Box: Find the fuse box inside the cabin (usually under the dashboard).
- Consult the Diagram: Open the fuse box cover and locate the fuse box diagram. It might be printed on the inside of the cover or in your owner's manual.
- Identify the Radio Fuse: Use the diagram to find the fuse that protects the radio. It will likely be labeled "Radio," "Audio," or something similar.
- Inspect the Fuse: Visually inspect the fuse. If the thin wire inside the fuse is broken or blackened, the fuse is blown.
- Replace the Fuse: Replace the blown fuse with a new fuse of the exact same amperage rating. Using a higher amperage fuse can damage the circuit and potentially cause a fire.
- Test: Turn on the radio to see if it works. If it does, you've solved the problem. If the fuse blows again immediately, there's a short circuit in the radio circuit, and you'll need to investigate further.
Important Troubleshooting Notes:
- Don't Guess: Always consult the fuse box diagram before replacing a fuse.
- Correct Amperage: Always use a fuse of the correct amperage rating.
- Repeatedly Blowing Fuses: If a fuse blows repeatedly, there's a problem in the circuit. Don't just keep replacing the fuse. Investigate the cause of the overcurrent.
- Test Light/Multimeter: A test light or multimeter can be used to check for power at the fuse and to identify short circuits.
Safety Considerations
Working with electrical systems can be dangerous. Here are some safety precautions:
- Disconnect the Battery: Before working on any electrical system, disconnect the negative (-) terminal of the battery. This will prevent accidental short circuits and electric shocks.
- Identify Risky Components: Be particularly cautious when working around high-current components like the starter motor, alternator, and battery.
- Use Insulated Tools: Always use insulated tools when working on electrical systems.
- Never Bypass a Fuse: Never bypass a fuse with a piece of wire or metal. This removes the circuit protection and can lead to a fire.
- Seek Professional Help: If you're not comfortable working on electrical systems, seek professional help from a qualified mechanic.
The 2003 Nissan Sentra fuse box diagram is an essential tool for maintaining and repairing your vehicle. By understanding the diagram and following safety precautions, you can confidently tackle many electrical issues yourself. Always remember to double-check your work and prioritize safety.
Now, to help you get started, we have the complete 2003 Nissan Sentra fuse box diagram available for download. You can find the link below. Good luck, and happy wrenching!