
2003 Silverado Serpentine Belt Diagram
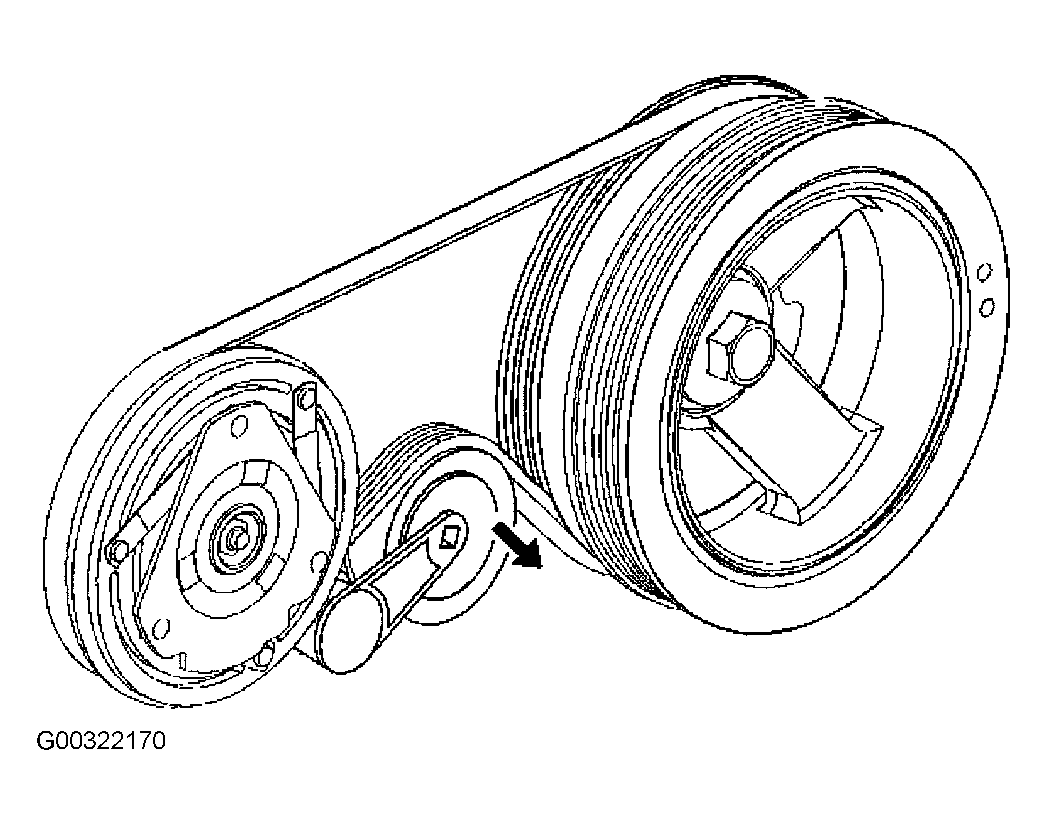
The serpentine belt in your 2003 Silverado is a critical component, responsible for driving several essential engine accessories. Think of it as the engine's multi-tasker, powering everything from your power steering to your air conditioning. Understanding the serpentine belt diagram for your '03 Silverado is crucial for diagnosing issues, performing maintenance, and even just gaining a deeper understanding of how your truck works. This article breaks down the diagram, explains its purpose, and offers practical advice for working with your serpentine belt system.
Why You Need the Serpentine Belt Diagram
The serpentine belt diagram isn't just a pretty picture; it's an invaluable tool for several reasons:
- Belt Replacement: The most common reason to consult the diagram is when replacing a worn or damaged serpentine belt. Without it, routing the new belt correctly can be a nightmare, potentially leading to incorrect accessory operation or even belt failure.
- Troubleshooting: Squealing, chirping, or other unusual noises from the engine bay often point to a problem with the serpentine belt or one of the components it drives. The diagram helps you identify each component and its function, aiding in pinpointing the source of the noise.
- Accessory Replacement: If you're replacing an alternator, power steering pump, or AC compressor, you'll need to remove and reinstall the serpentine belt. The diagram shows you the correct belt path for proper accessory operation.
- General Knowledge: Even if you're not actively working on your truck, understanding the serpentine belt system gives you a better overall understanding of your engine's operation and helps you become a more informed vehicle owner.
Key Specs and Main Parts
Before diving into the diagram, let's define the key components of the serpentine belt system in your 2003 Silverado. The exact components can vary slightly depending on the engine (4.3L V6, 4.8L V8, 5.3L V8, or 6.0L V8), so always refer to the diagram specific to your engine. However, common components include:
- Crankshaft Pulley: This pulley is driven directly by the engine crankshaft and provides the rotational power for the entire system. It's typically the largest pulley.
- Alternator Pulley: The alternator charges the battery and powers the electrical system.
- Power Steering Pump Pulley: The power steering pump provides hydraulic assistance for steering.
- Air Conditioning (AC) Compressor Pulley: The AC compressor circulates refrigerant in the AC system.
- Water Pump Pulley: The water pump circulates coolant through the engine, preventing overheating.
- Idler Pulley(s): These pulleys provide tension and guide the belt along the correct path. They are smooth and have no driven function.
- Tensioner Pulley: The tensioner pulley, connected to a spring-loaded tensioner arm, maintains the correct tension on the belt. This is crucial for preventing slippage and ensuring proper operation of all accessories. Automatic tensioners are common in the 2003 Silverado.
- Serpentine Belt: The belt itself, a long, continuous belt with multiple V-shaped ribs, transmits power between the pulleys.
Key Specs: The belt length is a crucial spec. Use the correct belt length specified for your engine and options. Incorrect belt length will lead to either insufficient tension or inability to install the belt.
Deciphering the Symbols on the Diagram
Serpentine belt diagrams use a standardized set of symbols to represent the different components and their relationships. Understanding these symbols is key to interpreting the diagram correctly:
- Pulleys: Pulleys are typically represented as circles. Often the specific component (e.g., ALT for alternator, P/S for power steering) is labeled inside or near the circle.
- Belt Path: The belt path is shown as a solid line that wraps around the pulleys. The direction of the line indicates the belt's travel direction.
- Tensioner: The tensioner is usually depicted as a spring-loaded arm with the tensioner pulley at the end. An arrow may indicate the direction in which the tensioner applies force.
- Idler Pulleys: Depicted as smooth circles, often labeled "IDLER."
- Ribbed vs. Smooth Surfaces: The diagram might not explicitly differentiate between ribbed and smooth pulley surfaces, but you can infer this based on the belt's position. The ribbed side of the belt contacts the pulleys driving the accessories, while the smooth side often contacts the idler and tensioner pulleys.
- Arrows: Arrows are used to indicate the direction of rotation for each pulley.
How the Serpentine Belt System Works
The serpentine belt system operates on a simple principle: rotational force from the engine's crankshaft is transferred to various accessories via a continuous belt. The crankshaft pulley drives the belt, which in turn wraps around and spins the pulleys of the alternator, power steering pump, AC compressor, water pump, and other accessories. The tensioner maintains the proper belt tension, preventing slippage and ensuring efficient power transfer. The belt's tension is critical. Too little tension will cause slippage and overheating. Too much tension can damage the bearings in the driven accessories.
Real-World Use and Basic Troubleshooting
Here are a few practical tips for using the serpentine belt diagram to troubleshoot common issues:
- Squealing Belt: A squealing belt often indicates slippage. Check the belt tensioner to ensure it's functioning correctly. Also, inspect the belt for wear, cracks, or glazing (a shiny, hardened surface). If the belt is worn, replace it using the diagram as a guide for proper routing. Also, check the alignment of all the pulleys. A misaligned pulley can cause the belt to rub and squeal.
- Chirping Noise: A chirping noise often comes from a worn or damaged idler pulley or tensioner pulley bearing. Use a stethoscope (or a long screwdriver held to your ear) to listen to each pulley while the engine is running to isolate the source of the noise. Replace the faulty pulley or tensioner assembly.
- Accessory Failure: If an accessory stops working, first check the serpentine belt to ensure it's intact and properly routed. If the belt is fine, inspect the pulley of the non-functioning accessory. If the pulley is seized or difficult to turn, the accessory itself may be faulty.
- Belt Jumping Off: If the belt repeatedly jumps off the pulleys, it could be due to a misaligned pulley, a worn tensioner, or a damaged belt. Carefully inspect all pulleys for damage and ensure they are properly aligned. Replace the tensioner if it's weak or damaged.
Safety First!
Working on the serpentine belt system can be dangerous if proper safety precautions aren't followed:
- Disconnect the Battery: Always disconnect the negative battery cable before working on the serpentine belt system to prevent accidental starting of the engine.
- Hot Engine: Never work on the serpentine belt system when the engine is hot. Allow the engine to cool completely before beginning any work.
- Moving Parts: Keep your hands, clothing, and tools clear of the serpentine belt and pulleys when the engine is running. The rotating parts can cause serious injury.
- Tensioner Release: Be careful when releasing the tension on the serpentine belt tensioner. The spring-loaded arm can snap back with considerable force. Use the correct tool to release the tensioner and avoid placing your hands in the path of the arm.
- Eye Protection: Wear safety glasses to protect your eyes from debris.
The serpentine belt diagram for your 2003 Silverado is a valuable resource. By understanding the diagram and following safe work practices, you can confidently diagnose and repair issues with your serpentine belt system.
We have a high-resolution, printable serpentine belt diagram specifically for the 2003 Silverado available for download. This diagram covers various engine options and provides a clear visual representation of the belt routing for your specific truck. Contact us for the file.