2003 Silverado Stereo Wiring Diagram
The 2003 Chevrolet Silverado is a workhorse, and like any well-used vehicle, its electrical system, particularly the stereo, can experience issues. This guide dives deep into the 2003 Silverado stereo wiring diagram, providing you with the knowledge to troubleshoot problems, upgrade your system, or even just understand how it all connects. Whether you're dealing with a blown speaker, a head unit malfunction, or planning an aftermarket stereo installation, understanding this wiring diagram is essential.
Purpose of the Wiring Diagram
Why is a stereo wiring diagram so crucial? Several reasons:
- Repairing Faulty Wiring: Over time, wires can corrode, become damaged, or even get chewed on by rodents. The diagram allows you to trace circuits, identify breaks, and repair or replace damaged wires.
- Upgrading Your Stereo System: Planning to install a new head unit, amplifier, or speakers? The wiring diagram shows you where to tap into existing circuits and how to properly connect your new components. Knowing what connects to what prevents short circuits and potential damage to your vehicle's electrical system.
- Troubleshooting Audio Problems: Is one of your speakers not working? Is there a constant buzzing sound? The diagram helps you isolate the source of the problem by systematically checking connections and components.
- Understanding the System: Even if you're not currently experiencing problems, understanding the diagram can give you a better appreciation of how your stereo system works and how its components interact.
Key Specs and Main Parts
The 2003 Silverado stereo system, in its factory configuration, is relatively straightforward. Here are some key components and specs:
- Head Unit (Radio): This is the central control unit, providing AM/FM radio, CD player functionality (depending on the model), and often cassette player functionality. It's typically a 1.5 DIN or Double DIN unit.
- Speakers: The Silverado typically has four speakers: two in the front doors and two in the rear doors (or behind the seats in extended cab models). Speaker impedance is usually 4 ohms.
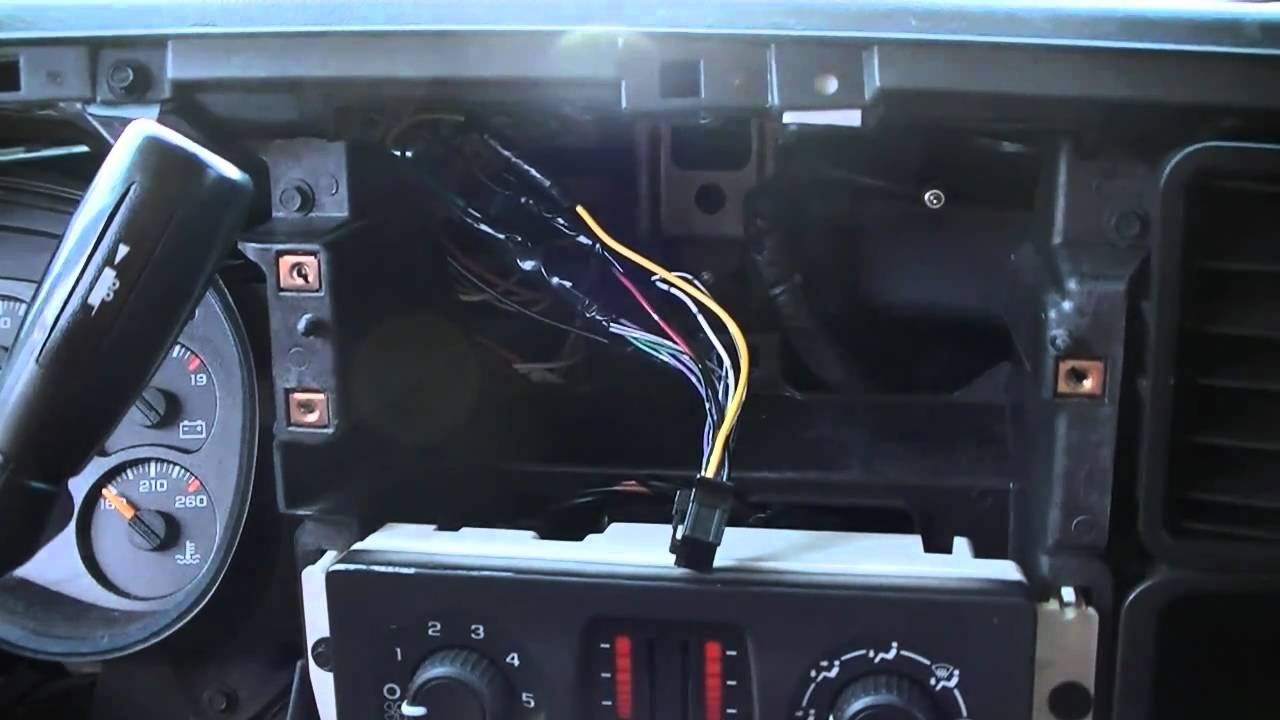
- Wiring Harness: This bundle of wires connects the head unit to the vehicle's power supply, ground, speakers, and other control systems. This is where understanding the color codes is paramount.
- Antenna: Receives radio signals.
- Optional Components: Depending on the trim level, your Silverado may have additional components like a factory amplifier, subwoofer, or steering wheel audio controls.
The wiring diagram details the connections between all these components. We must also clarify that the diagram will be dependent on if the truck has the BOSE system or not. The BOSE systems will have an external amplifier, which will greatly affect the wiring between the head unit and the speakers.
Understanding Symbols and Conventions
A wiring diagram uses standard symbols and conventions to represent electrical components and connections. Here’s a breakdown:
- Lines: Solid lines represent wires. Dashed lines may represent shielded cables or connections to optional components. The thickness of the line generally doesn't indicate anything specific about the wire itself, unless the diagram key indicates otherwise.
- Colors: Each wire is assigned a specific color, indicated by abbreviations (e.g., RED, BLU, GRN). Color coding is *critical* for identifying wires in the harness. A complete key is always provided on the wiring diagram itself. Pay very close attention, as variations exist even within the same model year.
- Circles/Dots: A filled circle (sometimes just a dot) indicates a wire connection or splice. It shows where two or more wires are joined together.
- Squares/Rectangles: These represent components like the head unit, speakers, and switches.
- Ground Symbol: A series of downward-pointing lines, often resembling an upside-down Christmas tree, represents a ground connection. This is the point where the circuit connects to the vehicle's chassis, providing a return path for the current.
- Fuse Symbol: Typically a wavy line enclosed in a rectangle, indicating a fuse. Fuses protect the electrical system from overcurrent.
Important Wire Identifiers: The diagram will have each wire, and wire color labeled on the diagram with its proper identifier. This usually included a number. So the reader can locate that wire and identifier by checking the wire harness in their vehicle.
How It Works: The Stereo Circuit
The basic stereo circuit works like this:
- Power: The head unit receives power from the vehicle's battery via the ignition switch (for switched power) and directly from the battery (for constant power, which retains memory settings). Constant power also goes to the external amplifier, if applicable. The power wire is typically RED or ORANGE.
- Ground: The head unit (and amplifier, if present) connects to the vehicle's chassis via a ground wire, typically BLACK. A good ground connection is essential for proper operation.
- Signal: The head unit processes audio signals (from the radio, CD player, etc.) and sends them to the speakers.
- Speaker Wires: Each speaker has two wires: a positive (+) wire and a negative (-) wire. These wires carry the audio signal from the head unit (or amplifier) to the speaker. Each speaker gets a pair of wires to carry the audio signal. Common color codes are White, Gray, Green, and Violet, with variations including stripes (e.g., White/Black).
If your Silverado has a factory amplifier (typically in BOSE equipped vehicles), the head unit sends a low-level signal to the amplifier, which then amplifies the signal and sends it to the speakers. Understanding this is key for bypassing the factory amp if you're installing an aftermarket system.
Real-World Use: Basic Troubleshooting
Here are some basic troubleshooting tips using the wiring diagram:
- No Power to Head Unit: Check the fuses related to the stereo system. The diagram will show you the fuse location (usually in the fuse box under the hood or on the driver's side dashboard). Use a multimeter to test the fuse for continuity. Also, verify the ground connection of the head unit.
- One Speaker Not Working: Check the speaker wiring for damage. Use the diagram to identify the positive and negative wires for that speaker. Use a multimeter to check for continuity between the head unit (or amplifier) and the speaker. You can also test the speaker itself by connecting it directly to a known good audio source (like another working speaker).
- Constant Buzzing Sound: This is often caused by a ground loop. Check the ground connections for all components in the stereo system. Ensure they are clean and secure. You may need to add a ground loop isolator to the audio signal path.
- Head Unit Doesn't Retain Memory: This indicates a problem with the constant power wire. Check the fuse for the constant power circuit. Also, verify that the constant power wire is properly connected to the head unit.
Using a Multimeter: A multimeter is your best friend when troubleshooting electrical problems. Learn how to use it to test for voltage, continuity, and resistance. These readings, compared against expected values, will pinpoint the fault.
Safety Precautions
Working on your car's electrical system can be dangerous if proper precautions are not taken. Always:
- Disconnect the Battery: Before working on any electrical components, disconnect the negative terminal of the battery. This prevents accidental short circuits and potential electrical shocks.
- Use Proper Tools: Use insulated tools designed for automotive electrical work.
- Work in a Well-Lit Area: This will help you see the wiring clearly and avoid mistakes.
- Be Careful with Wires: Avoid pulling on wires excessively. This can damage connectors or break wires.
- Never Work Alone: It's always a good idea to have someone nearby in case of an emergency.
Airbags: Be especially careful when working near airbags. Refer to your vehicle's service manual for instructions on how to safely disable the airbag system before working in its vicinity.
This guide provides a solid foundation for understanding the 2003 Silverado stereo wiring diagram. With patience and a methodical approach, you can confidently tackle many common audio problems. Remember to always consult the complete wiring diagram for your specific vehicle model and trim level, and if you are unsure about any aspect of the repair, consult a qualified professional.
We have the complete 2003 Silverado stereo wiring diagram available for download. This detailed schematic will provide you with all the information you need to troubleshoot, repair, or upgrade your stereo system. This diagram is an invaluable resource, including color codes, connector locations, and circuit tracing information.