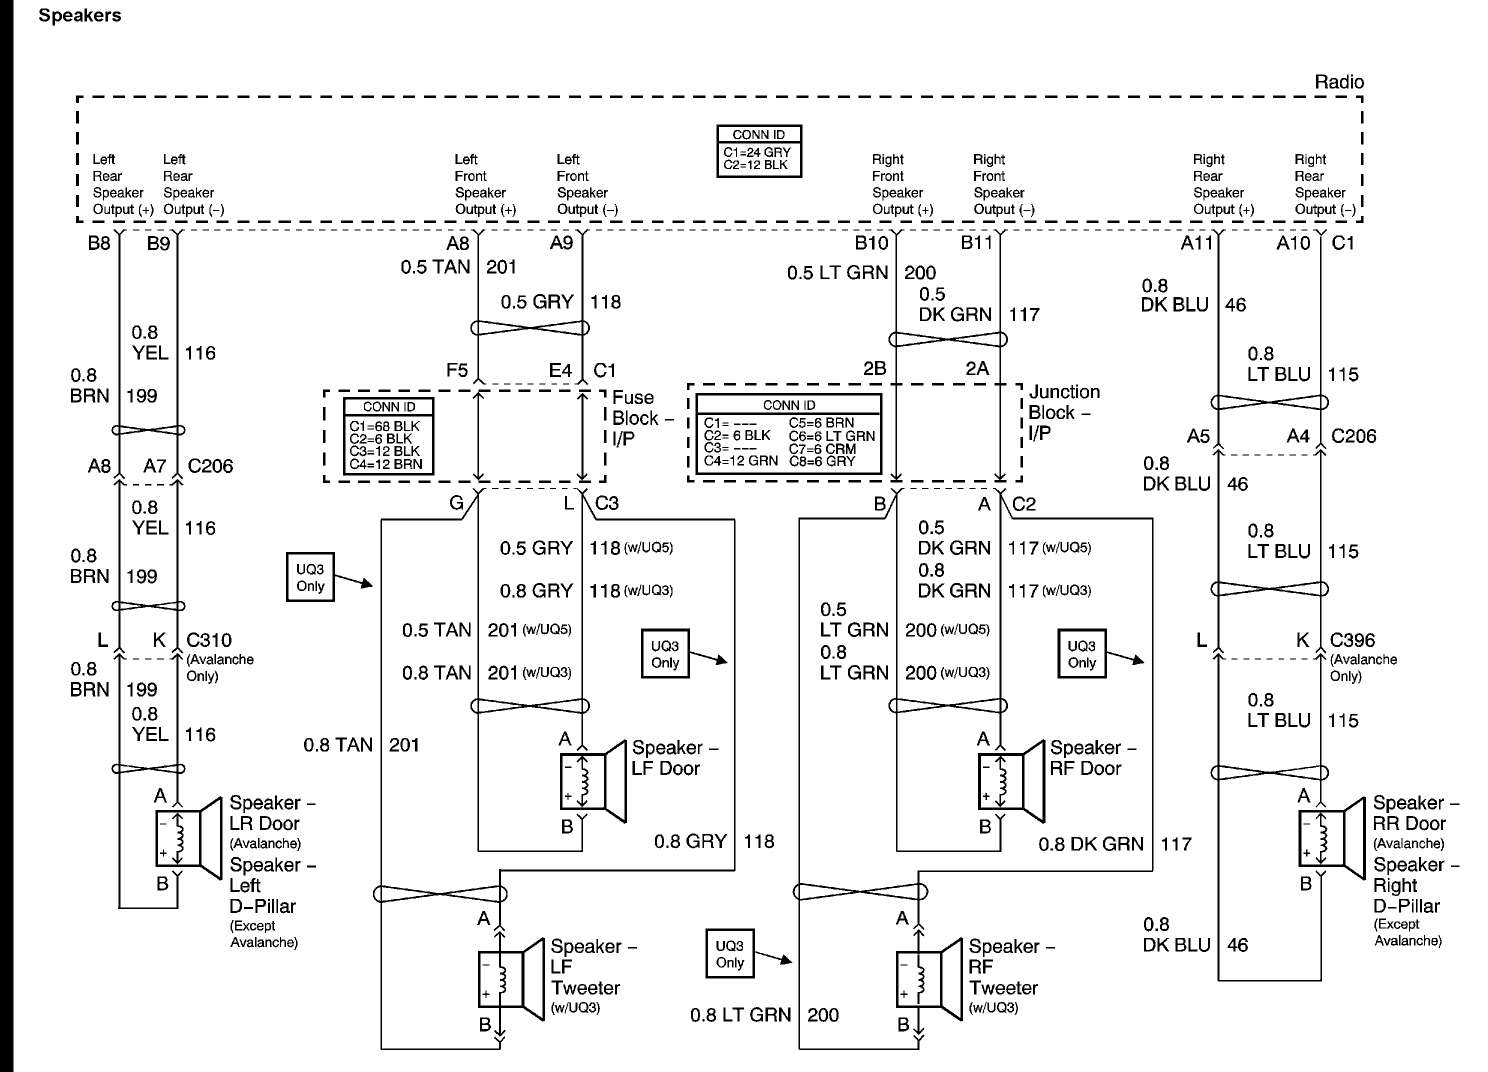
2004 Chevy Silverado Wiring Harness Diagram
Alright, let's dive into the wiring harness diagram for a 2004 Chevy Silverado. Understanding this schematic is crucial whether you're tackling electrical repairs, adding aftermarket accessories, diagnosing a gremlin in your system, or simply want to deepen your understanding of your truck's inner workings. This isn't just a random collection of lines; it's a roadmap to the electrical heart of your Silverado.
Purpose: Your Electrical Guide
The 2004 Chevy Silverado wiring harness diagram serves several critical purposes:
- Troubleshooting Electrical Issues: Forget poking around blindly with a multimeter. The diagram pinpoints exactly where wires connect, letting you systematically trace circuits and identify shorts, opens, or high resistance points.
- Performing Repairs: Need to splice a wire? The diagram shows you the correct color code and location to avoid misconnections that could fry components.
- Adding Aftermarket Accessories: Installing a new stereo, lighting, or other electrical gadget? The diagram helps you find appropriate power sources, ground points, and signal wires without cutting into the wrong circuits.
- Understanding Vehicle Systems: Even if you're not actively working on your truck, the diagram gives you a comprehensive overview of how different electrical systems interact.
Key Specs and Main Parts
Before we jump into the diagram itself, let's cover some key specifications and major components you'll frequently encounter. Remember, there can be slight variations depending on your truck's specific trim level and options (e.g., 1500, 2500HD, 4WD vs. 2WD).
- Power Distribution: Starting from the battery, power is distributed throughout the vehicle via the main fuse box (usually under the hood) and a secondary fuse box (often inside the cab). The diagram will show the amperage ratings of each fuse and the circuits they protect.
- Grounding Points: Critical for proper circuit operation, grounding points (often marked as "G###" – e.g., G101, G202) are where circuits complete their path back to the battery. Poor grounds can cause all sorts of intermittent and baffling problems.
- Connectors: The diagram highlights connectors, identified by codes like "C###". These are the physical connection points where wiring harnesses join together. Corrosion or loose connections here are common causes of electrical faults.
- Modules: Modern vehicles rely on numerous electronic control modules (ECMs). The 2004 Silverado has several, including the Powertrain Control Module (PCM), Body Control Module (BCM), Anti-lock Brake System (ABS) module, and others. The diagram shows how these modules are interconnected and communicate.
- Sensors and Actuators: From the oxygen sensors monitoring exhaust to the fuel injectors controlling fuel delivery, the diagram illustrates the wiring connections to various sensors and actuators throughout the engine and vehicle.
Decoding the Diagram: Symbols, Lines, and Colors
Understanding the symbols and conventions used in the wiring diagram is essential for interpreting the information correctly. Here's a breakdown:
- Lines: Lines represent wires. Thicker lines often indicate wires carrying higher current. Dashed lines may indicate shielded wires or data communication lines (e.g., the Controller Area Network or CAN bus).
- Colors: Wire colors are standardized (at least within GM). For example, a "RED" wire is typically a power wire, while a "BLACK" wire is usually ground. Combinations like "BRN/WHT" (Brown with a White stripe) are also common. The diagram will include a color code legend.
- Connectors: Connectors are depicted as rectangular or circular shapes with pins inside. The diagram will show the pin numbers and the corresponding wire colors connected to each pin.
- Splices: A dot where multiple wires intersect indicates a splice. This is where several wires are joined together. These splices can sometimes be a source of corrosion and connection issues.
- Components: Components like relays, switches, motors, and sensors are represented by their respective symbols. A relay, for example, is often shown as a coil and a set of contacts. A switch will be displayed by an open/closed circuit.
- Grounds: Grounds are typically represented by a symbol resembling an upside-down triangle made up of stacked, decreasing lines.
It's crucial to pay close attention to the legend provided with the diagram. This legend will define all the symbols and color codes used in that specific diagram.
How It Works: Tracing a Circuit
Let's say you're troubleshooting a malfunctioning turn signal. Here's how you'd use the wiring diagram:
- Identify the Circuit: Locate the turn signal circuit in the diagram. This section will show the wiring from the flasher relay (or BCM if it's integrated) to the turn signal switch, the bulbs, and the ground.
- Trace the Path: Follow the wiring path from the power source (usually a fuse) through the switch, to the bulb, and then to ground. Note the wire colors and connector locations along the way.
- Test for Voltage: Using a multimeter, test for voltage at various points along the circuit. For example, check if there's power at the turn signal switch when it's activated. If not, trace back to the fuse or relay.
- Check for Continuity: If there's no voltage at the bulb, check for continuity in the wire between the switch and the bulb. A lack of continuity indicates a broken wire. Also, check the ground connection for proper grounding.
Real-World Use: Basic Troubleshooting Tips
- Start with the Basics: Before diving into the diagram, check the simple things: fuses, bulbs, and obvious wiring damage.
- Use a Multimeter: A multimeter is your best friend when troubleshooting electrical problems. Learn how to use it to measure voltage, current, and resistance.
- Check Ground Connections: As mentioned earlier, poor ground connections are a common cause of electrical issues. Clean and tighten ground connections to ensure good contact.
- Inspect Connectors: Look for corrosion, bent pins, or loose connections at connectors. Use electrical contact cleaner to clean corroded connectors.
- Be Methodical: Don't just start randomly poking around. Follow the circuit systematically, testing each point along the way.
Safety First: Risky Components
Working with automotive electrical systems can be dangerous. Here are some precautions:
- Disconnect the Battery: Always disconnect the negative battery cable before working on any electrical system. This prevents accidental shorts and potential electrocution.
- Airbag Systems: Be extremely careful when working near airbag modules or wiring. Accidental deployment can cause serious injury. Consult the service manual for proper airbag deactivation procedures.
- High-Voltage Components: Some components, such as the ignition system, can carry high voltage even with the battery disconnected. Exercise extreme caution.
- Fuel System: When working near the fuel system, be aware of the risk of fuel leaks and fires. Disconnect the fuel pump relay to relieve fuel pressure.
- Wear Safety Glasses: Protect your eyes from flying debris or sparks.
Disclaimer: Automotive electrical systems can be complex and potentially dangerous. If you're not comfortable working on electrical systems, seek the help of a qualified mechanic.
We have the 2004 Chevy Silverado wiring harness diagram file and it's available for you to download. This document will prove invaluable as you work on your truck, providing the detailed information needed to address various electrical issues and perform upgrades. Use it responsibly and safely!