
2004 Honda Pilot Serpentine Belt Diagram
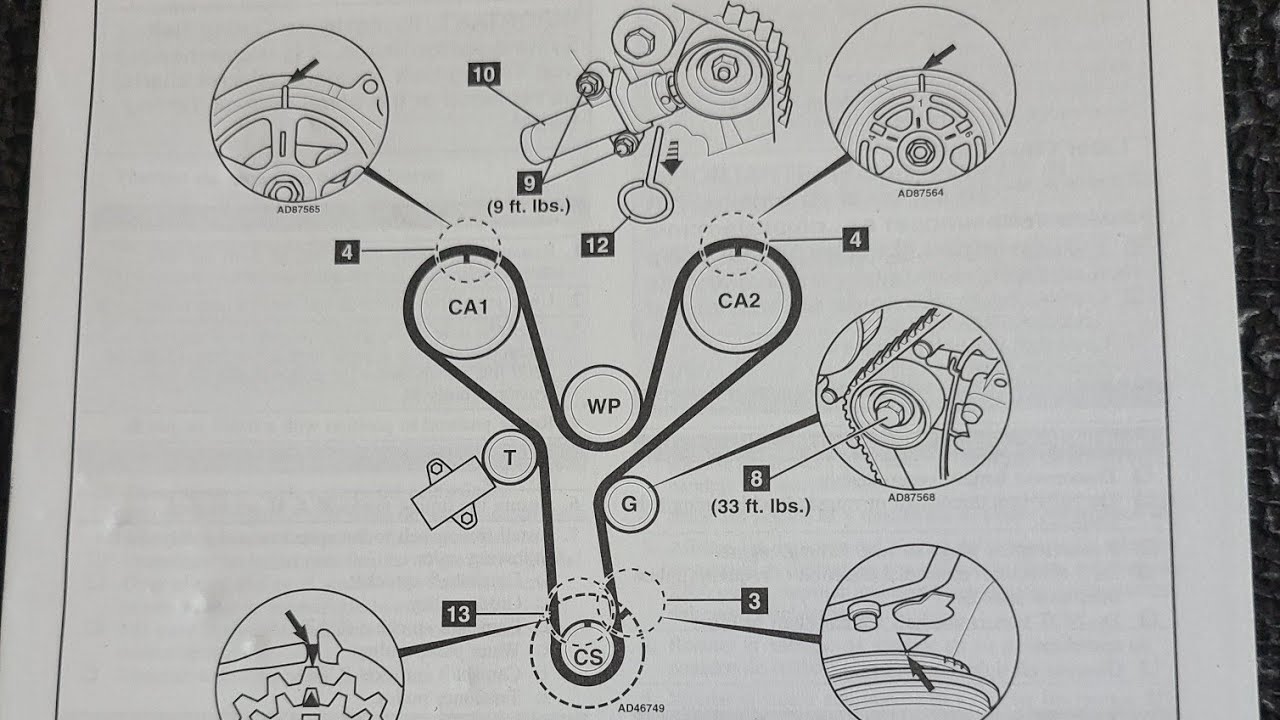
The serpentine belt in your 2004 Honda Pilot is a critical component, responsible for driving several engine accessories. A properly routed and tensioned belt ensures the smooth operation of your power steering, air conditioning, alternator, and sometimes even the water pump. Understanding its layout through a serpentine belt diagram is invaluable for maintenance, troubleshooting, and repairs. This article will provide a comprehensive guide to the 2004 Honda Pilot serpentine belt diagram, empowering you to tackle related tasks with confidence.
Purpose of the Serpentine Belt Diagram
Why bother with a serpentine belt diagram? Several reasons make it an indispensable tool:
- Belt Replacement: The most common use. When replacing a worn or damaged belt, the diagram ensures you route the new belt correctly. Incorrect routing can lead to accessory malfunction and potential engine damage.
- Troubleshooting: Squealing belts, a dead battery (due to alternator failure), or lack of power steering can often be traced back to a misaligned or improperly tensioned belt. The diagram helps you verify the belt's path and identify potential issues.
- Accessory Repair/Replacement: If you're replacing the alternator, power steering pump, or AC compressor, you'll likely need to remove the serpentine belt. The diagram ensures you can reinstall it correctly afterward.
- Preventative Maintenance: Periodically inspecting the belt's condition and tension is crucial. The diagram serves as a reference to ensure everything is in its proper place.
- Learning Engine Layout: Understanding the serpentine belt path gives you a better understanding of how your engine accessories are interconnected and driven.
Key Specs and Main Parts
The 2004 Honda Pilot typically uses a single serpentine belt to drive its accessories. Here's a breakdown of the key components and specifications:
- Belt Length: Approximately 91-92 inches (check your specific engine code, J35A6 or J35A7, for exact length). Minor variations might exist depending on options (e.g., rear AC).
- Belt Material: Typically made of Ethylene Propylene Diene Monomer (EPDM) rubber for heat and wear resistance.
- Crankshaft Pulley: The main pulley driven by the engine, which in turn drives the serpentine belt.
- Alternator Pulley: Powers the alternator to charge the battery and run electrical components.
- Power Steering Pump Pulley: Provides hydraulic assistance for steering.
- Air Conditioning Compressor Pulley: Drives the AC compressor to cool the cabin.
- Idler Pulley: Smooth, ungrooved pulley used to guide the belt and maintain proper wrap angle on other pulleys. Several idler pulleys can exist in this system.
- Tensioner Pulley: Spring-loaded or hydraulically adjusted pulley that maintains the correct tension on the serpentine belt. This is crucial for proper accessory function and belt longevity. The tensioner usually includes a bolt or nut for releasing the tension during belt removal and installation.
Symbols and Diagram Interpretation
A serpentine belt diagram uses various symbols to represent different components and directions. Understanding these symbols is essential for proper interpretation:
- Solid Lines: Represent the serpentine belt itself. The thickness of the line doesn't usually indicate anything specific.
- Arrows: Indicate the direction of belt rotation around each pulley. Pay close attention to these, as incorrect routing will cause the belt to spin in the wrong direction.
- Pulleys: Circles or rounded shapes representing the various pulleys (crankshaft, alternator, power steering, etc.). They are typically labeled with abbreviations (e.g., "ALT" for alternator, "P/S" for power steering).
- Tensioner: Often represented by a pulley with an arrow indicating its spring-loaded movement, or with a schematic symbol representing a spring.
- Idler Pulley: Represented by a smooth pulley, often labeled "IDLER".
- Diagram Orientation: Diagrams usually depict the engine as viewed from the front of the vehicle.
Pay particular attention to how the belt wraps around each pulley. Notice which pulleys are contacted on their grooved side (driving the accessory) and which are contacted on their smooth side (for guidance). This is crucial for proper belt routing.
How It Works
The serpentine belt system operates on the principle of transferring rotational motion from the crankshaft to the various engine accessories. The crankshaft pulley, driven by the engine's rotation, provides the initial driving force. The serpentine belt, wrapped around this pulley and all the other accessory pulleys, transmits this rotation to each accessory. The tensioner pulley maintains the correct belt tension, preventing slippage and ensuring efficient power transfer. Without proper tension, the belt may slip, causing squealing noises, reduced accessory performance, and premature wear.
The proper routing is crucial. The belt *must* follow the designated path, wrapping around each pulley in the correct direction and with the correct amount of contact. Failure to do so will result in the belt slipping, accessories failing to function correctly, and potential damage to the belt and pulleys.
Real-World Use: Basic Troubleshooting
Here are some common problems associated with the serpentine belt and how the diagram can help:
- Squealing Noise: Often indicates a loose or worn belt. Use the diagram to check the belt's path and ensure the tensioner is functioning correctly. A visual inspection might reveal cracks or glazing on the belt.
- Battery Not Charging: Could be due to a slipping belt on the alternator pulley. Use the diagram to verify the belt's contact and tension. Check the alternator itself if the belt is fine.
- Loss of Power Steering: Similar to the alternator issue, a slipping belt on the power steering pump pulley could be the culprit. Use the diagram to check the belt's path and tension.
- Overheating: If the water pump is driven by the serpentine belt (unlikely on the 2004 Pilot, but always verify), a slipping belt could prevent the pump from circulating coolant effectively. Refer to the diagram to confirm if the water pump is part of the serpentine belt system and check its belt contact.
- Cracked or Frayed Belt: Replace the belt immediately. Use the diagram to ensure proper routing of the new belt.
When troubleshooting, always visually inspect the belt for wear, cracks, and glazing. Check the tensioner for proper movement and tension. If the tensioner is weak or seized, replace it along with the belt.
Safety Precautions
Working with the serpentine belt system can be hazardous. Keep these safety tips in mind:
- Disconnect the Battery: Always disconnect the negative battery terminal before working on the serpentine belt system to prevent accidental starting of the engine.
- Hot Engine: Allow the engine to cool completely before working on the belt. The engine components can get extremely hot.
- Moving Parts: Never put your hands near the serpentine belt while the engine is running. The belt and pulleys can cause serious injury.
- Tensioner Spring: Be extremely careful when releasing the tension on the belt tensioner. The spring can be strong and release suddenly. Use the appropriate tools and techniques to control the tensioner's movement.
- Eye Protection: Wear safety glasses to protect your eyes from debris.
- Proper Tools: Use the correct tools for the job, including a serpentine belt tool (usually a long wrench with a socket to fit the tensioner pulley bolt) to release the tension.
The crankshaft pulley is a particularly risky component. Never attempt to loosen or remove it without the proper tools and experience, as it can be very difficult to remove and improper techniques can damage the engine.
By understanding the 2004 Honda Pilot serpentine belt diagram and following these guidelines, you can confidently tackle serpentine belt-related tasks and maintain the reliable operation of your vehicle. Remember to consult your vehicle's repair manual for specific instructions and torque specifications.
We have the complete 2004 Honda Pilot Serpentine Belt Diagram available for download. It is crucial to reference it during your repair.