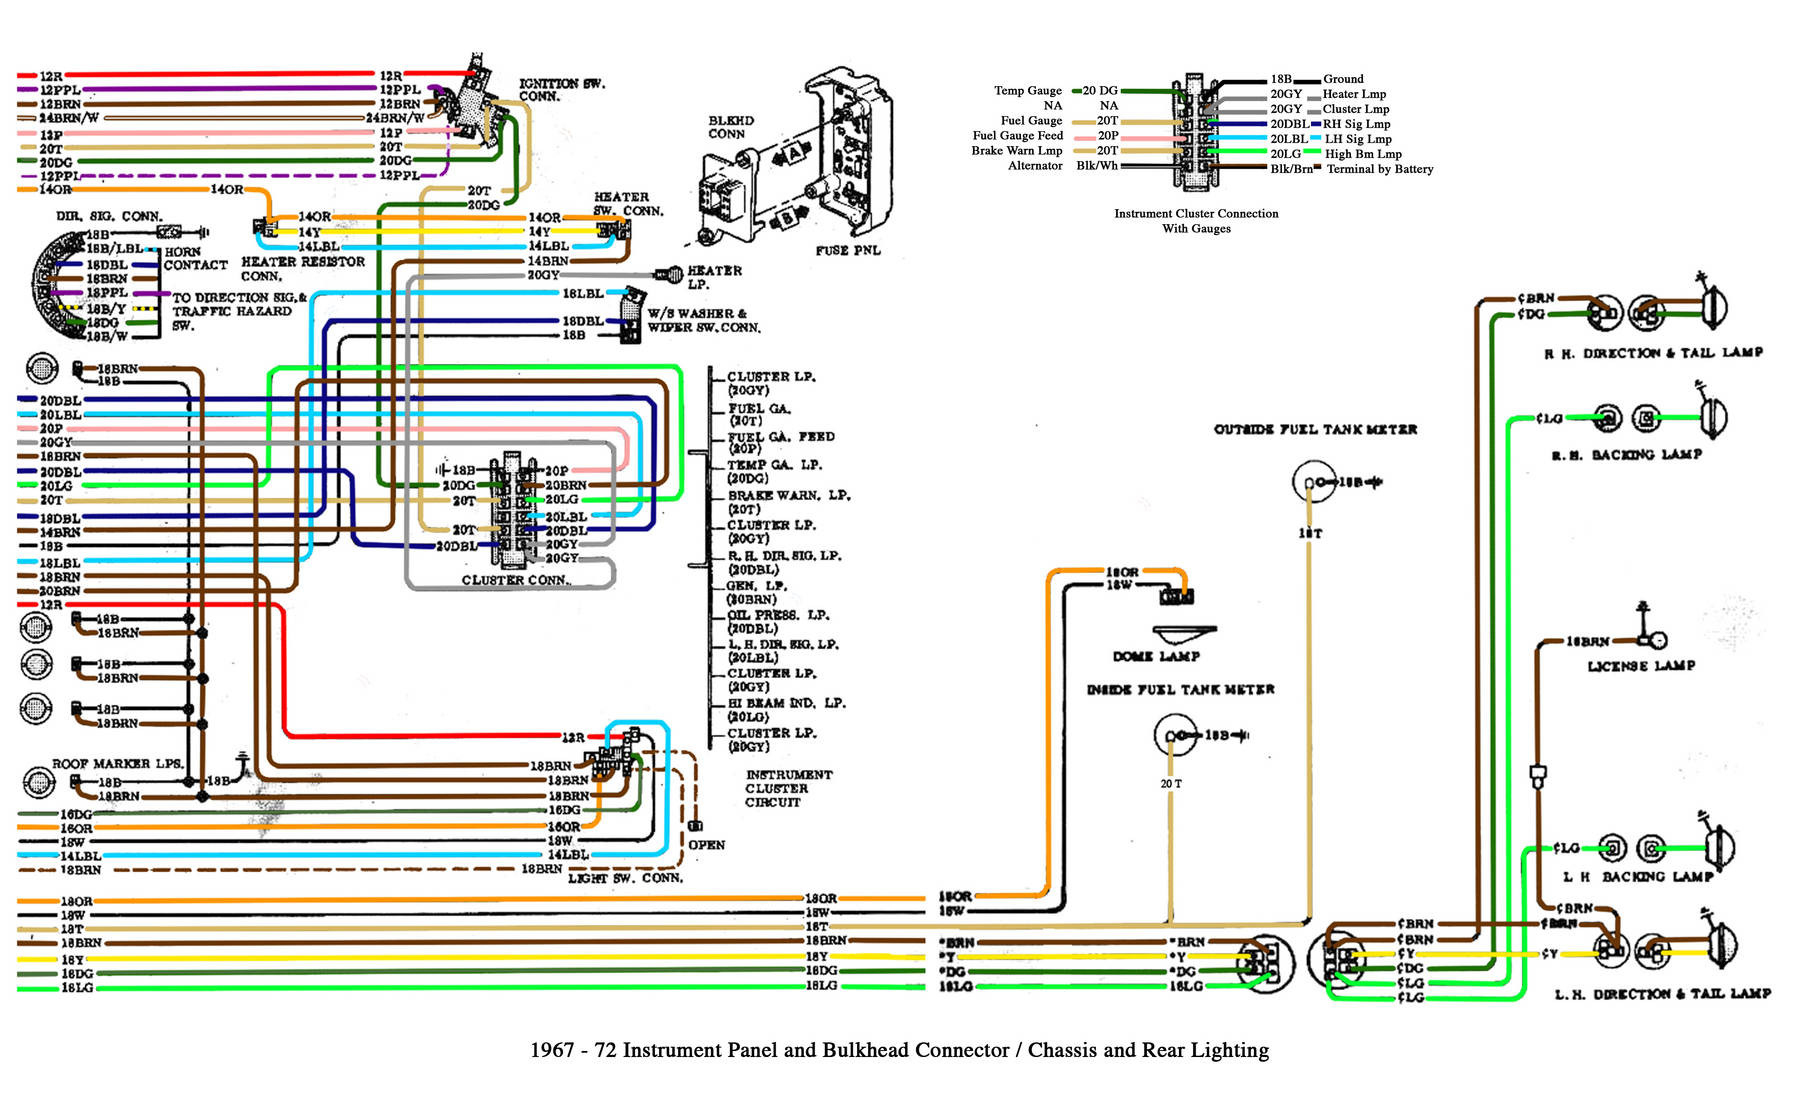
2004 Silverado Stereo Wiring Harness
Understanding the 2004 Silverado's stereo wiring harness is crucial for several reasons. Whether you're upgrading your head unit, troubleshooting audio issues, or simply learning more about your truck's electrical system, having a grasp of the wiring layout can save you time, money, and frustration. This article aims to provide you with a comprehensive overview of the harness, its components, and how to work with it safely and effectively.
Purpose of Understanding the 2004 Silverado Stereo Wiring Harness
The stereo wiring harness acts as the central nervous system for your Silverado's audio system. It's the bundle of wires that connects your head unit (the radio) to various components, including:
- Speakers: Front, rear, left, and right.
- Power Source: Providing the necessary voltage to operate the head unit.
- Ground: Establishing a return path for the electrical current.
- Antenna: Receiving radio signals.
- Accessories: Such as amplifiers, subwoofers, or steering wheel controls.
Knowing the purpose and function of each wire is essential for:
- Head Unit Replacement: Installing a new aftermarket stereo requires connecting the new unit's wiring to the existing vehicle harness.
- Troubleshooting Audio Problems: Identifying and resolving issues like a blown speaker, a dead radio, or distorted sound.
- Adding Aftermarket Components: Integrating amplifiers, subwoofers, or other audio enhancements.
- Repairing Damaged Wiring: Fixing broken or corroded wires within the harness.
- Learning About Automotive Electrical Systems: Gaining a deeper understanding of how car audio systems work.
Key Specs and Main Parts
The 2004 Silverado typically uses a standard GM wiring harness configuration, but variations can exist based on trim level and factory options. Key components and specifications to be aware of include:
- Harness Connector: The plastic connector that plugs directly into the back of the head unit. It contains multiple pins, each corresponding to a specific wire.
- Speaker Wires: Usually color-coded in pairs (e.g., white/white-black, gray/gray-black) for each speaker.
- Power Wire (12V Constant): Provides continuous power to the head unit for memory and clock functions, usually a thick orange or red wire. This connection is often always powered, even with the ignition off.
- Switched Power Wire (12V Accessory): Provides power only when the ignition is turned on, typically a red or yellow wire.
- Ground Wire: Usually a black wire, providing a return path for the electrical current. Critical for proper operation.
- Illumination Wire: Dims the head unit's display when the headlights are turned on, usually an orange wire with a white stripe.
- Antenna Wire: Connects to the vehicle's antenna, usually a coaxial cable.
- Remote Turn-On Wire (Amplifier): Provides a signal to turn on aftermarket amplifiers, usually a blue wire.
Understanding the gauge (thickness) of the wires is also important. Power and ground wires are usually thicker (lower gauge number) than speaker wires to handle higher current loads.
Symbols and Color Codes
A wiring diagram will use specific symbols and color codes to represent different components and connections. Here's a breakdown:
- Lines: Represent wires. Thicker lines may indicate wires carrying higher current. Dashed lines may indicate shielded or twisted pair wiring.
- Colors: Each wire is identified by a specific color. Common colors include:
- Black (BLK) - Ground
- Red (RED) - 12V Constant or Switched
- Yellow (YEL) - 12V Switched
- Orange (ORG) - 12V Constant or Illumination
- White (WHT) - Speaker Wire
- Gray (GRY) - Speaker Wire
- Green (GRN) - Speaker Wire
- Blue (BLU) - Remote Turn-On or Antenna Power
- Ground Symbol: Usually a series of horizontal lines decreasing in length, indicating a connection to the vehicle's chassis for ground.
- Component Symbols: Resistors, capacitors, diodes, and other electronic components are represented by their standard schematic symbols.
It's important to note that color codes can sometimes vary slightly, so always refer to a wiring diagram specific to your 2004 Silverado's trim level.
How It Works
The stereo system operates by receiving power from the vehicle's electrical system. The 12V constant wire provides continuous power to maintain memory functions. The switched 12V wire activates the head unit when the ignition is turned on. The ground wire provides a return path for the current.
When a radio station is selected, the head unit receives the signal from the antenna. The head unit then processes the audio signal and amplifies it. The amplified signal is sent to the speakers through the speaker wires. The speakers convert the electrical signal into sound waves, which you hear.
The illumination wire dims the head unit's display when the headlights are turned on, reducing glare at night.
Real-World Use: Basic Troubleshooting Tips
Here are some common troubleshooting scenarios and how the wiring diagram can help:
- No Power to Head Unit:
- Check the 12V constant and switched power wires with a multimeter to ensure they are receiving power.
- Verify the ground connection is secure and free of corrosion.
- Check the fuses related to the radio in the fuse box.
- No Sound from Speakers:
- Check the speaker wires for breaks or shorts.
- Test the speakers themselves to ensure they are not blown.
- Verify the head unit's fader and balance settings are correctly adjusted.
- Distorted Sound:
- Check the speaker wires for shorts or loose connections.
- Ensure the speakers are properly rated for the head unit's output power.
- Inspect the speakers for damage.
- Antenna Issues:
- Check the antenna wire connection to the head unit and the antenna base.
- Ensure the antenna mast is in good condition.
- If using a powered antenna, verify the antenna power wire is connected and receiving power.
Using a multimeter is essential for diagnosing electrical problems. Learn how to use it to check voltage, continuity, and resistance.
Safety Considerations
Working with automotive electrical systems can be dangerous if proper precautions are not taken.
- Disconnect the Battery: Always disconnect the negative battery terminal before working on any electrical components. This will prevent accidental shorts and potential damage to the vehicle's electrical system.
- Avoid Working on Live Wires: Never work on wires while the ignition is on or the battery is connected.
- Use Insulated Tools: Use tools with insulated handles to protect yourself from electrical shock.
- Be Careful with Fuses: Never replace a fuse with a higher amperage fuse. This can overload the circuit and cause a fire.
- Identify the Airbag System: Be aware of the location of the airbag system components and avoid disturbing them. Improper handling can cause the airbags to deploy, resulting in serious injury.
The airbag system is particularly risky! A short circuit in the airbag system can cause unintended deployment, which can be extremely dangerous. If you're unsure about working with the airbag system, consult a qualified technician.
This article has provided a solid foundation for understanding the 2004 Silverado stereo wiring harness. Remember to always consult a wiring diagram specific to your vehicle's trim level and options. With careful planning and attention to safety, you can confidently tackle audio system upgrades and repairs.
To further assist you, we have a downloadable wiring diagram file available. Understanding that the 2004 Silverado came with various trim levels, the file has detailed diagrams.