2005 Buick Lacrosse 3.6 Serpentine Belt Diagram
The serpentine belt in your 2005 Buick Lacrosse with the 3.6L engine is a crucial component. It's responsible for powering several vital accessories. Understanding its routing and how it functions is essential for performing basic maintenance, troubleshooting issues, and even preventative repairs. This article will break down the serpentine belt diagram, its purpose, components, and how to interpret it, empowering you to tackle common issues with confidence.
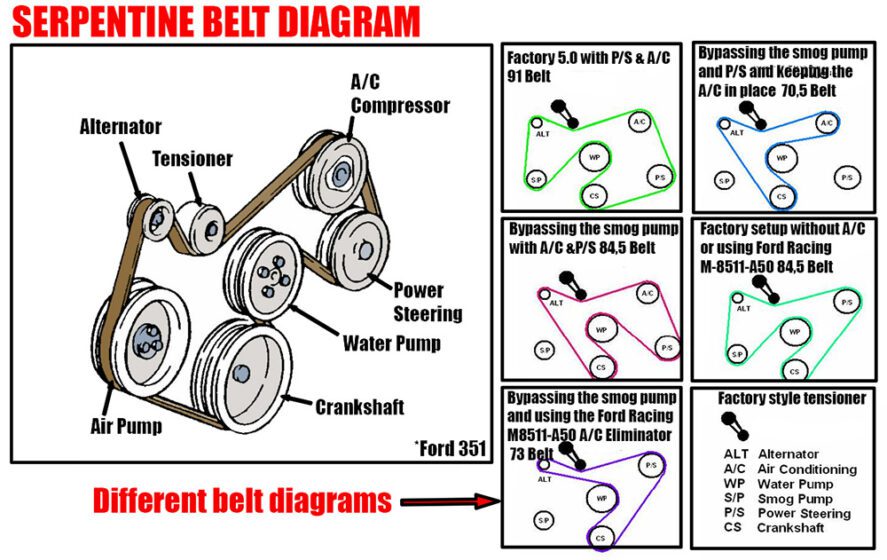
Purpose of the Serpentine Belt Diagram
The serpentine belt diagram isn't just a pretty picture; it's your roadmap to understanding and maintaining the accessory drive system. Specifically, it helps you:
- Replace a worn or broken belt: Knowing the correct routing is paramount to ensuring all accessories are powered correctly. A misrouted belt can lead to accessory failure and potentially engine damage.
- Diagnose accessory issues: If you suspect a faulty alternator, power steering pump, or AC compressor, the diagram can help you verify that the belt is properly engaged with the pulley, eliminating that as a potential cause.
- Perform preventative maintenance: Inspecting the belt for wear, cracks, or fraying is part of routine maintenance. The diagram allows you to easily identify all pulleys the belt interacts with and systematically inspect them.
- Understand system design: Even for those who simply enjoy understanding how their car works, the diagram provides a clear visual representation of the accessory drive system's layout.
Key Specs and Main Parts of the 2005 Buick Lacrosse 3.6L Serpentine Belt System
Before diving into the diagram itself, let's identify the main components involved. The 2005 Buick Lacrosse with the 3.6L engine typically uses a single, multi-ribbed belt (hence the name "serpentine") to drive the following accessories:
- Crankshaft Pulley (or Harmonic Balancer): This is the driving pulley, directly connected to the engine's crankshaft. It's the starting point of the serpentine belt system, transferring rotational power from the engine.
- Alternator Pulley: Powers the alternator, which generates electricity to charge the battery and run the electrical system. A slipping belt here can lead to a dead battery.
- Power Steering Pump Pulley: Provides hydraulic pressure for power-assisted steering. A malfunctioning power steering pump due to a slipping belt will result in difficult steering, especially at low speeds.
- Air Conditioning (AC) Compressor Pulley: Engages the AC compressor to cool the cabin air. A failed belt connection here results in no AC.
- Idler Pulley(s): Smooth, non-driven pulleys used to guide the belt around the engine, ensuring proper wrap angle on the driven pulleys and preventing belt vibration. They are critical for maintaining belt tension and preventing slippage.
- Tensioner Pulley: An automatic or spring-loaded pulley that maintains consistent tension on the serpentine belt. This is crucial for proper accessory function and prevents premature belt wear. Failure of the tensioner is a common cause of belt slippage and noise.
The belt length itself is a key specification. While the diagram doesn't typically show the exact length, it’s important to use the correct belt length for your specific vehicle. Refer to your owner’s manual or parts supplier for the correct part number. Incorrect belt length can cause either too much or too little tension, leading to accessory malfunction and premature belt failure.
Symbols and Diagram Interpretation
The serpentine belt diagram uses various symbols to represent the components and belt path. Here's a breakdown of common symbols:
- Solid Lines: Represent the serpentine belt itself. The thickness of the line doesn't necessarily indicate the belt's actual width.
- Circles or Ovals: Indicate pulleys. These are usually labeled with abbreviations to identify their function (e.g., ALT for alternator, P/S for power steering).
- Arrows: Indicate the direction of belt travel. This is crucial for understanding the belt's path and ensuring it's routed correctly.
- Hatched Areas or Shading: Sometimes used to highlight specific components, such as the tensioner or idler pulleys.
- Text Labels: Provide additional information, such as component names, part numbers, or torque specifications for the tensioner pulley.
A typical diagram will show the engine as a simplified outline, with each pulley positioned relative to the engine block. The belt's path is traced as a solid line, clearly illustrating how it wraps around each pulley. Pay close attention to the arrows, as these dictate the direction of rotation for each accessory.
How the Serpentine Belt System Works
The system's operation is relatively straightforward. The engine's crankshaft turns the crankshaft pulley. This pulley, in turn, drives the serpentine belt. The belt then transmits rotational force to all the other pulleys, powering the accessories they are connected to. The tensioner pulley maintains constant tension on the belt, preventing slippage and ensuring efficient power transfer. The idler pulleys guide the belt along the optimal path, maximizing contact area with the driven pulleys and minimizing vibration.
The efficiency of this system depends heavily on maintaining proper belt tension. Too little tension results in belt slippage, leading to reduced accessory performance and potentially overheating. Too much tension can overload the accessory bearings and lead to premature failure. The tensioner is designed to automatically compensate for belt stretch and wear, but it can fail over time, requiring replacement.
Real-World Use and Basic Troubleshooting
Here are some common scenarios where understanding the serpentine belt diagram is crucial:
- Squealing or Chirping Noise: This often indicates a slipping belt. Check the belt tensioner and the condition of the belt itself. Look for cracks, fraying, or glazing. A worn or loose belt will often squeal, especially under load (e.g., turning on the AC).
- Battery Light On: This could indicate a failing alternator, but first, verify that the serpentine belt is properly engaged with the alternator pulley. A loose or broken belt will prevent the alternator from charging the battery.
- Hard Steering: A slipping belt on the power steering pump pulley can cause hard steering, especially at low speeds. Inspect the belt and tensioner.
- No AC: If your AC isn't working, check if the AC compressor pulley is spinning when the AC is turned on. If not, the belt might be broken or slipping on the AC compressor pulley.
When troubleshooting, always start by visually inspecting the belt and pulleys. Look for obvious signs of wear or damage. Use the diagram to confirm the correct belt routing. If you suspect a faulty tensioner, check its range of motion and spring tension. A tensioner that is bottomed out or has excessive play should be replaced.
Safety Precautions
Working around the serpentine belt system can be dangerous if proper precautions are not taken. Remember the following:
- Disconnect the Negative Battery Terminal: This prevents accidental starting of the engine while you are working.
- Never Put Your Hands Near a Running Engine: The rotating pulleys and belt can cause serious injury.
- Use Proper Tools: A specialized serpentine belt tool is often required to release the tension on the tensioner pulley for belt removal and installation. Using the wrong tool can damage the tensioner or other components.
- Be Aware of Hot Components: The engine and exhaust components can be extremely hot. Allow the engine to cool down completely before working on the serpentine belt system.
- The cooling fan is especially risky, since it turns on based on the engine temperature, not only when the engine is running. Watch out!
The area around the crankshaft pulley (harmonic balancer) is especially risky. If the balancer is worn or cracked, it can separate from the engine at high speeds, causing serious damage and potential injury. Inspect the balancer carefully for any signs of damage before working on the serpentine belt system.
Understanding the serpentine belt diagram for your 2005 Buick Lacrosse with the 3.6L engine empowers you to perform basic maintenance, troubleshoot issues, and even perform minor repairs. By following the guidelines outlined in this article, you can ensure that your vehicle's accessories are functioning properly and avoid costly repairs down the road.
We have the complete serpentine belt diagram file available for download. Contact us, and we'll gladly provide you with a copy to keep in your repair manual.