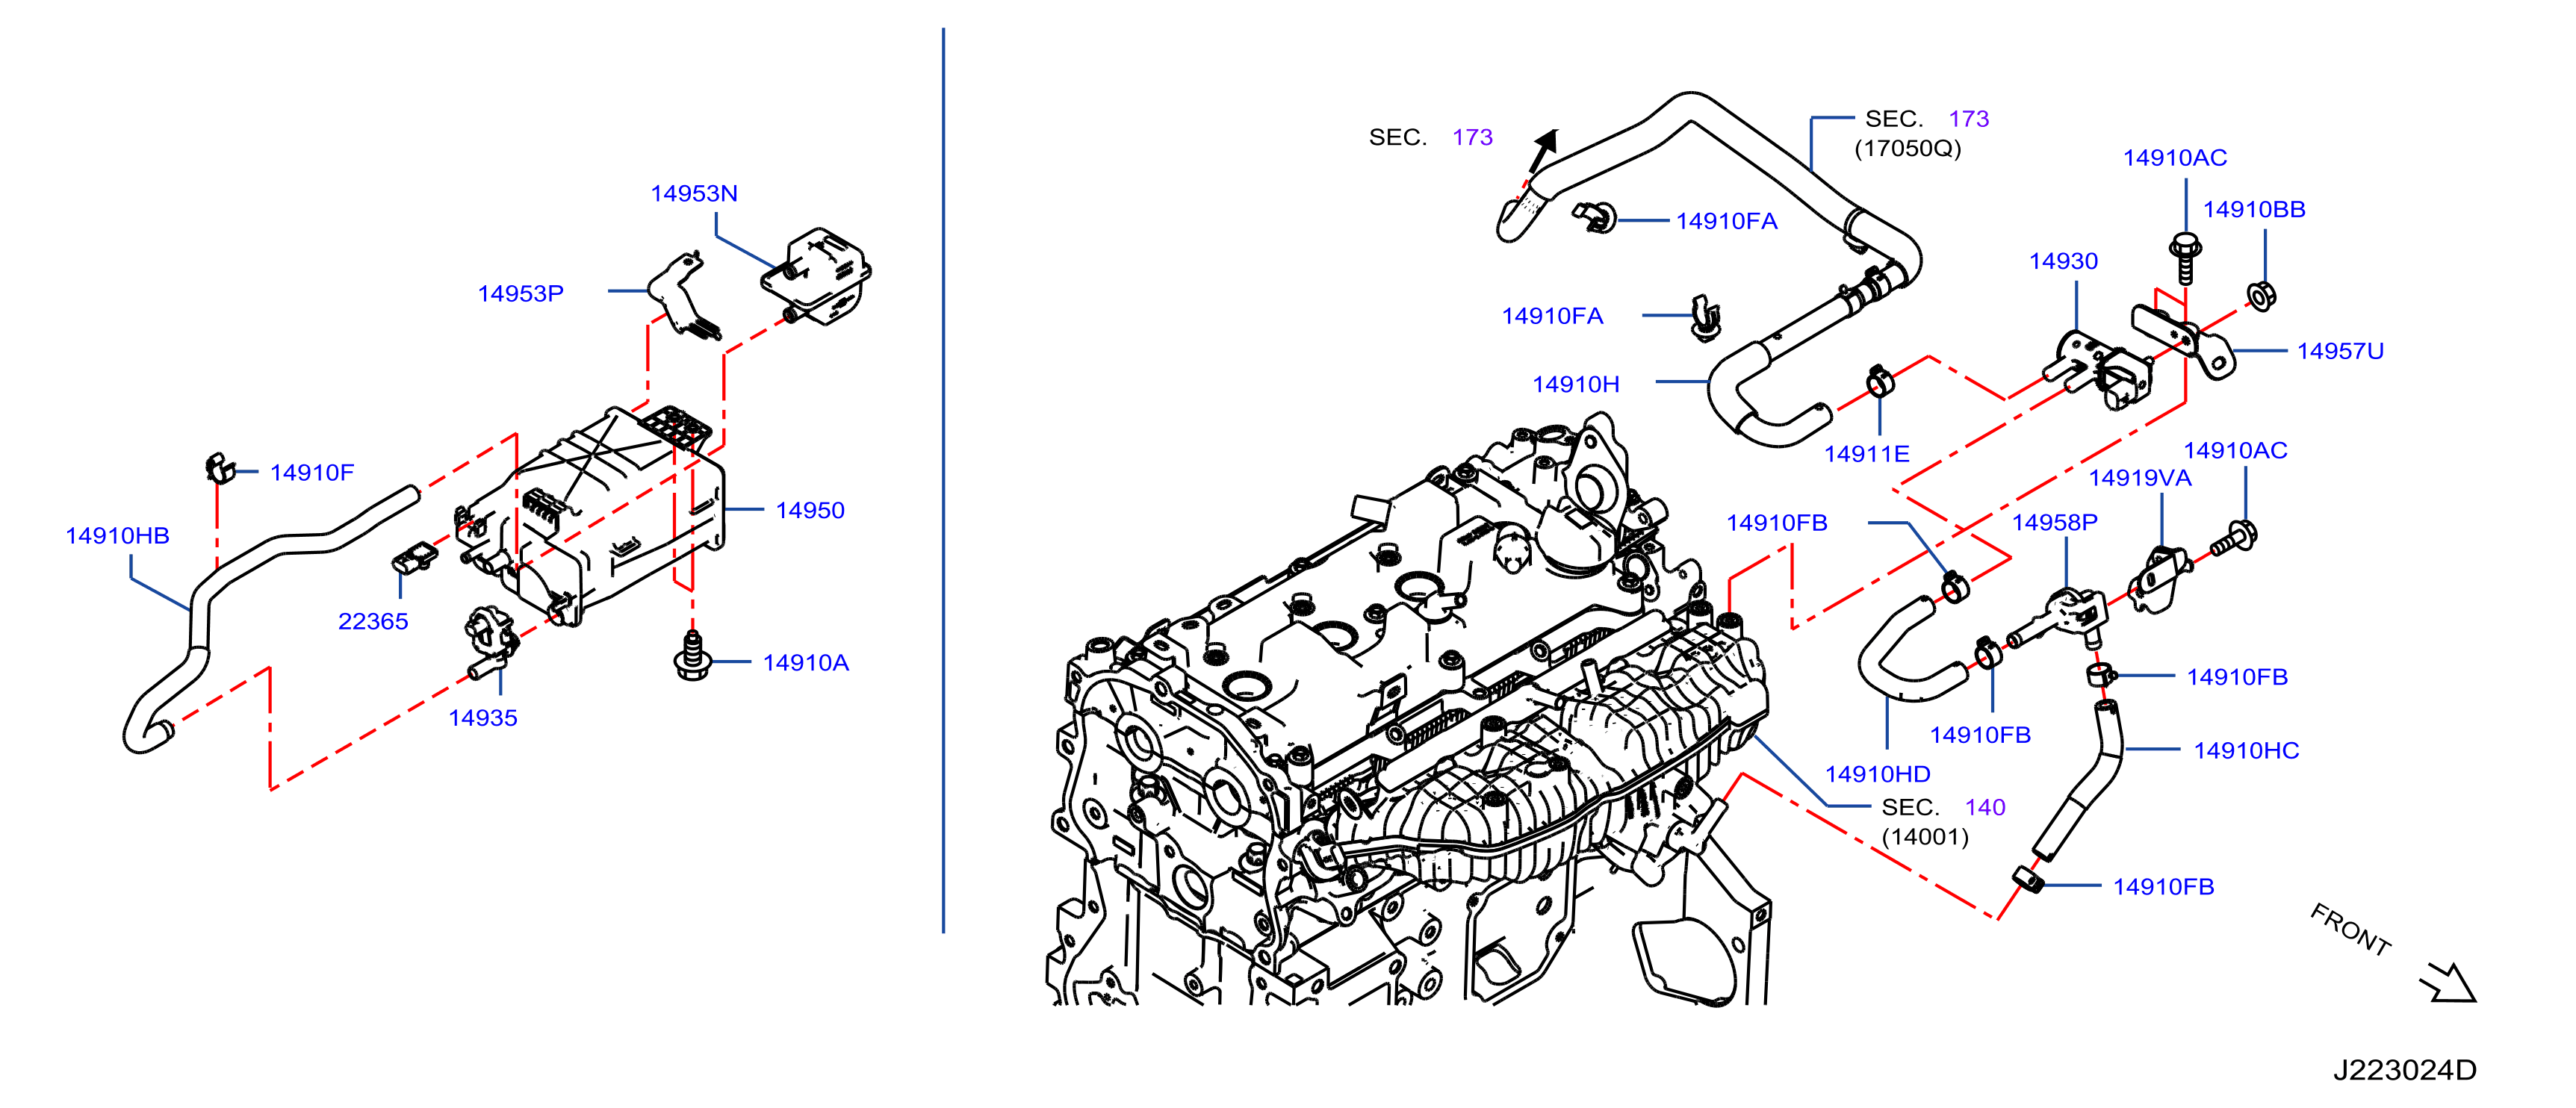
2005 Nissan Altima Vacuum Hose Diagram
Alright, let's dive into the vacuum hose diagram for a 2005 Nissan Altima. This isn't just some pretty picture; it's your roadmap to understanding, diagnosing, and potentially repairing a critical part of your Altima's engine management system. Whether you're chasing down a mysterious vacuum leak, trying to understand how your emissions system works, or even planning a mild modification, this diagram is invaluable. We're going to break it down in a way that makes sense, even if you're not a certified mechanic. I’ll explain the key components, the diagram's symbols, and how everything interconnects. Plus, I’ll give you some practical troubleshooting tips to get you started.
Purpose of the Vacuum Hose Diagram
The vacuum system in your 2005 Altima is responsible for a whole host of engine functions. It's not just about sucking air. It controls everything from the idle speed and fuel efficiency to emissions control and even power brake assist. A vacuum leak, even a small one, can throw your engine completely out of whack, leading to poor performance, rough idling, increased fuel consumption, and even a check engine light. The diagram is your key to:
- Diagnosis: Pinpointing the source of vacuum leaks quickly and efficiently.
- Repair: Replacing damaged or deteriorated hoses in the correct configuration.
- Understanding: Gaining a deeper understanding of your engine's operation.
- Modification: Making informed decisions when modifying or upgrading related components.
Key Specs and Main Parts of the 2005 Altima Vacuum System
Let's talk about the main players in the vacuum system. Remember, your Altima could have a 2.5L inline-4 (QR25DE) or a 3.5L V6 (VQ35DE) engine, and while many concepts are the same, the hose routing and component locations will differ. I'll try to keep things general enough to cover both, but always refer to the specific diagram for your engine.
- Intake Manifold: This is the source of vacuum. Engine vacuum is created in the intake manifold due to the piston's movement and the throttle plate restricting airflow.
- Vacuum Hoses: These are the arteries of the system, carrying vacuum to various components. They come in different sizes and materials, designed to withstand heat, oil, and vacuum pressure.
- PCV Valve (Positive Crankcase Ventilation): This valve regulates the flow of crankcase gases back into the intake manifold, preventing pressure buildup and reducing emissions. A faulty PCV valve or leaking PCV hose is a very common vacuum leak source.
- EVAP System (Evaporative Emission Control System): This system captures fuel vapors from the fuel tank and prevents them from escaping into the atmosphere. Vacuum is used to purge these vapors into the engine to be burned. Components include the canister, purge valve, and various hoses.
- Brake Booster: Uses engine vacuum to assist in braking, making it easier to stop the car. A leak in the brake booster hose will cause a hard brake pedal.
- EGR Valve (Exhaust Gas Recirculation): This valve, found on some models, redirects a portion of the exhaust gases back into the intake manifold to reduce NOx emissions. Vacuum often controls its operation.
- Vacuum Reservoir: Some systems use a vacuum reservoir to store vacuum for components that require a consistent vacuum supply, even during periods of low engine vacuum.
- Check Valves: These valves allow vacuum to flow in only one direction, preventing backflow and maintaining vacuum in specific parts of the system.
Understanding the Diagram's Symbols
A vacuum hose diagram isn't just a random collection of lines and shapes; it's a carefully constructed representation of the system. Learning to interpret the symbols is key to understanding the diagram.
- Lines: Solid lines typically represent vacuum hoses. Dashed lines often indicate electrical connections or control lines. Different colors might be used to differentiate between different vacuum circuits (e.g., one color for EVAP, another for PCV). Always check the diagram's legend.
- Hose Size: Sometimes, the diagram will indicate the internal diameter of the hoses. This is crucial when replacing hoses to ensure a proper fit and seal.
- Components: Each component is represented by a specific symbol. A circle might represent a vacuum reservoir, while a rectangle might represent a solenoid valve. Again, refer to the legend.
- Arrows: Arrows indicate the direction of vacuum flow.
- Abbreviations: Expect to see abbreviations like "VAC" for vacuum, "PCV" for Positive Crankcase Ventilation, "EVAP" for Evaporative Emission Control, and "EGR" for Exhaust Gas Recirculation.
How the 2005 Altima Vacuum System Works
In a nutshell, the engine creates vacuum within the intake manifold. This vacuum is then distributed through hoses to various components that rely on it to function. The PCV system uses vacuum to draw crankcase gases into the intake. The EVAP system uses vacuum to purge fuel vapors. The brake booster uses vacuum to assist in braking. The EGR valve (if equipped) uses vacuum for its control. All these systems must be properly connected and sealed to maintain optimal engine performance and emissions control.
Important Note: Modern engine management systems are complex, and vacuum leaks can affect many sensors that control the fuel and air ratio. Therefore, always address any air intake or vacuum leak immediately.
Real-World Use: Troubleshooting Vacuum Leaks
Okay, let's get practical. Here's how you can use the diagram to troubleshoot vacuum leaks:
- Visual Inspection: Start by visually inspecting all vacuum hoses for cracks, breaks, or loose connections. Pay close attention to areas near heat sources or where hoses rub against other components.
- Listen for Hissing: With the engine running, listen for a hissing sound, which can indicate a vacuum leak. A mechanic's stethoscope can help you pinpoint the exact location.
- Smoke Test: A smoke test is a highly effective way to find vacuum leaks. A smoke machine introduces a visible smoke into the intake system, and the smoke will escape from any leaks.
- Carburetor Cleaner/Starting Fluid Test (Use with extreme caution): This method is risky and should only be used by experienced mechanics with proper safety precautions. Briefly spray a small amount of carburetor cleaner or starting fluid around suspected leak areas (hoses, intake manifold gaskets). If the engine speed momentarily increases, you've likely found a leak. Be extremely careful not to spray near hot exhaust components, as this could cause a fire.
- Using the Diagram: Once you suspect a leak, refer to the diagram to trace the hose back to its source and destination. This will help you isolate the faulty component or hose.
Safety Precautions
Working on the vacuum system involves some risks. Here are a few safety tips:
- Hot Engine: Be extremely careful when working near a hot engine. Allow the engine to cool down before touching any components.
- Flammable Liquids: As mentioned above, using carburetor cleaner or starting fluid to find leaks is risky due to the flammability of these liquids. Use extreme caution and have a fire extinguisher nearby.
- Moving Parts: Keep your hands and tools away from moving parts like the serpentine belt and pulleys.
- Disconnect Battery: Consider disconnecting the negative battery terminal before working on any electrical components, especially if you're dealing with solenoid valves or sensors.
- Proper Ventilation: Work in a well-ventilated area to avoid inhaling fumes.
Disclaimer: This information is intended for educational purposes only and should not be considered a substitute for professional advice. Always consult a qualified mechanic for any repairs or maintenance on your vehicle. Use extreme caution when working on your vehicle and follow all safety precautions.
Understanding your 2005 Nissan Altima's vacuum system is a huge advantage for any DIY enthusiast. By using the vacuum hose diagram and following these tips, you'll be well-equipped to diagnose and repair vacuum leaks, improve your engine's performance, and keep your Altima running smoothly for years to come. We have the vacuum hose diagram file, which you can download for a more detailed view.