2005 Sebing Convertible Inner Fender Liner Parts Diagram
Let's dive into the inner fender liner of your 2005 Chrysler Sebring Convertible. This part, often overlooked, plays a critical role in protecting vital components of your car. We're going to break down a parts diagram, understanding what each section means and how it can help you with repairs, modifications, or just understanding your vehicle better. Think of this as a guided tour of the inner workings, aimed at an experienced DIYer.
Why a Diagram Matters
A parts diagram, specifically for the inner fender liner, is more than just a picture. It's your roadmap for a successful repair or upgrade. Here’s why it’s so important:
- Parts Identification: Need to replace a specific fastener or clip? The diagram pinpoints its exact location and often provides the part number, saving you hours of searching.
- Assembly Understanding: Seeing how the liner fits together with other components (like the fender, bumper, and splash shields) clarifies the assembly process, preventing mistakes.
- Troubleshooting Aid: If you're experiencing rattling or unusual noises, the diagram can help you identify potential loose connections or damaged sections.
- Preventative Maintenance: Regularly inspecting the liner, informed by the diagram, can reveal early signs of wear or damage, allowing you to address issues before they escalate.
Key Specs and Main Parts
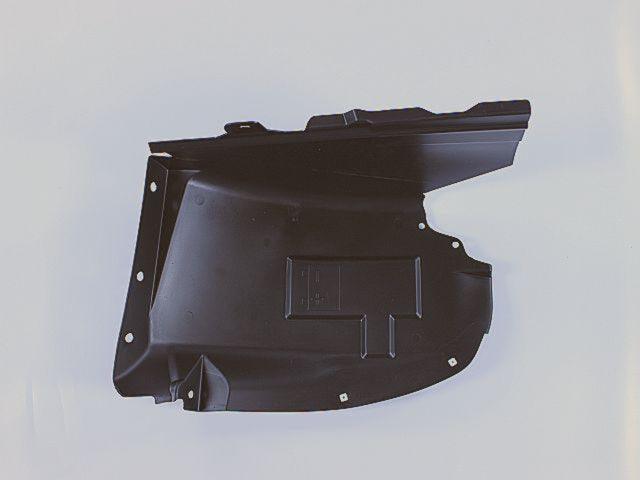
The inner fender liner, also known as a wheel well liner or splash shield, is typically made of molded plastic (often polypropylene or polyethylene). For the 2005 Sebring Convertible, expect the diagram to show the following key parts:
- Main Liner Body: This is the largest section, contoured to fit the inner wheel well. The material spec would indicate its resistance to impact and chemicals like road salt.
- Attachment Points: These are the holes and slots where the liner attaches to the fender, bumper, and chassis. The diagram will highlight the type of fastener used at each point (screws, clips, retainers).
- Fasteners (Screws, Clips, Retainers): These small but crucial parts secure the liner. The diagram will often list their size, material (steel, plastic), and specific type. Losing or damaging these during a repair can be frustrating, so knowing exactly what you need is key. Common types include push-pin retainers, screw clips, and threaded bolts.
- Access Panels (if any): Some liners might have access panels for reaching certain components without removing the entire liner (e.g., accessing a fog light bulb).
- Reinforcement Ribs: These are molded ridges on the liner surface, adding structural rigidity and preventing deformation.
A typical diagram will provide dimensions or reference points to ensure the correct part is installed. Look for callouts pointing to specific features and their associated part numbers.
Decoding the Symbols
Understanding the symbols used in the diagram is critical. Here's a breakdown of common conventions:
- Solid Lines: Generally represent the visible outline of the part. Thicker lines might indicate edges or surfaces that are more prominent.
- Dashed Lines: Usually indicate hidden lines or features that are behind other components. This could be a hidden fastener or the edge of a part that's obscured from view.
- Callout Lines and Arrows: These point to specific areas of the part and are accompanied by a number or letter. This number/letter will correspond to a parts list or a description of the feature.
- Colors: While not always present in all diagrams, colors can be used to differentiate between different materials or sections of the liner. For example, a different color might indicate a section that's made of a more flexible material.
- Icons: Small icons might represent specific types of fasteners (e.g., a screw head icon, a clip icon).
- Torque Specifications: Some diagrams include torque specifications for screws and bolts. This is crucial for ensuring proper assembly and preventing damage. Look for a 'Nm' (Newton-meters) or 'lb-ft' (pound-feet) value near the fastener callout.
Key to understanding the diagram is the exploded view, which illustrates how each component assembles relative to its neighboring components. This is critical in disassembly and reassembly.
How It Works: Protection and Aerodynamics
The inner fender liner isn't just a cosmetic component; it serves several important functions:
- Protection from Road Debris: The primary function is to shield the engine compartment and other sensitive components from water, mud, salt, stones, and other road debris thrown up by the tires. This prevents corrosion and damage to wiring, hoses, and mechanical parts.
- Aerodynamics: The liner helps to smooth airflow around the wheels and tires, reducing drag and improving fuel efficiency (although the effect is relatively small).
- Noise Reduction: The liner can absorb some of the road noise generated by the tires, contributing to a quieter cabin.
The design of the liner, with its curves and contours, is specifically engineered to deflect debris away from critical areas. The material must be durable enough to withstand constant bombardment from the road.
Real-World Use and Troubleshooting
Here are some common scenarios where a parts diagram can be invaluable:
- Rattling Noises: A loose or damaged liner can cause annoying rattling noises, especially at highway speeds. Use the diagram to inspect all attachment points and replace any missing or broken fasteners.
- Sagging Liner: A sagging liner can rub against the tire, causing wear and damage. The diagram will help you identify the correct placement and attachment points to properly secure it.
- Damaged Liner: If the liner is cracked or torn, it needs to be replaced to maintain its protective function. The diagram will help you identify the correct replacement part and ensure proper installation.
- Replacing Fog Lights or Other Components: The diagram can show you how to access these components by removing sections of the liner or specific access panels.
Basic Troubleshooting Tips:
Visual Inspection: Regularly check the liner for cracks, tears, or loose fasteners.
Listen for Noises: Pay attention to any unusual rattling or rubbing sounds.
Check Attachment Points: Ensure that all fasteners are securely in place.
Safety Considerations
While working on the inner fender liner is generally safe, there are a few precautions to keep in mind:
- Jack Stands: Always use jack stands when working under a vehicle. Never rely solely on a jack.
- Wheel Chocks: Use wheel chocks to prevent the vehicle from rolling.
- Eye Protection: Wear safety glasses to protect your eyes from debris.
- Sharp Edges: Be careful of sharp edges on the liner or surrounding components. Wear gloves to protect your hands.
- Electrical Components: Be aware of any wiring or electrical components located near the liner. Disconnect the battery if you're working near any electrical connections.
The area around the wheel well can accumulate dirt and debris. Cleaning the area before starting work can improve visibility and prevent contamination.
Final Thoughts
A detailed parts diagram for the 2005 Chrysler Sebring Convertible inner fender liner is an essential tool for any DIY mechanic or car owner. By understanding the diagram's symbols, components, and functions, you can confidently tackle repairs, upgrades, and maintenance tasks. Don't underestimate the importance of this seemingly simple part – it plays a crucial role in protecting your vehicle and ensuring its longevity.
We have the full parts diagram file available for download. This will give you access to all the detailed information you need to properly diagnose and repair your vehicle's inner fender liner.