2006 Chevy Silverado Wiring Harness Diagram
If you're tackling electrical work on a 2006 Chevy Silverado, a wiring harness diagram is your best friend. Forget guessing which wire goes where – this document is the Rosetta Stone for your truck's electrical system. This guide will explain how to read and use the 2006 Silverado wiring harness diagram, equipping you with the knowledge to diagnose problems, make repairs, and even perform modifications with confidence. And the best part? We've got the file ready for you to download at the end of this article.
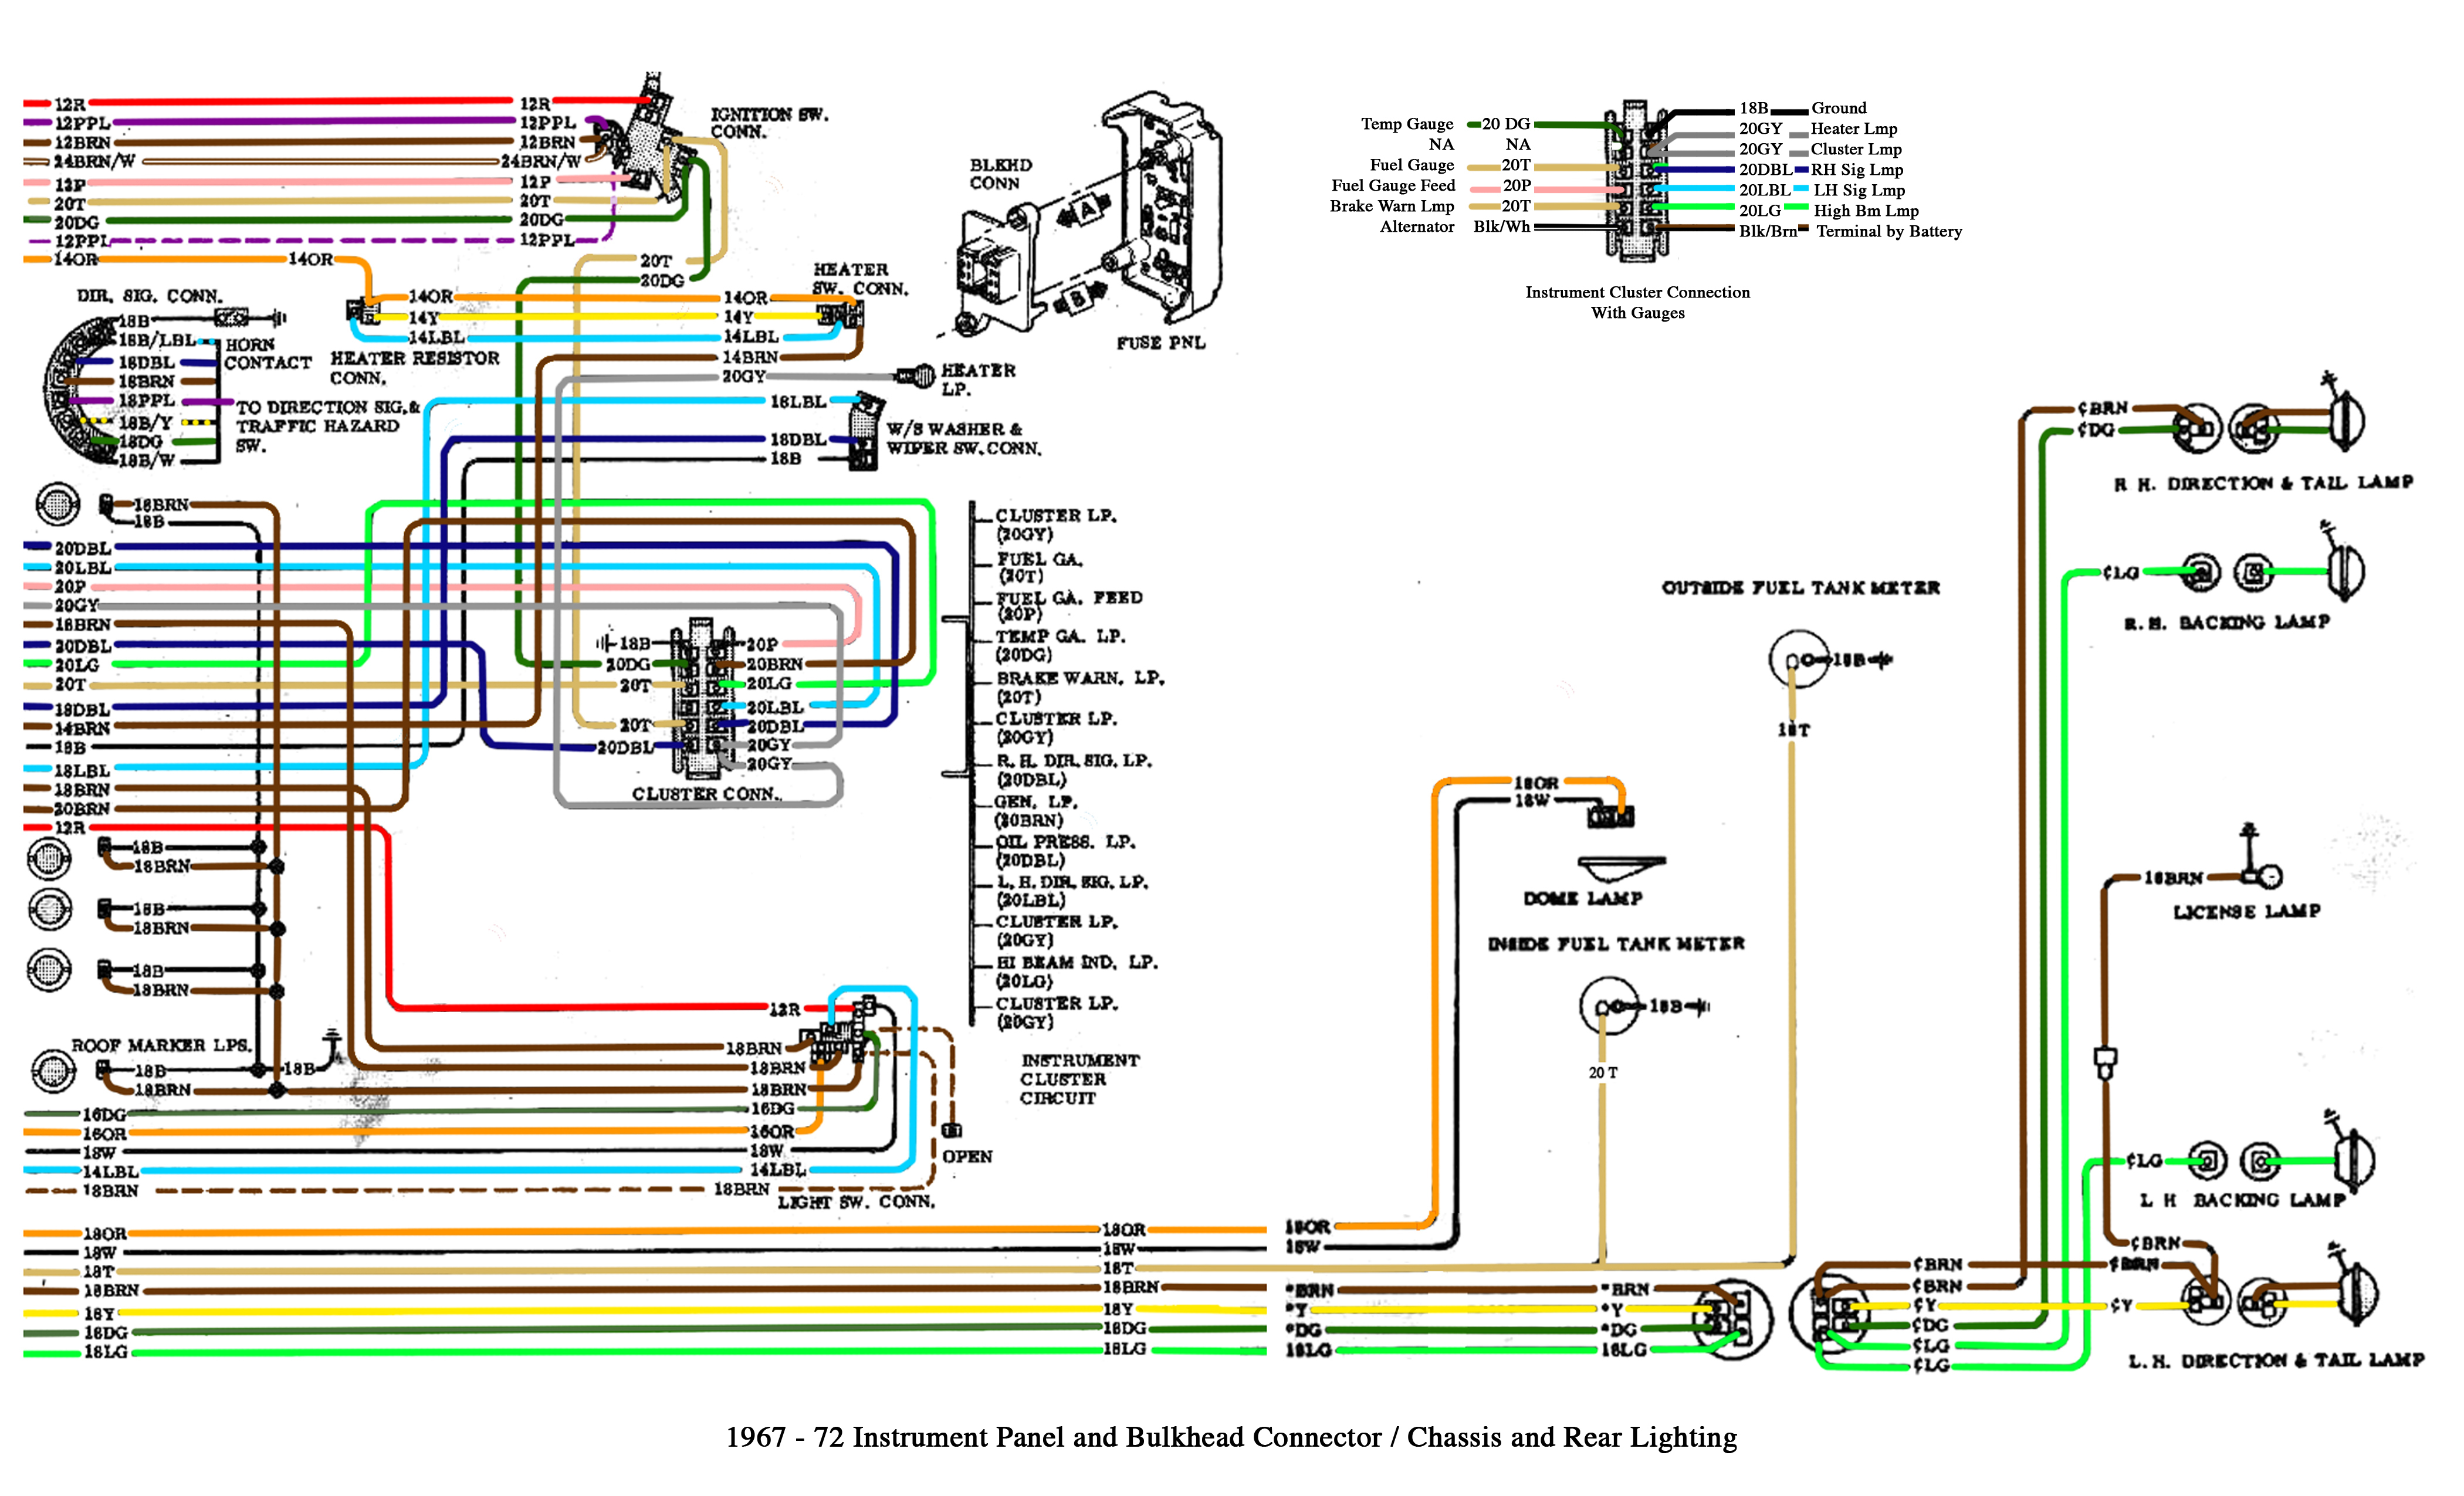
Purpose of the Wiring Harness Diagram
The wiring harness diagram isn't just a pretty picture; it's an essential tool for several reasons:
- Troubleshooting Electrical Issues: When lights flicker, sensors fail, or your radio suddenly cuts out, the diagram helps you trace the circuit to identify the fault. You can pinpoint breaks, shorts, or faulty components by following the wiring paths.
- Repairing Damaged Wiring: Accidents happen. Wires get cut, corroded, or chewed on by rodents. The diagram shows you how to properly splice and reconnect wires, ensuring the repair is done correctly and safely.
- Installing Aftermarket Accessories: Adding a new stereo, lighting, or other electronic devices requires tapping into the existing wiring. The diagram tells you which wires to connect to, preventing accidental shorts or damage to your truck's electrical system.
- Understanding Vehicle Systems: Even if you're not actively working on your truck, studying the wiring diagram gives you a deeper understanding of how its various systems are interconnected and function together.
- Performing Vehicle Modifications: For those wanting to upgrade their trucks, wiring diagrams can be invaluable in performing upgrades, such as engine swaps.
Key Specs and Main Parts
The 2006 Silverado wiring harness is a complex network of wires, connectors, and components. Here's a breakdown of the key elements you'll encounter on the diagram:
- Power Distribution: The diagram shows how power flows from the battery through fuses, relays, and switches to various components. Understanding the power distribution network is crucial for diagnosing power-related issues.
- Grounding Points: Grounding is just as important as power. The diagram identifies all the grounding points in the vehicle, which are essential for completing the electrical circuits. Poor grounding can cause a wide range of electrical problems.
- Connectors: The diagram shows the location and pinout of various connectors throughout the vehicle. This is essential when tracing wires or connecting aftermarket accessories. Connector pinouts specify which wire connects to each pin within the connector.
- Sensors: The 2006 Silverado uses numerous sensors to monitor engine performance, vehicle speed, and other parameters. The diagram shows the location and wiring of these sensors.
- Actuators: Actuators are devices that respond to electrical signals to perform a mechanical action, such as opening a valve or turning on a motor. The diagram shows the wiring and control signals for these actuators.
- Control Modules: The truck has several control modules (ECMs, BCMs, etc.) that manage various systems. The diagram shows how these modules are interconnected and communicate with each other.
Understanding the Symbols
Wiring diagrams use a standardized set of symbols to represent electrical components and connections. Here's a guide to the most common symbols you'll encounter:
- Wires: Represented by solid lines. Thicker lines may indicate wires carrying higher current.
- Splices: Points where two or more wires are joined together. They are typically represented by a dot or a small circle.
- Connectors: Represented by rectangular or circular symbols with numbers indicating the pin connections.
- Grounds: Represented by a symbol resembling an upside-down tree or a series of horizontal lines.
- Fuses: Represented by a zig-zag line inside a rectangle. The amperage rating is usually indicated next to the fuse symbol.
- Relays: Represented by a coil symbol and a switch symbol. The coil controls the switch, allowing a low-current circuit to control a high-current circuit.
- Switches: Represented by a line that can be opened or closed to control the flow of current.
- Resistors: Represented by a zig-zag line.
- Capacitors: Represented by two parallel lines.
- Diodes: Represented by a triangle with a line at one end.
- Colors: Each wire is identified by a color code, typically a two-letter abbreviation (e.g., RD for Red, BK for Black, WT for White, GN for Green, BU for Blue, YL for Yellow).
The color codes are crucial for identifying the correct wires. The diagram will usually include a color code chart or legend to help you decipher the abbreviations. Understanding these symbols and color codes is key to correctly tracing circuits and making accurate repairs.
How It Works: Following a Circuit
The wiring diagram allows you to trace a circuit from its power source (usually the battery) to the component it powers. Here's how to do it:
- Identify the Component: Start by locating the component you're interested in on the diagram (e.g., a headlight, a turn signal, or a sensor).
- Trace the Power Wire: Follow the wire connected to the power terminal of the component back towards the power source. This wire will typically pass through fuses, relays, and switches.
- Identify Ground Connections: Locate the ground wire connected to the component and follow it back to the grounding point. Ensure the grounding point is clean and secure. A loose or corroded ground can cause all sorts of problems.
- Check for Intervening Components: Note any other components that are part of the circuit, such as resistors, capacitors, or diodes. These components can affect the operation of the circuit.
- Verify Connections: Using a multimeter, verify that you have voltage at the component when the circuit is supposed to be active. Also, verify continuity between the ground wire and the vehicle's chassis.
Real-World Use: Basic Troubleshooting Tips
Here are some basic troubleshooting tips using the wiring diagram:
- No Power to a Component: Check the fuse for that circuit. If the fuse is blown, replace it with a fuse of the same amperage rating. If the fuse blows again immediately, there's a short circuit in the wiring. Use the diagram to trace the wiring and find the short.
- Component Not Working: Use a multimeter to check for voltage at the component. If there's no voltage, trace the power wire back to the fuse or relay, checking for breaks or loose connections along the way. Also, check the ground connection.
- Erratic Behavior: Erratic behavior can be caused by loose connections, corroded wires, or faulty components. Use the diagram to check the wiring and connections associated with the component.
- Sensor Malfunction: If a sensor is malfunctioning, check the wiring to the sensor for damage or corrosion. Also, check the sensor's power and ground connections. Use a multimeter to check the sensor's output signal.
For example, if your tail lights aren't working, consult the wiring diagram to locate the tail light circuit. Check the fuse for the tail lights. If the fuse is good, use a multimeter to check for voltage at the tail light sockets. If there's no voltage, trace the wiring back to the switch and check the switch for proper operation. Also, check the ground connections for the tail lights.
Safety Considerations
Working with automotive electrical systems can be dangerous. Here are some important safety precautions:
- Disconnect the Battery: Always disconnect the negative battery terminal before working on the electrical system to prevent accidental shorts or electric shock.
- Use Proper Tools: Use insulated tools designed for automotive electrical work.
- Never Work on a Live Circuit: Unless specifically instructed to do so for testing purposes, always disconnect the battery before working on a circuit.
- Identify High-Current Circuits: Pay special attention to high-current circuits, such as the starter motor and the alternator. These circuits can deliver a powerful electric shock.
- Be Careful with Airbags: Airbags are electrically activated and can be accidentally deployed if mishandled. Follow the manufacturer's instructions for disabling the airbag system before working near airbags or related wiring. Accidental deployment can cause serious injury.
- Double-Check Your Work: Before reconnecting the battery, double-check your work to ensure that all connections are secure and that there are no exposed wires.
Remember, the wiring diagram is a guide, but it's not a substitute for proper training and experience. If you're not comfortable working on your vehicle's electrical system, it's best to consult a qualified mechanic.
By understanding and using the 2006 Chevy Silverado wiring harness diagram, you can tackle a wide range of electrical repairs and modifications with confidence. Good luck, and happy wrenching!
You can download the complete 2006 Chevy Silverado Wiring Harness Diagram [HERE - Placeholder Link].