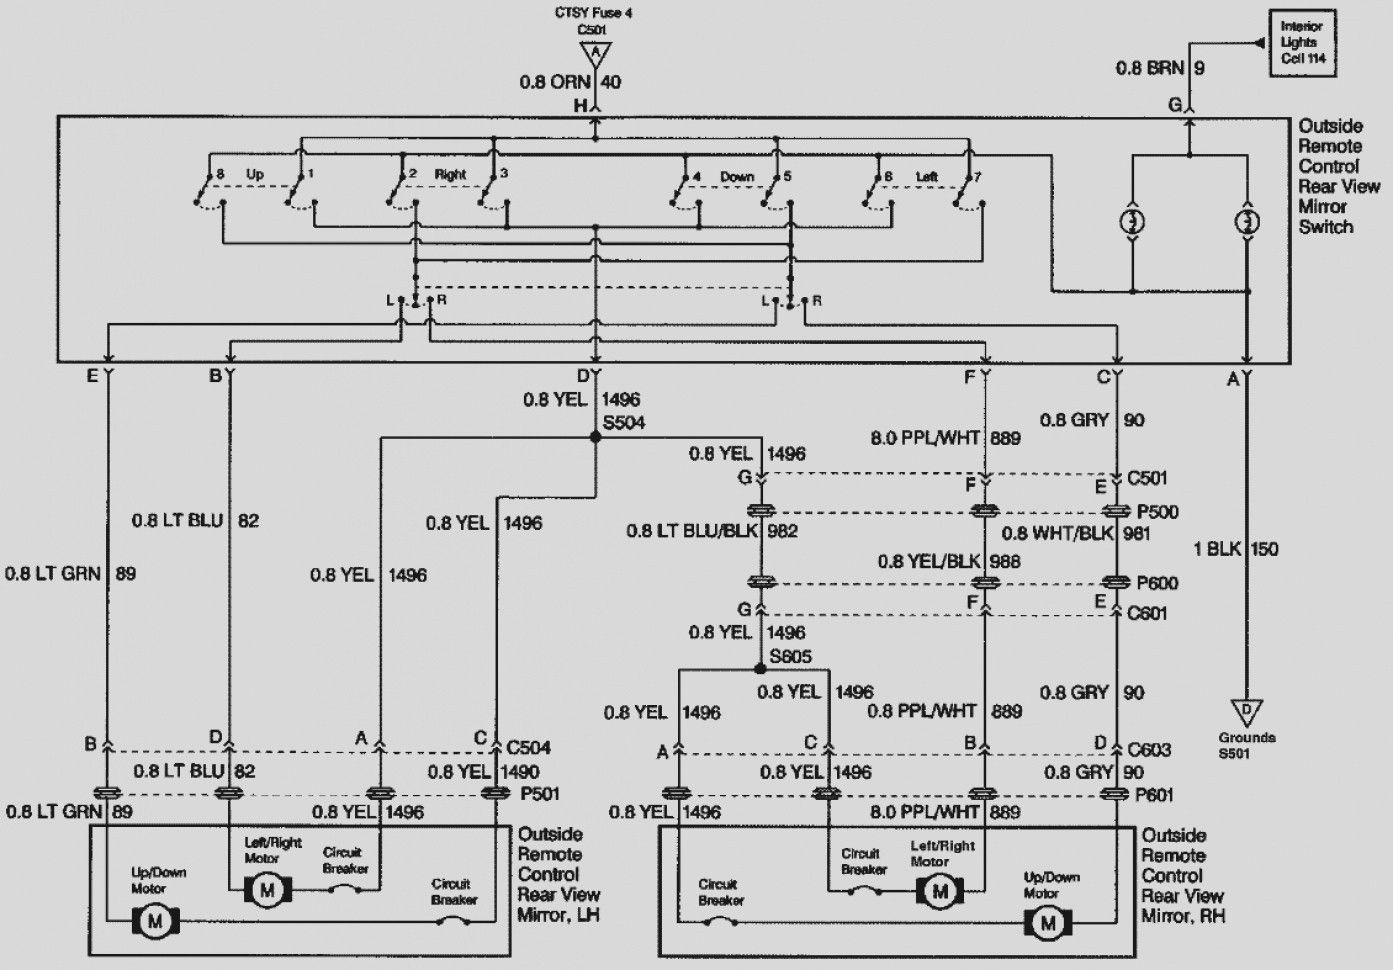
2006 Chevy Trailblazer Radio Wiring Diagram
The 2006 Chevrolet Trailblazer, a popular mid-size SUV, often requires radio work – whether it's replacing a blown fuse, installing a new aftermarket head unit, or diagnosing speaker issues. Having access to the radio wiring diagram is absolutely crucial for anyone tackling these tasks. This article provides a detailed explanation of the 2006 Trailblazer radio wiring diagram, covering its purpose, key components, symbol interpretation, functionality, practical applications, and vital safety precautions. We'll treat you like an experienced DIYer, using technical terms but providing clear explanations along the way. We even have the full diagram available for download, which we'll mention at the end.
Purpose of the Radio Wiring Diagram
A radio wiring diagram is essentially a roadmap for the electrical system connected to your vehicle's radio. It illustrates how different components are connected, showing the flow of electrical current between them. Understanding this diagram is essential for several reasons:
- Troubleshooting: When your radio malfunctions (no sound, distortion, doesn't turn on), the diagram helps pinpoint the source of the problem. You can trace circuits to identify faulty wires, connectors, or components.
- Upgrading: Installing a new aftermarket head unit, amplifier, or speakers requires understanding the existing wiring. The diagram shows which wires handle power, ground, speakers, and remote turn-on.
- Repairing: Damaged wiring can cause various issues. The diagram guides you in repairing or replacing damaged wires, ensuring proper connections and preventing further damage.
- Learning: Even if you're not currently experiencing radio issues, studying the diagram can help you understand the electrical system of your vehicle better, improving your overall automotive knowledge.
Key Specs and Main Parts
The 2006 Trailblazer's radio system, while seemingly simple, comprises several key components, each connected through a specific wiring harness. Here's a breakdown:
- Head Unit (Radio Receiver): The central control unit, often referred to as the receiver, handles radio reception, audio processing, and input selection (AM/FM, CD, Aux). It's the brain of the operation.
- Speakers: The speakers, typically located in the front and rear doors, convert electrical signals into audible sound. Standard configurations usually include front tweeters and woofers, plus rear speakers.
- Amplifier (Optional): Some Trailblazers came with a factory amplifier, usually located under the rear seat. This amplifies the audio signal before it reaches the speakers, providing a louder and cleaner sound. Premium systems almost always include one.
- Wiring Harness: The wiring harness is a bundle of wires that connect the head unit to the vehicle's electrical system, speakers, and other components. It includes wires for power, ground, speakers, illumination, and data communication.
- Antenna: The antenna receives radio signals. It's typically mounted on the roof or integrated into the rear window.
- Ground Connection: Ground wires are crucial for completing electrical circuits. They provide a path for current to return to the vehicle's battery.
- Retained Accessory Power (RAP): The RAP circuit allows the radio to remain powered on for a short time after the ignition is turned off.
- Chime Module: The chime module generates warning chimes (e.g., seatbelt reminder, door open). Its audio often gets routed through the radio speakers.
Understanding the Symbols
The radio wiring diagram uses a set of standard symbols to represent different components and wiring connections. Deciphering these symbols is essential for correctly interpreting the diagram.
- Lines: Lines represent wires. Thicker lines usually indicate power or ground wires, while thinner lines represent signal wires. Dotted or dashed lines may indicate shielded wires.
- Colors: Each wire is assigned a specific color code (e.g., red for power, black for ground). The diagram provides a key that identifies the color code for each wire. It's critical to note that while color codes are standardized, variations can sometimes exist, so always double-check.
- Connectors: Connectors are represented by different shapes, such as circles, squares, or rectangles. Each connector is labeled with a code that identifies its location and function.
- Ground Symbol: The ground symbol looks like a downward-pointing tree or a series of stacked horizontal lines. It indicates a connection to the vehicle's chassis ground.
- Component Symbols: Specific symbols represent different components, such as resistors, capacitors, diodes, and transistors. For radio diagrams, you'll primarily see symbols for speakers, amplifiers, and the head unit itself.
- Splices: A splice is where two or more wires are joined together. Splices are typically indicated by a small dot or a circle where the lines intersect.
Pay close attention to the wire colors and connector codes, as they are essential for identifying the correct wires and connections. Misidentifying a wire can lead to short circuits and damage to your electrical system.
How It Works
The radio wiring diagram illustrates the flow of electrical current through the radio system. The battery provides power to the head unit through a fuse. When the ignition is turned on, the head unit receives a signal that tells it to turn on. The head unit then processes audio signals from various sources (radio, CD, Aux) and sends them to the speakers or amplifier. The ground wires complete the circuit, allowing the current to return to the battery.
In systems with an amplifier, the head unit sends a low-level audio signal to the amplifier. The amplifier then boosts the signal and sends it to the speakers. The amplifier also requires a power and ground connection, as well as a remote turn-on signal from the head unit.
Data communication, often using a protocol called General Motors LAN (GMLAN) or CAN bus, might also be present. This allows the radio to communicate with other vehicle systems, such as the instrument panel, for displaying radio information and controlling functions like steering wheel audio controls.
Real-World Use: Basic Troubleshooting
Here are some basic troubleshooting tips using the radio wiring diagram:
- No Power: Check the fuse that powers the radio. The diagram will show you which fuse to check. If the fuse is blown, replace it with a fuse of the same amperage. If the fuse blows again, there's likely a short circuit in the wiring. Use the diagram to trace the power wire and look for any damaged or exposed wires.
- No Sound: Check the speaker wires. The diagram will show you which wires connect to each speaker. Make sure the wires are securely connected to the speakers and the head unit. If the wires are damaged, repair or replace them. Also, check the speaker fuses if present.
- Distorted Sound: Check the speaker impedance. Using a multimeter, measure the resistance of the speaker. The impedance should match the specifications of the head unit or amplifier. If the impedance is too low, the speaker may be damaged.
- Aftermarket Head Unit Installation: Use the diagram to identify the power, ground, speaker, and remote turn-on wires. Connect the corresponding wires from the aftermarket head unit to the vehicle's wiring harness using a wiring adapter. Avoid cutting the factory wiring harness, if possible, to preserve the vehicle's resale value and prevent future problems.
Safety Precautions
Working with electrical systems can be dangerous. Always take the following safety precautions:
- Disconnect the Battery: Before working on any electrical wiring, disconnect the negative terminal of the battery. This will prevent accidental short circuits and electric shocks.
- Use Insulated Tools: Use insulated tools to prevent electric shocks.
- Avoid Working in Wet Conditions: Water can conduct electricity, increasing the risk of electric shock.
- Double-Check Connections: Before reconnecting the battery, double-check all wiring connections to ensure they are secure and correct.
- Airbags: Be extremely careful around airbag components and wiring. Accidental activation can cause serious injury. Consult a professional if you are unsure.
- Capacitors: Large amplifiers may contain large capacitors that can store a charge even after the battery is disconnected. Discharge the capacitors before working on the amplifier.
The most critical safety measure is disconnecting the battery. Failure to do so can result in serious injury or death.
We understand the importance of having the actual wiring diagram at your fingertips. We have the 2006 Chevy Trailblazer radio wiring diagram available for download. Please reach out, and we will happily provide it to you. Good luck with your project!