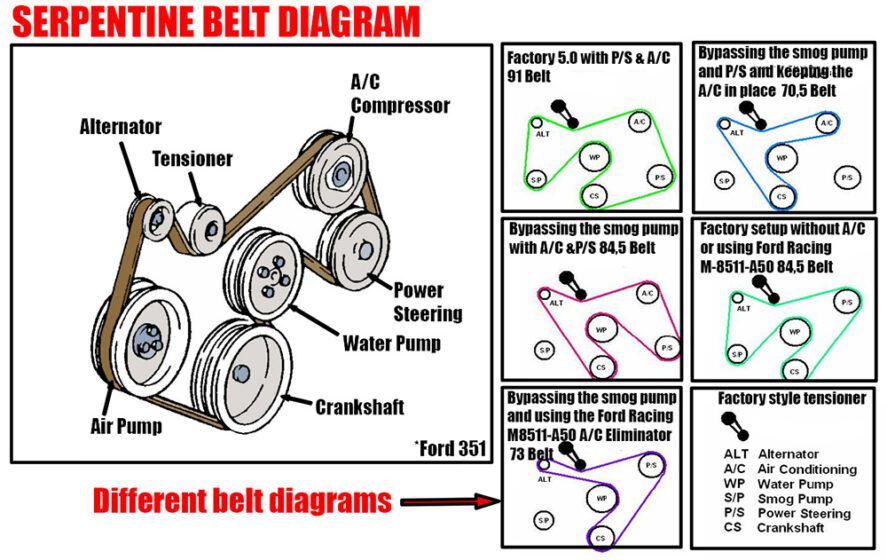
2006 Dodge Charger 5.7 Serpentine Belt Diagram
Alright, let's dive into the serpentine belt system on your 2006 Dodge Charger with the 5.7L HEMI. Understanding this system is crucial for preventative maintenance, diagnosing issues, and even performing some basic repairs yourself. This article will arm you with the knowledge you need to confidently tackle serpentine belt-related tasks. We'll cover the diagram, its components, and how it all works together. Plus, we'll touch on safety and troubleshooting to keep you rolling smoothly.
Why You Need This Diagram
The serpentine belt diagram is your roadmap to understanding how your engine's accessories are driven. Think of it as the key to deciphering the serpentine belt's path around various pulleys. Why is this important? Several reasons:
- Replacement: When it's time to replace your serpentine belt (and it will be!), the diagram ensures you route the new belt correctly. Incorrect routing can lead to accessory failure and engine damage.
- Diagnosis: Squealing belts, overheating, or non-functioning power steering can often be traced back to a faulty belt or tensioner. The diagram helps you identify the components involved and pinpoint the source of the problem.
- Learning: Even if you're not actively working on your car, understanding how the serpentine belt system functions is a valuable bit of automotive knowledge. It gives you a better appreciation for how your engine operates.
- Modifications: If you plan on adding aftermarket accessories that tap into the engine's power (like a supercharger or high-output alternator), you'll need to understand the existing belt system to make the necessary modifications.
Key Specs and Main Parts of the Serpentine System
Before we get into the diagram itself, let's review the major players in the 2006 Charger 5.7L's serpentine system:
- Serpentine Belt: The long, winding belt responsible for transferring rotational power from the crankshaft to the various accessories. It's made of a durable rubber compound and is designed to withstand high temperatures and constant flexing.
- Crankshaft Pulley (Damper): The pulley attached to the crankshaft. It's the driving force behind the entire serpentine system. This often incorporates a harmonic balancer to reduce torsional vibrations from the engine.
- Alternator Pulley: The pulley connected to the alternator. The alternator generates electrical power to charge the battery and run the car's electrical systems.
- Power Steering Pump Pulley: Powers the hydraulic power steering system, assisting with steering effort.
- Water Pump Pulley: Circulates coolant through the engine and radiator, maintaining optimal operating temperature.
- A/C Compressor Pulley: Engages and disengages to power the air conditioning compressor, providing cool air to the cabin.
- Idler Pulley(s): Smooth, bearing-mounted pulleys that guide the serpentine belt and maintain proper tension. They have no direct function other than guiding the belt.
- Belt Tensioner: This is the unsung hero. The tensioner uses a spring-loaded arm and pulley to maintain constant tension on the serpentine belt. Without it, the belt would slip and accessories wouldn't function properly. A failing tensioner is a common cause of squealing belts.
Important: The orientation and number of idler pulleys can vary slightly depending on factory options or aftermarket modifications.
Decoding the Diagram: Symbols and Conventions
Serpentine belt diagrams are generally straightforward, but understanding the symbols and conventions will help you interpret them accurately:
- Solid Lines: Represent the path of the serpentine belt. Follow the line to see how the belt wraps around each pulley.
- Arrows: Indicate the direction of belt travel. This is crucial for understanding how each accessory is driven.
- Pulley Symbols: Pulleys are typically represented as circles. Some diagrams may label them with abbreviations like "ALT" for alternator, "P/S" for power steering, "W/P" for water pump, "A/C" for air conditioning, "CRANK" for crankshaft, and "IDLER" for idler pulley.
- Tensioner Symbol: The tensioner is often depicted with a spring or an arrow indicating the direction of tension. It might also include a note indicating the direction to rotate the tensioner for belt removal/installation.
- Routing Path: Some diagrams use shading or different line thicknesses to emphasize the belt routing. Pay attention to how the belt wraps around each pulley – especially the crankshaft pulley, as this is the driving point.
Color-Coding: In some advanced diagrams, different colors might represent different sections of the belt path or highlight specific components. However, most diagrams use a simple black-and-white format.
How the Serpentine System Works
The principle is fairly simple: the crankshaft pulley, driven by the engine, turns the serpentine belt. The belt, in turn, wraps around the pulleys of the various accessories, transferring rotational energy to them. The belt tensioner keeps the belt taut, preventing slippage and ensuring efficient power transfer.
Think of it as a chain reaction: crankshaft rotation -> belt movement -> accessory pulley rotation -> accessory function (alternator charging, power steering assist, etc.).
The belt tension is crucial. Too loose, and the belt will slip, causing reduced performance and potential damage to the accessories. Too tight, and it can prematurely wear out the belt, bearings in the accessories, and even the crankshaft damper. The tensioner is designed to maintain this delicate balance.
Real-World Use: Basic Troubleshooting
Here are a few common serpentine belt-related issues and how the diagram can help you troubleshoot them:
- Squealing Belt: This is often caused by a worn belt, a failing tensioner, or a misaligned pulley. Use the diagram to inspect the belt's path and check the condition of each pulley. A shiny or glazed belt is a sign of wear. Check the tensioner's movement; it should move smoothly without excessive play.
- Accessory Failure: If one of your accessories isn't working (e.g., the A/C is blowing warm air), the diagram helps you isolate the problem. Check if the belt is properly routed around that accessory's pulley. If the belt is intact and properly routed, the issue may lie within the accessory itself.
- Overheating: A broken or slipping serpentine belt can prevent the water pump from circulating coolant, leading to overheating. The diagram will show you the water pump pulley's location in the belt path.
Note: Before replacing a belt, carefully inspect all the pulleys for damage or misalignment. A worn or damaged pulley can quickly ruin a new belt.
Safety First!
Working on the serpentine system can be dangerous if you don't take proper precautions:
- Disconnect the Battery: Always disconnect the negative battery cable before working on any electrical components, including the alternator.
- Hot Engine: Never work on the serpentine system when the engine is hot. Allow it to cool down completely to prevent burns.
- Moving Parts: Keep your hands, tools, and clothing away from the serpentine belt and pulleys when the engine is running. A spinning belt can cause serious injury.
- Tensioner Spring: The belt tensioner is under spring tension. Use the correct tool to relieve the tension before removing the belt. Releasing the tension without the proper tool can result in injury.
Important: The crankshaft damper (harmonic balancer) is a critical component. Never attempt to remove it without the proper tools and knowledge. Incorrect removal or installation can damage the engine.
Download Your Diagram
Now that you have a solid understanding of the 2006 Dodge Charger 5.7L serpentine belt system, you're ready to tackle repairs or modifications with confidence. As mentioned, we have the detailed diagram available for you. It's a valuable resource to keep handy in your garage.