2006 Dodge Durango Serpentine Belt Diagram
Alright, let's dive into the serpentine belt system of the 2006 Dodge Durango. Whether you're dealing with a squealing belt, planning some preventive maintenance, or just expanding your automotive know-how, understanding this system is crucial. This article will break down the serpentine belt diagram, explain how it works, and provide some practical tips for troubleshooting. We’ve got the complete diagram available for download (link at the end!), but before you rush off to print it, let’s make sure you know how to read and interpret it.
Purpose of the Serpentine Belt Diagram
The serpentine belt diagram is your roadmap for the belt's path around various engine components. It serves several important purposes:
- Repair and Replacement: If your serpentine belt breaks or needs replacement, the diagram is essential for ensuring the new belt is routed correctly. An incorrectly routed belt can damage components and render them inoperable.
- Troubleshooting: Understanding the belt's path helps diagnose issues like squealing noises, insufficient power steering, or a failing alternator.
- Preventive Maintenance: The diagram allows you to visually inspect the belt's alignment and condition, helping you identify potential problems before they lead to a breakdown.
- Understanding System Function: By studying the diagram, you gain a better understanding of how the various engine accessories are driven and their interdependence.
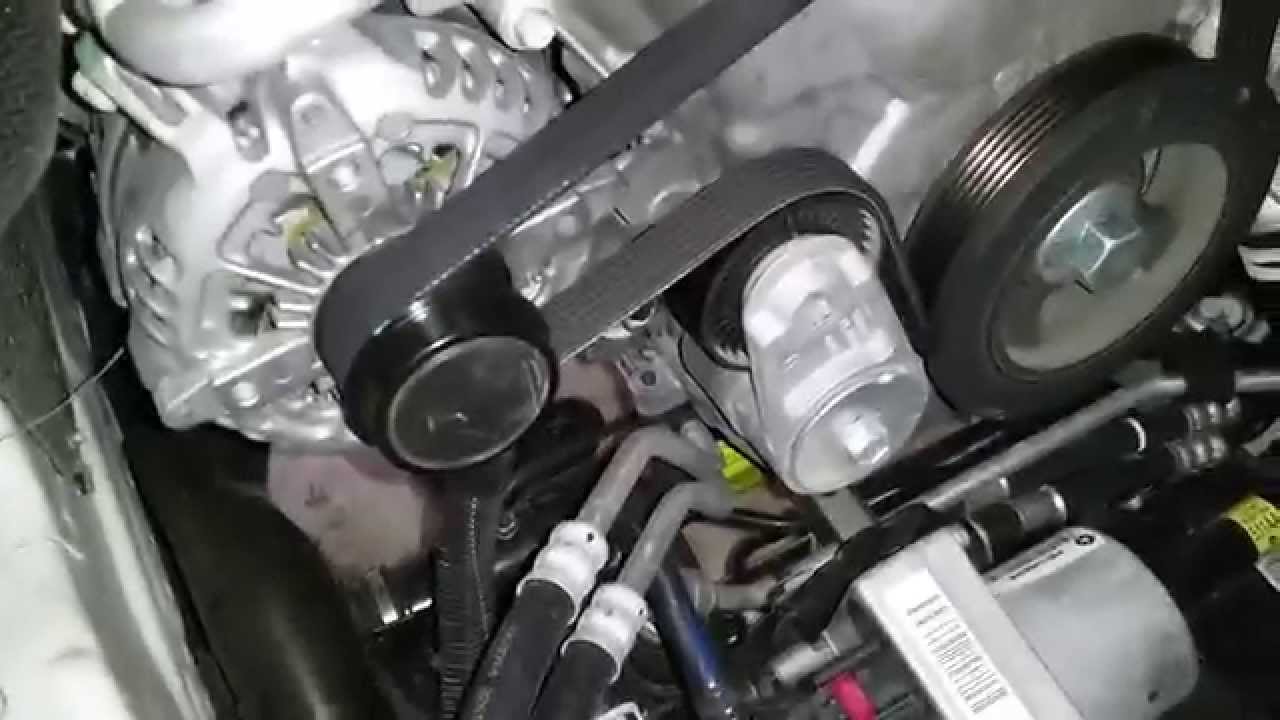
Key Specs and Main Parts of the 2006 Dodge Durango Serpentine Belt System
The 2006 Dodge Durango came with several engine options, each with potentially different serpentine belt configurations. It's crucial to identify your specific engine before consulting the diagram. Common engines included the 3.7L V6, the 4.7L V8, and the 5.7L HEMI V8. Always verify your engine type with the VIN.
Regardless of the engine, the core components remain the same:
- Serpentine Belt: A single, long belt that drives multiple engine accessories.
- Crankshaft Pulley (Damper): Driven directly by the engine, it's the starting point of the serpentine belt's journey. This pulley dampens torsional vibrations from the engine.
- Alternator Pulley: Driven by the serpentine belt to generate electricity.
- Power Steering Pump Pulley: Driven by the serpentine belt to provide hydraulic assistance for steering.
- Air Conditioning Compressor Pulley: Driven by the serpentine belt to power the air conditioning system.
- Water Pump Pulley: Driven by the serpentine belt to circulate coolant through the engine. This is critical for preventing overheating.
- Idler Pulley(s): Smooth pulleys that guide the belt and maintain proper tension. They do not drive any components.
- Tensioner Pulley: A spring-loaded pulley that automatically maintains the correct tension on the serpentine belt. This is a crucial component for proper system operation.
Understanding Serpentine Belt Diagram Symbols
Serpentine belt diagrams use a standardized set of symbols and conventions to represent the system's components and belt path. Here's a breakdown of what you might encounter:
- Solid Lines: Typically represent the portion of the serpentine belt that is visible on the front of the engine.
- Dashed Lines: Typically represent the portion of the serpentine belt that is hidden from view (e.g., behind another component).
- Arrows: Indicate the direction of belt travel around each pulley. Pay close attention to these!
- Pulley Icons: Simplified representations of each pulley, often labeled with abbreviations like "ALT" for alternator, "P/S" for power steering, "A/C" for air conditioning, "W/P" for water pump, "CRANK" for crankshaft, "IDL" for idler pulley, and "TENS" for tensioner.
- Color Coding (less common): Some diagrams use color to differentiate between the front and back sides of the belt, or to highlight specific sections. Refer to the diagram's legend if color is used.
The diagram isn't a photographic representation. It's a schematic, so focus on the relative positions of the pulleys and the direction of belt travel.
How the Serpentine Belt System Works
The serpentine belt system is elegantly simple in concept: the crankshaft, driven by the engine's combustion process, rotates the crankshaft pulley. The serpentine belt, wrapped around this pulley and all the other accessory pulleys, transfers this rotational force to each component. The tensioner pulley ensures the belt remains tight, preventing slippage and ensuring efficient power transfer.
Each accessory plays a crucial role. The alternator charges the battery and powers the electrical system. The power steering pump provides hydraulic assist for steering. The air conditioning compressor cools the cabin. The water pump circulates coolant to prevent overheating. If the serpentine belt breaks, all of these systems will cease to function, potentially leading to serious engine damage (overheating) and a loss of vehicle control (loss of power steering).
Real-World Use: Basic Troubleshooting Tips
Here are some common issues you might encounter and how the serpentine belt diagram can help:
- Squealing Noise: Often indicates a worn, glazed, or loose serpentine belt. Inspect the belt for cracks, fraying, or missing chunks. Use the diagram to check the alignment of the belt on each pulley. Make sure the tensioner is functioning correctly. A visual inspection with the diagram is a great starting point.
- Loss of Power Steering or Air Conditioning: If you lose one or more accessories but the engine is still running, the serpentine belt may be slipping or broken. Check the belt's condition and tension. Use the diagram to ensure the belt is correctly routed around the affected pulley.
- Overheating: If the water pump isn't being driven, the engine will overheat quickly. A broken or slipping serpentine belt is a likely culprit. Again, consult the diagram to confirm the belt's path and condition.
- Belt "Walking" off the Pulleys: This indicates a misalignment issue. Use a straight edge to check the alignment of all pulleys in relation to each other. A bent or damaged pulley bracket can cause misalignment. Refer to the diagram to verify the correct pulley arrangement.
Important Note: Before replacing the serpentine belt, inspect all pulleys for damage. A rough or worn pulley can quickly destroy a new belt. Spin each pulley by hand (with the engine off!) to check for smoothness and bearing noise.
Safety Considerations
Working on the serpentine belt system involves some inherent risks:
- Moving Parts: The engine must be off and the key removed from the ignition before working on the serpentine belt system. Even a momentary engine start can cause serious injury.
- Hot Components: The engine and exhaust system can be very hot, even after the engine has been off for a while. Allow the engine to cool completely before working on the serpentine belt system.
- Spring-Loaded Tensioner: The tensioner pulley is spring-loaded and can snap back forcefully when released. Use the correct tool to relieve the tension on the belt and safely remove it. Improper handling can result in pinched fingers or other injuries.
Always wear safety glasses when working on the serpentine belt system. Debris and sharp edges can cause eye injuries.
When replacing the serpentine belt, it’s good practice to replace the tensioner and idler pulleys at the same time, especially if they have a lot of miles on them. It’s cheap insurance against future problems.
By following this guide and carefully studying the serpentine belt diagram, you'll be well-equipped to troubleshoot and maintain this crucial system on your 2006 Dodge Durango.
You can download the detailed serpentine belt diagram HERE (link to diagram file). Remember to verify that the diagram corresponds to your specific engine.