
2006 Gmc Sierra Serpentine Belt Diagram
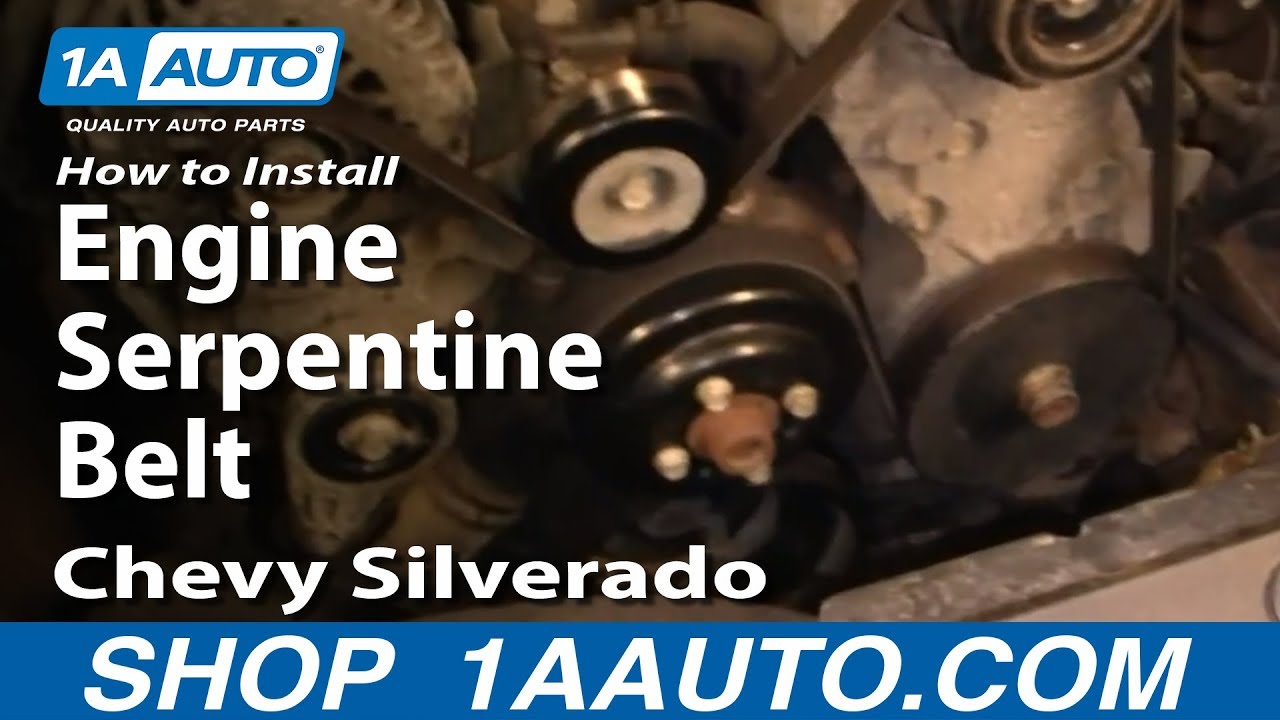
The serpentine belt in your 2006 GMC Sierra is a critical component, responsible for powering several essential engine accessories. A stretched, cracked, or broken belt can lead to a host of problems, from a dead battery to loss of power steering and even overheating. This article provides a detailed explanation of the 2006 GMC Sierra serpentine belt diagram, equipping you with the knowledge to diagnose issues, perform replacements, and generally understand this vital engine system.
Purpose of the Serpentine Belt Diagram
The serpentine belt diagram is your roadmap for understanding the belt's routing around the various pulleys. It’s essential for:
- Diagnosis and Troubleshooting: Quickly identify if the belt is correctly routed or if it's missing a pulley.
- Belt Replacement: Ensures you install the new belt correctly, preventing damage and ensuring proper accessory function.
- Accessory Repair/Replacement: When replacing the alternator, power steering pump, or other belt-driven components, you need to know how to remove and reinstall the belt.
- Preventative Maintenance: Understanding the belt's path helps you visually inspect it for wear and tear more effectively.
Having a readily available and understandable diagram saves time, prevents costly mistakes, and empowers you to tackle many common maintenance tasks yourself. We have the diagram available for download at the end of this article.
Key Specs and Main Parts
The 2006 GMC Sierra offered several engine options, each with a slightly different serpentine belt configuration. The most common engine sizes were the 4.3L V6, the 4.8L V8, the 5.3L V8, and the 6.0L V8. While the fundamental principle remains the same, the specific routing and belt length differ.
Here's a breakdown of the typical components you'll find in the serpentine belt system:
- Crankshaft Pulley (Harmonic Balancer): Located at the bottom of the engine, connected directly to the crankshaft. It's the driving pulley for the entire system.
- Alternator Pulley: Powers the alternator, which charges the battery and provides electricity to the vehicle's electrical system.
- Power Steering Pump Pulley: Powers the power steering pump, providing hydraulic assistance for steering.
- Air Conditioning Compressor Pulley: Powers the A/C compressor, responsible for cooling the cabin.
- Water Pump Pulley: Powers the water pump, which circulates coolant throughout the engine to prevent overheating.
- Idler Pulley(s): Smooth, bearing-mounted pulleys that guide the belt and maintain proper tension. They don't drive any specific accessory.
- Tensioner Pulley: Spring-loaded pulley that maintains constant tension on the belt, preventing slippage and ensuring optimal performance. The tensioner pulley often has a square hole for a ratchet or breaker bar to relieve tension during belt installation/removal.
- Serpentine Belt: The reinforced rubber belt itself, transmitting power from the crankshaft pulley to the other accessories. It's typically made of EPDM (ethylene propylene diene monomer) rubber for heat and wear resistance.
Symbols and Diagram Interpretation
Understanding the symbols used in the serpentine belt diagram is crucial for proper interpretation. Here's a typical breakdown:
- Solid Lines: Represent the path of the serpentine belt as it wraps around the pulleys.
- Arrows: Indicate the direction of belt rotation. Pay attention to these, especially around idler pulleys.
- Pulley Symbols: Simple circles generally represent pulleys. Some diagrams may include specific icons for each accessory (e.g., a stylized alternator, steering wheel for the power steering pump).
- Component Labels: Abbreviations like "ALT" for alternator, "P/S" for power steering, "A/C" for air conditioning compressor, "WP" for water pump, "CRANK" for crankshaft, "IDLER" for idler pulley, and "TENSIONER" for tensioner.
The diagram will clearly show the sequence in which the belt wraps around each pulley. Note the difference between the smooth side and the grooved (ribbed) side of the belt. The ribbed side always engages with the grooved pulleys (alternator, power steering pump, A/C compressor, water pump, crankshaft), while the smooth side engages with smooth pulleys (idler pulleys, tensioner).
How It Works
The serpentine belt system is a closed-loop power transmission system. The crankshaft pulley, driven by the engine's combustion, is the driving force. As the crankshaft rotates, it turns the serpentine belt, which in turn drives the pulleys connected to the various engine accessories.
The tensioner pulley plays a critical role in maintaining the correct belt tension. As the belt wears and stretches over time, the tensioner automatically adjusts to compensate, ensuring consistent power delivery to the accessories. Without proper tension, the belt will slip, leading to reduced performance and potential damage to the accessories.
Real-World Use: Basic Troubleshooting
Here are a few common issues you might encounter and how the serpentine belt diagram can help:
- Squealing Noise: Often indicates a slipping belt due to wear, contamination (oil or coolant), or insufficient tension. Check the belt for cracks, glazing, or debris. Refer to the diagram to ensure the belt is correctly routed and that the tensioner is functioning properly. If the tensioner is weak or seized, it needs replacement.
- Accessory Malfunction: If one accessory (e.g., alternator, power steering) is not working, check the belt to see if it's still intact and properly routed around that specific pulley. A broken belt will obviously prevent all accessories from functioning.
- Battery Not Charging: This could be due to a faulty alternator, but first, check the serpentine belt to ensure it's properly driving the alternator pulley. A slipping belt can prevent the alternator from generating sufficient power.
- Overheating: A failing water pump (often driven by the serpentine belt) will cause overheating. Make sure the belt is routed correctly and has enough tension to drive the water pump efficiently.
When troubleshooting, always start with a visual inspection of the belt and pulleys. Look for signs of wear, damage, misalignment, or contamination. Use the diagram to verify the correct belt routing and tensioner operation.
Safety Considerations
Working on the serpentine belt system can be dangerous if proper precautions aren't taken:
- Engine Off: Always ensure the engine is completely off and the key is removed from the ignition before working on the belt system.
- Hot Engine: Avoid working on the engine immediately after it has been running, as components can be extremely hot.
- Moving Parts: Keep hands, clothing, and tools away from moving parts, especially when the engine is running.
- Tensioner Spring: The tensioner pulley is spring-loaded and can snap back with considerable force when released. Use the appropriate tool (usually a wrench or socket) to carefully relieve tension before removing the belt. Refer to your vehicle's repair manual for specific instructions on tensioner operation.
- Battery Disconnect: It's advisable to disconnect the negative battery terminal before starting any work on the electrical components of the engine.
The crankshaft pulley is a high-inertia component. Never attempt to stop or slow it down while the engine is running. The alternator, while driven by the belt, is connected to the vehicle's electrical system. Care should be taken to avoid shorts or damage to the alternator during belt replacement.
Now that you have a detailed understanding of the 2006 GMC Sierra serpentine belt system, you're better equipped to handle maintenance and repairs. Remember, using the correct diagram for your specific engine is vital. Download the appropriate serpentine belt diagram below, and always prioritize safety when working on your vehicle.