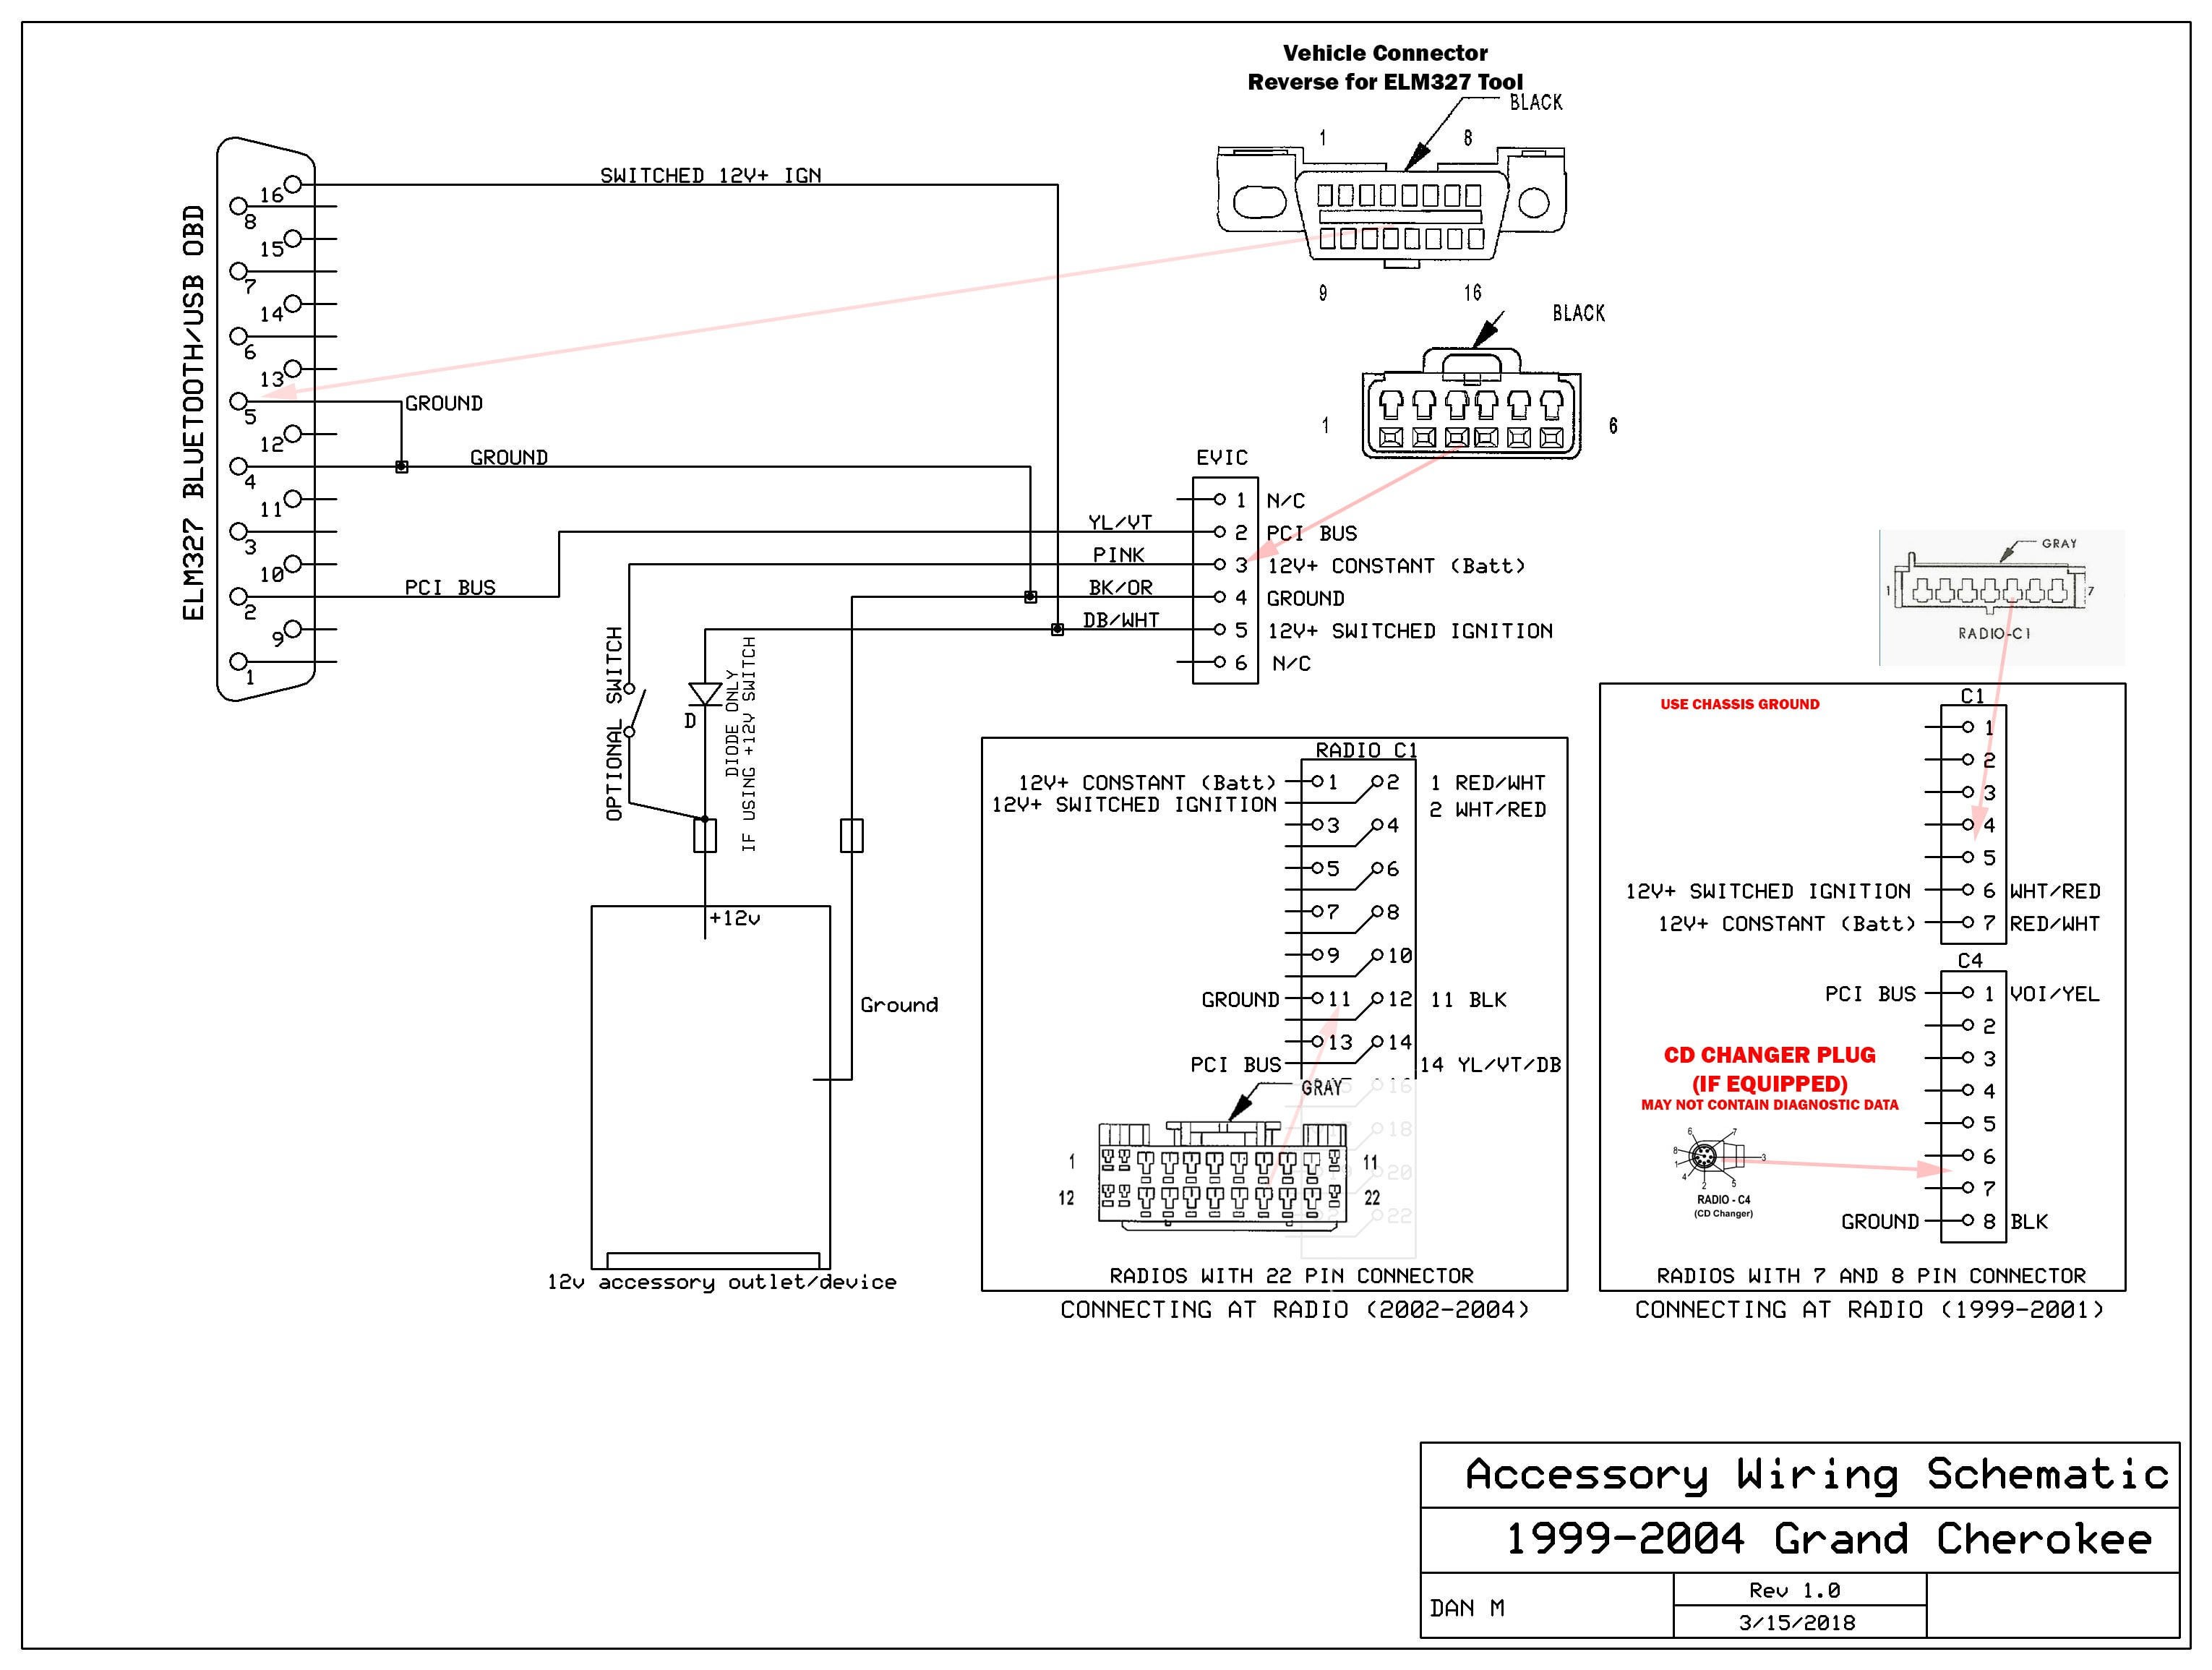
2006 Jeep Grand Cherokee Radio Wiring Diagram
Let's dive into the often-intricate world of car audio wiring, specifically focusing on the 2006 Jeep Grand Cherokee radio wiring diagram. Understanding this diagram is crucial for a variety of tasks, from diagnosing audio issues to upgrading your head unit or installing aftermarket accessories. Whether you're dealing with a blown speaker, a malfunctioning amplifier, or simply want to customize your sound system, knowledge of this wiring layout is power. We’re assuming you've got some experience under the hood, but we’ll explain things clearly so you can tackle this project with confidence.
Purpose of the Wiring Diagram
Why bother with a wiring diagram? The answer is simple: it's your roadmap to the electrical system. Specifically, for the 2006 Jeep Grand Cherokee radio, the diagram helps you:
- Troubleshoot Audio Problems: Identify breaks in circuits, short circuits, and faulty connections that cause speakers to cut out, amplifiers to fail, or the radio to not power on.
- Install Aftermarket Head Units: Correctly wire a new radio, ensuring compatibility with your Jeep's existing electrical system, including steering wheel controls and amplified systems.
- Install Aftermarket Accessories: Integrate amplifiers, subwoofers, and other audio enhancements seamlessly without damaging the factory wiring.
- Learn Automotive Electrical Systems: Gain a deeper understanding of how car audio systems are wired, empowering you to tackle future electrical projects.
Key Specs and Main Parts
The 2006 Jeep Grand Cherokee's audio system can vary depending on the trim level and options package. However, some common components and specifications exist:
- Head Unit: The central control unit of the audio system, responsible for processing audio signals, tuning into radio stations, and playing media from various sources (CD, AUX, etc.).
- Speakers: Typically, there are speakers in the front doors, rear doors (or rear deck), and potentially tweeters in the A-pillars. The impedance (resistance) of these speakers is usually 4 ohms, but this can vary.
- Amplifier (If Equipped): Some models came with a factory amplifier, usually located under the rear seat or in the cargo area. This amplifier boosts the audio signal to the speakers, providing more power and volume.
- Wiring Harness: The bundle of wires that connects the head unit to the vehicle's electrical system and speakers. This is where the wiring diagram becomes essential.
- Antenna: Receives radio signals and sends them to the head unit.
- Grounding Points: Crucial for completing electrical circuits. Poor grounding can cause all sorts of audio problems.
The key circuits you'll encounter include:
- Power (12V Constant): Supplies continuous power to the head unit for memory retention (station presets, clock settings, etc.).
- Switched Power (12V Accessory): Provides power to the head unit when the ignition key is in the "Accessory" or "On" position.
- Ground: The return path for electrical current.
- Speaker Wires: Carry the audio signal from the head unit or amplifier to the speakers. These are typically a twisted pair, with one wire being positive (+) and the other negative (-).
- Remote Turn-On (Amplifier): A 12V signal that tells the amplifier to turn on when the head unit is powered on.
- Illumination Wire: Dims the head unit's display when the headlights are turned on.
Understanding Symbols: Lines, Colors, and Icons
Wiring diagrams use a standardized set of symbols to represent electrical components and connections. Here's a breakdown of common symbols:
- Solid Lines: Represent wires. The thickness of the line may indicate the wire gauge (thickness).
- Dashed Lines: Often indicate shielded wires or ground connections.
- Color Codes: Each wire is assigned a color code (e.g., RED, BLK, GRN) to help you identify it in the wiring harness. These codes are typically abbreviated in the diagram. Always double-check the physical wire color against the diagram.
- Circles: Represent connectors or terminals.
- Rectangles: Can represent components like the head unit, amplifier, or speakers.
- Ground Symbol: Usually looks like three horizontal lines decreasing in size, indicating a connection to the vehicle's chassis ground.
Understanding color codes is critical. Common color codes include:
- RED (RD): Usually indicates a constant 12V power source.
- BLACK (BLK or BK): Indicates ground.
- YELLOW (YEL or YW): Often indicates a switched 12V power source.
- GREEN (GRN or GN): Often used for speaker wires.
- BLUE (BLU or BU): Can be used for remote turn-on or antenna power.
- WHITE (WHT or WH): Often used for speaker wires.
The diagram will also show the pin numbers on connectors. These numbers correspond to the physical pins on the connector, allowing you to identify each wire's function.
How It Works: Following the Signal Path
The wiring diagram essentially traces the flow of electrical signals through the audio system. It shows how power is supplied to the head unit, how the head unit processes audio signals, and how those signals are sent to the speakers. Here's a simplified overview:
- Power Supply: The head unit receives power from the battery through the 12V constant wire and from the ignition switch through the 12V accessory wire. The ground wire provides the return path for the current.
- Signal Processing: The head unit receives audio signals from various sources (radio antenna, CD player, AUX input) and processes them.
- Amplification (If No External Amplifier): If there's no external amplifier, the head unit's built-in amplifier boosts the audio signal.
- Signal Transmission to Speakers: The amplified audio signal is sent to the speakers through the speaker wires. Each speaker has a positive (+) and negative (-) wire. Proper polarity is important for optimal sound quality.
- Amplification (If External Amplifier): The head unit sends a low-level audio signal to the external amplifier via RCA cables (if equipped) or speaker-level inputs. The amplifier boosts the signal and sends it to the speakers. A remote turn-on wire from the head unit activates the amplifier when the head unit is powered on.
Real-World Use: Basic Troubleshooting Tips
Here are some common troubleshooting scenarios and how the wiring diagram can help:
- No Power to Head Unit: Use a multimeter to check for voltage at the 12V constant and 12V accessory wires. If there's no voltage, check the corresponding fuses. If the fuses are good, trace the wires back to the power source, looking for breaks or loose connections.
- Speaker Not Working: Use a multimeter to check for continuity (a complete circuit) between the head unit's speaker output and the speaker terminals. If there's no continuity, there's a break in the wire. Also, check the speaker itself to ensure it's not blown. You can test this by using the multimeter to check the resistance (impedance) of the speaker. A reading of 0 ohms or infinite ohms indicates a faulty speaker.
- Hum or Noise: Often caused by a poor ground connection. Ensure that the head unit and amplifier are properly grounded to a clean, bare metal surface on the vehicle's chassis. Check the ground wire for corrosion or looseness.
- Faded Sound or Distortion: Could be caused by a blown speaker, incorrect speaker wiring, or a faulty amplifier. Check the speaker wiring polarity. The + wire on the headunit speaker output needs to be connected to the + terminal on the speaker.
Safety: Risky Components
Working with automotive electrical systems involves some inherent risks. Always disconnect the negative battery terminal before working on any electrical components. This prevents accidental short circuits and potential damage to the vehicle's electrical system.
Be especially careful when working with the 12V constant wire, as it carries a continuous supply of power, even when the ignition is off. Avoid touching exposed wires or terminals to prevent electrical shock. If you're unfamiliar with electrical wiring, it's best to consult a qualified automotive electrician.
Specifically regarding the 2006 Jeep Grand Cherokee:
- Airbag System: Be aware of the location of the airbag control module and related wiring. Accidental short circuits in these circuits could trigger the airbags, causing serious injury.
- CAN Bus System: The Jeep Grand Cherokee uses a CAN bus (Controller Area Network) system to communicate between various electronic modules. Incorrect wiring or modifications could interfere with the CAN bus, causing a variety of electrical problems.
Remember, safety first! Take your time, double-check your work, and don't hesitate to seek professional help if you're unsure about anything.
We have the full 2006 Jeep Grand Cherokee radio wiring diagram file available for download. This detailed diagram will be invaluable as you troubleshoot, repair, or upgrade your Jeep's audio system.