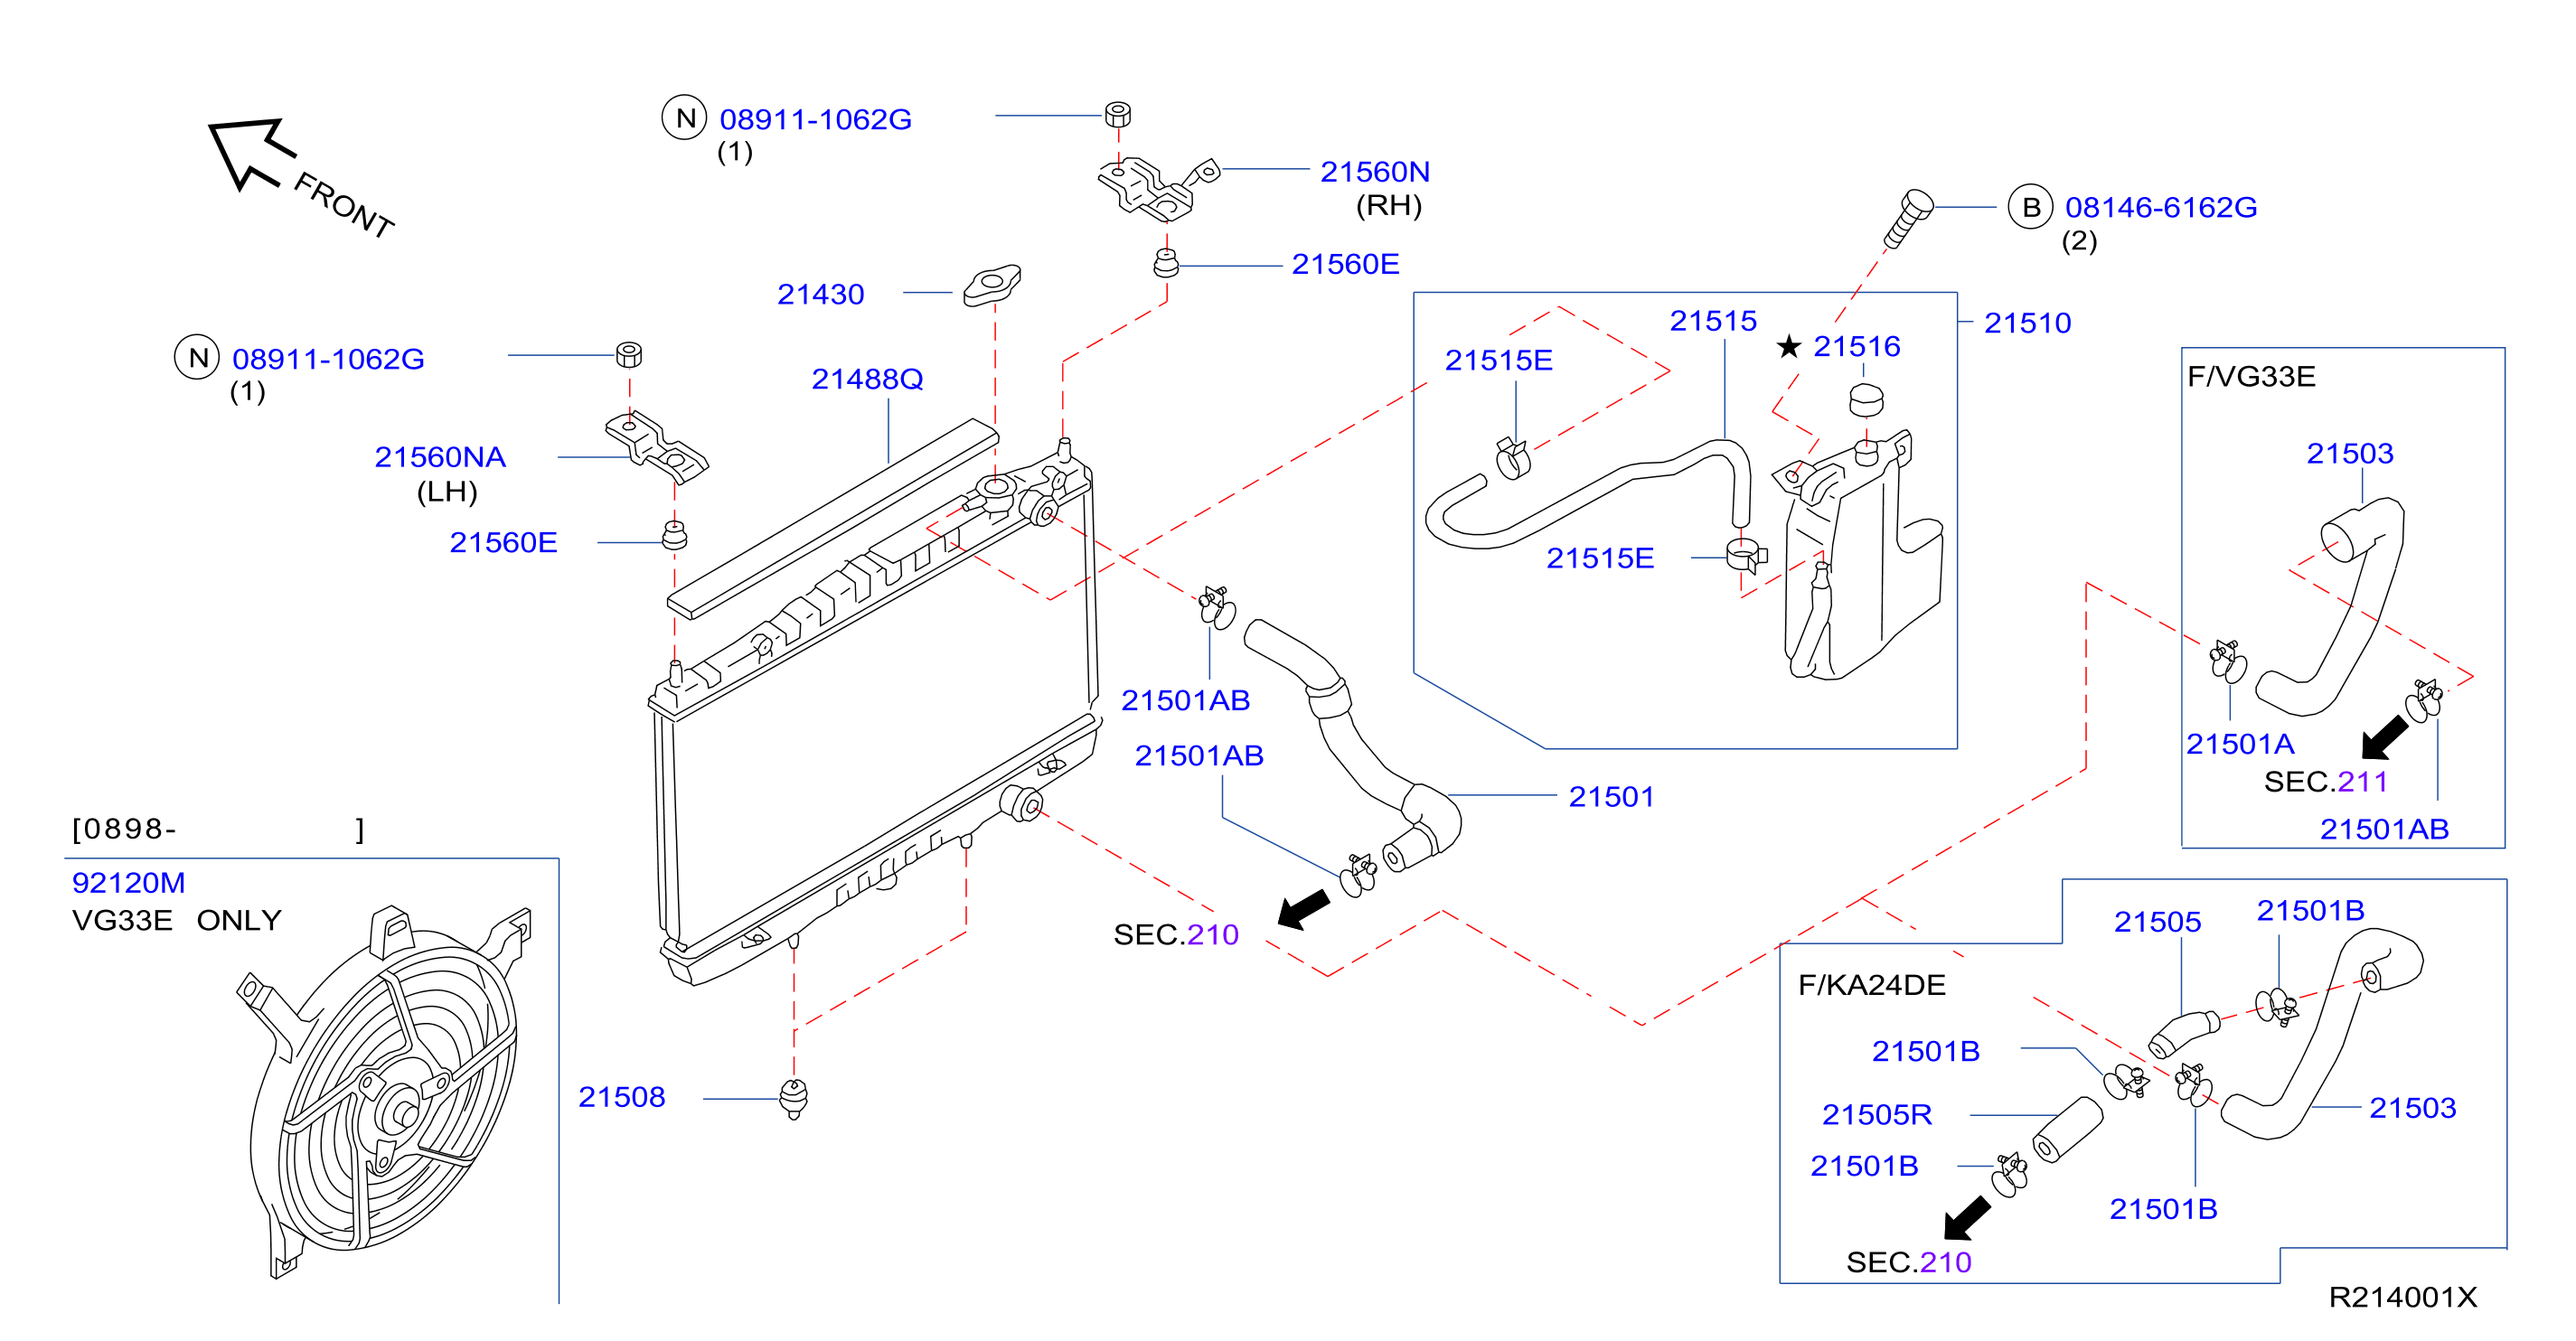
2006 Nissan Frontier Cooling System Diagram
Let's dive into the cooling system of a 2006 Nissan Frontier. Understanding this system, and specifically its diagram, is crucial for proper maintenance, troubleshooting, and even some performance modifications. Think of this article as your deep-dive guide to keeping your Frontier running cool and reliably. We'll break down the diagram piece by piece, explain how the system works, and give you some practical troubleshooting tips. And, for easy access, we have the complete diagram available for you to download. Stay tuned for the download link!
Why This Diagram Matters
Having a solid grasp of your cooling system diagram is invaluable for several reasons:
- Diagnostics and Repair: When your Frontier starts overheating or you notice coolant leaks, the diagram helps you trace the problem back to its source. You can pinpoint specific components like hoses, the thermostat, or the water pump.
- Preventative Maintenance: The diagram allows you to identify potential weak points in the system and proactively replace aging hoses or check for corrosion.
- Modifications and Upgrades: If you're planning on increasing engine power, you might need to upgrade your cooling system. The diagram allows you to determine the size and placement of components and ensure compatibility.
- Understanding Your Vehicle: As an experienced DIYer, knowing how a system functions within your vehicle provides a deeper understanding of how it works.
Key Specs and Main Parts
The 2006 Nissan Frontier, depending on the engine (2.5L I4 or 4.0L V6), will have slight variations in the cooling system layout, but the core components remain the same. Let's look at the most common parts:
- Radiator: This is the heart of the system, responsible for dissipating heat from the coolant. It's a heat exchanger, typically made of aluminum with plastic end tanks. Key spec is its cooling capacity (measured in BTU/hr or kW).
- Water Pump: Circulates coolant throughout the engine block, cylinder head(s), and radiator. Its efficiency (flow rate) is crucial for maintaining adequate cooling.
- Thermostat: A temperature-sensitive valve that regulates coolant flow to the radiator. It ensures the engine reaches its operating temperature quickly and prevents overheating. The opening temperature (e.g., 170°F, 180°F) is a critical spec.
- Coolant Reservoir (Overflow Tank): Provides a buffer for coolant expansion and contraction as the engine heats up and cools down.
- Hoses: These connect all the components, carrying coolant throughout the system. Inspect these for cracks and leaks regularly.
- Cooling Fan: Increases airflow through the radiator, especially at low speeds or when idling. It can be mechanically driven (by the engine) or electrically driven.
- Fan Clutch (If Equipped): A device that regulates the speed of the mechanical fan based on temperature.
- Radiator Cap: Maintains pressure within the system, increasing the boiling point of the coolant. The pressure rating (e.g., 16 psi) is crucial.
- Coolant Temperature Sensor (CTS): Provides temperature readings to the engine control unit (ECU).
Symbols: Lines, Colors, and Icons
Understanding the symbols used in the cooling system diagram is essential for interpreting it correctly:
- Solid Lines: Represent coolant hoses or pipes. Thicker lines typically indicate larger diameter hoses.
- Dotted Lines: Often indicate vacuum lines, electrical wiring, or control signals.
- Arrows: Indicate the direction of coolant flow.
- Colors: While not standardized, some diagrams use colors to differentiate between supply and return lines or different types of fluids. Blue might indicate cooled coolant, while red indicates hot coolant.
- Icons: Specific icons represent each component. A radiator might be shown as a rectangular shape with fins, a water pump as a circular shape with an impeller, and a thermostat as a symbol with a temperature dial. Check the diagram's legend for specific icon meanings.
How It Works
The cooling system operates on a fairly simple principle:
- The water pump circulates coolant from the radiator, through the engine block, and into the cylinder head(s).
- As the coolant passes through the engine, it absorbs heat generated by combustion.
- The heated coolant then flows to the thermostat.
- If the engine is cold, the thermostat remains closed, diverting coolant back to the water pump for recirculation within the engine. This allows the engine to warm up quickly.
- Once the engine reaches its operating temperature, the thermostat opens, allowing hot coolant to flow to the radiator.
- In the radiator, the coolant flows through thin tubes and fins, where heat is transferred to the surrounding air. The cooling fan assists with this process.
- The cooled coolant then returns to the water pump to repeat the cycle.
- As the coolant heats and cools, it expands and contracts. The coolant reservoir accommodates these changes, preventing air from entering the system and maintaining proper coolant level.
Real-World Use: Basic Troubleshooting Tips
Here are some common issues you might encounter and how the diagram can help:
- Overheating: Use the diagram to check the thermostat, water pump, radiator, and fan. A faulty thermostat, a failing water pump, a clogged radiator, or a defective fan can all cause overheating.
- Coolant Leaks: Trace the coolant lines using the diagram to identify the source of the leak. Common leak points include hoses, the water pump, the radiator, and the thermostat housing. Use a pressure tester to further pinpoint the leak under pressure.
- Low Coolant Level: The diagram will show you all the connections and hoses to inspect for leaks. Also, check the radiator cap as a bad one can allow coolant to escape during high pressure.
- Incorrect Temperature Readings: Check the coolant temperature sensor (CTS) and its wiring using the diagram. A faulty CTS can provide inaccurate readings to the ECU, affecting engine performance.
Safety Considerations
Working on the cooling system can be dangerous. Here's why:
- Hot Coolant: Never open the radiator cap or work on the cooling system while the engine is hot. Coolant can be under pressure and can cause severe burns. Always allow the engine to cool completely before working on the system.
- High Pressure: The cooling system operates under pressure. Releasing pressure too quickly can cause coolant to spray out. Use caution when opening the radiator cap.
- Moving Parts: Be careful around the cooling fan, especially if it is mechanically driven. Ensure the engine is off before working near the fan.
- Chemicals: Coolant is toxic. Avoid skin contact and ingestion. Dispose of used coolant properly.
By understanding the 2006 Nissan Frontier cooling system diagram and the components involved, you can confidently tackle maintenance and repairs, keeping your truck running smoothly for years to come. Remember to always prioritize safety and consult a professional mechanic if you're unsure about any procedure.
As promised, we have the full resolution, printable, 2006 Nissan Frontier Cooling System Diagram ready for you. Click here to download the PDF: Download Cooling System Diagram