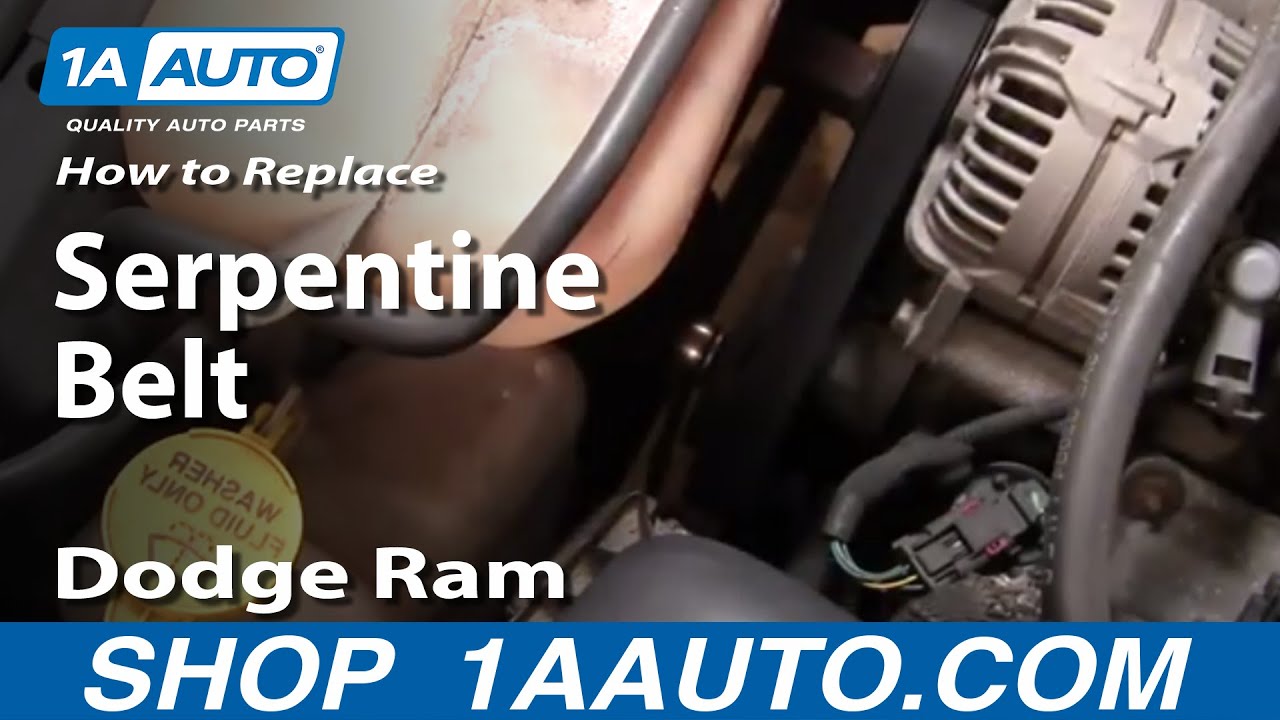
2007 Dodge Ram 1500 Serpentine Belt Diagram
The serpentine belt diagram for your 2007 Dodge Ram 1500 is an indispensable tool. It’s your roadmap for understanding and maintaining a critical component of your truck's engine: the serpentine belt system. Whether you're tackling a belt replacement, diagnosing a squealing noise, or simply trying to get a better grasp of your vehicle's mechanics, having this diagram at your fingertips is crucial.
Purpose: Your Guide to Serpentine System Mastery
Why does this diagram matter so much? Here's a breakdown:
- Repair and Replacement: The most obvious use is guiding the correct routing of a new serpentine belt. Installing the belt incorrectly can damage components, shorten belt life, and leave you stranded.
- Troubleshooting: A visual reference helps you quickly identify components and potential problem areas. For example, a misaligned pulley might be easily spotted by comparing it to the diagram.
- Preventative Maintenance: Regularly inspecting the belt and its associated components is essential. The diagram helps you locate each pulley, idler, and tensioner for visual inspection.
- Understanding Vehicle Mechanics: Even if you're not planning immediate repairs, studying the diagram deepens your knowledge of how the engine accessories are driven.
Key Specs and Main Parts of the 2007 Dodge Ram 1500 Serpentine System
The 2007 Dodge Ram 1500 came with several engine options, each impacting the serpentine belt layout. We'll focus on the most common:
- 3.7L V6 Engine: This engine generally has a simpler serpentine belt arrangement compared to the V8s.
- 4.7L V8 Engine: A very common engine, this setup typically includes the crankshaft pulley, water pump pulley, power steering pump pulley, alternator pulley, air conditioning compressor pulley, idler pulley(s), and a tensioner pulley.
- 5.7L HEMI V8 Engine: The HEMI can have slight variations depending on the specific model year and trim, but follows a similar layout to the 4.7L, often with a more robust tensioner.
Key components you'll find on most diagrams:
- Crankshaft Pulley: This pulley is directly attached to the crankshaft and is the driving force behind the entire system. It's typically the largest pulley.
- Water Pump Pulley: Drives the water pump, which circulates coolant to regulate engine temperature.
- Power Steering Pump Pulley: Powers the power steering system.
- Alternator Pulley: Drives the alternator, which charges the battery and powers the electrical system.
- Air Conditioning Compressor Pulley: Engages the air conditioning compressor when the AC is turned on.
- Idler Pulley(s): Smooth, ungrooved pulleys that guide the belt and increase its wrap angle on other pulleys, preventing slippage.
- Tensioner Pulley: Maintains the correct tension on the serpentine belt. The tensioner is spring-loaded and allows the belt to stretch slightly over time. A worn tensioner can cause belt squeal or premature belt failure. It typically has a mechanism to release tension for belt removal and installation.
- Serpentine Belt: The rubber belt itself, responsible for transmitting power from the crankshaft to all the driven accessories.
Understanding Serpentine Belt Diagram Symbols
Serpentine belt diagrams use a standardized set of symbols to convey information concisely. Here's a breakdown of common elements:
- Solid Lines: Indicate the path of the *outer* surface of the belt.
- Dashed Lines: Indicate the path of the *inner* (grooved) surface of the belt. This is especially important because the grooved side of the belt needs to mate with grooved pulleys (like the crankshaft, alternator, and AC compressor).
- Arrows: Show the direction of rotation for each pulley.
- Icons: Each component (alternator, water pump, etc.) is usually represented by a simplified icon. These icons are often labeled with abbreviations (ALT for Alternator, WP for Water Pump, etc.).
- Tensioner Indication: The tensioner is often depicted with a spring symbol to indicate its spring-loaded nature.
How the Serpentine System Works
The serpentine system is ingeniously simple. The crankshaft pulley, driven by the engine, transmits rotational force to the serpentine belt. The belt, in turn, snakes its way around all the other pulleys, transferring power to the accessories. The tensioner keeps the belt taut, preventing slippage and ensuring efficient power transfer. The "serpentine" name comes from the belt's snaking, winding path through the engine bay.
Imagine it like this: The crankshaft is the engine's "main driver." It spins, turning the belt. The belt then acts as a connection point to other components like a water pump, which must run efficiently to cool the engine; without this operation, your car would overheat. It also enables the alternator to recharge your battery, the AC compressor to produce cold air, and the power steering pump to help you easily steer the vehicle.
Real-World Use: Basic Troubleshooting Tips
A serpentine belt diagram becomes invaluable when troubleshooting issues. Here are some common problems and how the diagram can help:
- Squealing Noise: A squealing noise often indicates a slipping belt. Use the diagram to check the belt's routing. Is it correctly positioned on all pulleys? Is the tensioner working properly? A faulty tensioner can cause the belt to slip. Also check for signs of belt glaze (a shiny, hardened surface) or cracking, indicating the need for replacement.
- Belt Wear and Tear: Visually inspect the belt for cracks, fraying, or missing chunks. The diagram helps you systematically examine the entire length of the belt. Also, make sure there is no oil or coolant contamination on the belt; these fluids degrade the rubber.
- Component Failure: If a specific accessory (like the alternator) isn't working, the diagram helps you trace the belt path to that component. For instance, if your alternator isn't charging, check the belt's contact with the alternator pulley. A loose or slipping belt could be the culprit.
- Incorrect Belt Routing After Replacement: If you've recently replaced the belt and are experiencing issues, double-check your routing against the diagram. Even a slight deviation can cause serious problems.
Safety First: Handling Serpentine Belts Responsibly
Working on the serpentine system can be dangerous if proper precautions aren't taken:
- Engine Off: Always ensure the engine is completely off and the key is removed from the ignition before working on the serpentine belt. Accidental starting can cause serious injury.
- Cool Engine: Allow the engine to cool down before working on the system, especially if you've recently driven the vehicle. Exhaust components and engine surfaces can be extremely hot.
- Battery Disconnect (Optional but Recommended): Disconnecting the negative battery cable adds an extra layer of safety by preventing accidental electrical activation of components.
- Proper Tools: Use the correct tools for the job, including a serpentine belt tool for releasing tension on the tensioner pulley. This prevents damage to the tensioner and makes belt removal and installation easier.
- Moving Parts: Be acutely aware of the proximity of your hands and fingers to moving parts, especially the crankshaft pulley. This is a high-torque area and can cause severe injury.
Keep in mind that some vehicles have high-pressure AC lines near the serpentine belt. Puncturing these lines can release refrigerant, which can cause frostbite. Exercise caution in this area.
By understanding the diagram and taking necessary safety precautions, you can confidently maintain and troubleshoot the serpentine belt system on your 2007 Dodge Ram 1500. Remember, if you're ever unsure about a procedure, consult a qualified mechanic.
We have the serpentine belt diagram for your 2007 Dodge Ram 1500. You can download it for easy reference.