2007 Land Rover Lr3 Fuel Filter Assembly Diagram
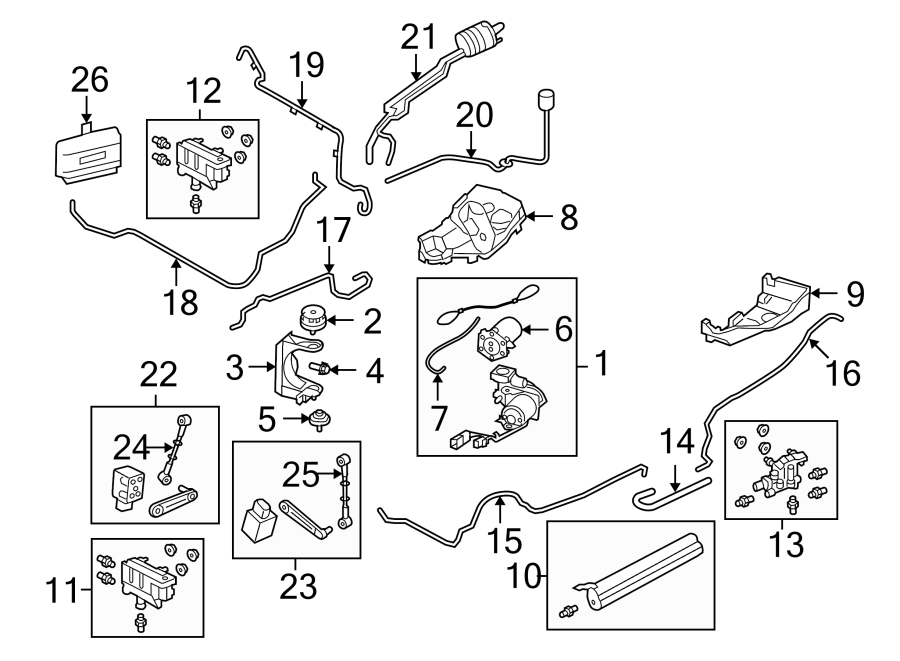
Let's dive into the fuel filter assembly diagram for the 2007 Land Rover LR3. Understanding this diagram is crucial for anyone looking to perform their own fuel system maintenance, troubleshooting, or even just gain a deeper understanding of their vehicle's inner workings. Think of this as your roadmap to the LR3's fuel delivery system – and remember, we have the full diagram file available for you to download later. Knowing how to interpret this diagram can save you time, money, and potential headaches down the road.
Purpose of the Fuel Filter Diagram
Why bother with this diagram? Well, a detailed fuel filter assembly diagram serves several key purposes:
- Repairs and Maintenance: It's indispensable when replacing the fuel filter itself, troubleshooting fuel delivery issues (like poor acceleration or starting problems), or repairing damaged fuel lines.
- Troubleshooting: It helps you trace the fuel flow, identify potential points of failure (leaks, blockages, etc.), and pinpoint the exact location of components.
- Modifications: If you're considering modifying the fuel system (e.g., adding a performance fuel pump), the diagram provides a foundation for understanding how the existing system operates.
- Educational Value: Even if you're not planning any immediate work, studying the diagram helps you learn how your vehicle's fuel system is designed and functions.
Key Specs and Main Parts
Before we dissect the diagram itself, let's familiarize ourselves with the major components and their specifications. The 2007 LR3 typically uses a fuel filter located in the fuel tank, integrated with the fuel pump assembly.
Key Components:
- Fuel Tank: The reservoir for storing the gasoline. Capacity is approximately 21 gallons (80 liters).
- Fuel Pump: An electric pump that draws fuel from the tank and delivers it under pressure to the fuel rail. It's typically rated to deliver a specific volume of fuel at a certain pressure (e.g., 60 PSI).
- Fuel Filter: A crucial component that removes contaminants (dirt, rust, etc.) from the fuel before it reaches the injectors. The filter element is typically made of paper or synthetic material.
- Fuel Pressure Regulator: Maintains a constant fuel pressure in the fuel rail, ensuring consistent fuel delivery to the injectors.
- Fuel Rail: A manifold that distributes fuel to the fuel injectors.
- Fuel Injectors: Electrically controlled valves that spray atomized fuel into the intake manifold.
- Fuel Lines: Hoses and metal pipes that carry fuel throughout the system. These are typically rated for high pressure and resistant to fuel degradation.
- Return Line (if applicable): Some fuel systems have a return line that carries excess fuel back to the fuel tank. The LR3 system *typically* is a returnless system.
- Fuel Level Sensor: A sensor that measures the amount of fuel remaining in the tank.
Understanding the Diagram's Symbols
A fuel filter assembly diagram uses a set of standard symbols to represent different components and connections. Understanding these symbols is key to interpreting the diagram correctly.
- Solid Lines: Represent fuel lines (both high-pressure supply and low-pressure return, if present).
- Dashed Lines: Often represent electrical wiring or vacuum lines. In the fuel system context, these would primarily be related to the fuel pump's power supply and the fuel level sensor.
- Arrows: Indicate the direction of fuel flow. Pay close attention to these!
- Circles and Squares: Often represent specific components like the fuel pump, filter, or regulator. The exact shape can vary depending on the diagram's style.
- Resistor Symbols: These represent electrical resistors within the fuel pump assembly or fuel level sender unit.
- Ground Symbols: Indicate grounding points for electrical components. Proper grounding is essential for the fuel pump to function correctly.
- Connectors: Represent electrical connectors. These are points where wires are joined together.
Color coding can also be used in some diagrams. While not universally standardized, common conventions include:
- Red: Often used to represent high-pressure fuel lines or positive (+) electrical connections.
- Blue: May represent return lines or negative (-) electrical connections (ground).
- Black: Typically represents ground wires.
Always refer to the diagram's legend or key to confirm the meaning of each symbol and color.
How It Works: A Simplified Fuel System Overview
The fuel system's primary function is to deliver a consistent and metered amount of fuel to the engine's cylinders. Here's a simplified breakdown:
- The fuel pump, located inside the fuel tank, draws fuel through a strainer (a coarse filter) and pumps it towards the engine.
- The fuel passes through the fuel filter, which removes contaminants that could clog the fuel injectors.
- The filtered fuel flows to the fuel rail, a manifold that distributes fuel to the individual fuel injectors.
- The fuel pressure regulator maintains a constant pressure in the fuel rail, ensuring that the injectors receive a consistent supply of fuel.
- When the engine control unit (ECU) signals an injector to open, it sprays a precisely measured amount of fuel into the intake manifold.
In a returnless fuel system (common in newer vehicles, and typical for the LR3), there's no return line back to the fuel tank. The fuel pump's speed is controlled by the ECU to match the engine's fuel demands, minimizing fuel heating and vapor lock.
Real-World Use and Basic Troubleshooting
Armed with the fuel filter assembly diagram, you can tackle some basic troubleshooting. Here are a few examples:
- No Start: If the engine won't start, check the fuel pump relay and fuse. The diagram will show you the location of these components. Also, listen for the fuel pump priming (a brief humming sound) when you turn the key to the "on" position. If you don't hear it, the pump may be faulty.
- Poor Performance/Hesitation: A clogged fuel filter can restrict fuel flow, leading to poor acceleration and hesitation. Replacing the fuel filter is often the first step in addressing these issues. The diagram will guide you to the filter's location within the fuel tank assembly.
- Fuel Leak: Visually inspect the fuel lines and connections for leaks. The diagram helps you trace the fuel lines and identify the source of the leak.
- Fuel Pressure Testing: You can connect a fuel pressure gauge to the fuel rail to measure the fuel pressure. The diagram will show you the location of the test port (if equipped).
Safety Considerations
Working on the fuel system involves inherent risks, as gasoline is highly flammable. Always take the following precautions:
- Disconnect the Battery: Before working on any part of the fuel system, disconnect the negative (-) battery cable to prevent accidental sparks.
- Work in a Well-Ventilated Area: Fuel vapors can accumulate and create an explosion hazard. Work outdoors or in a well-ventilated garage.
- Use Proper Tools: Use fuel line disconnect tools to safely separate fuel lines without damaging them.
- No Smoking or Open Flames: Absolutely no smoking or open flames should be present in the work area.
- Fuel Spillage: Have absorbent materials (e.g., rags, kitty litter) on hand to clean up any fuel spills immediately.
- Depressurize the Fuel System: Before disconnecting any fuel lines, depressurize the fuel system. Some vehicles have a pressure relief valve; consult your vehicle's repair manual.
- Be Aware of Static Electricity: Static electricity can ignite fuel vapors. Ground yourself by touching a metal part of the vehicle before working on the fuel system.
- Fuel Pump Module Access: The fuel pump assembly is located inside the fuel tank and typically accessed from under the rear seat. Extreme care should be taken when dealing with electrical connections within the fuel tank, due to potential sparking.
Specifically, the fuel pump itself is a high-risk component. Improper handling can lead to fuel spills, electrical shocks, or even explosions. Exercise extreme caution when working around it.
Conclusion
Understanding the 2007 Land Rover LR3's fuel filter assembly diagram is a valuable skill for any DIY mechanic. By familiarizing yourself with the components, symbols, and safety precautions, you can confidently perform maintenance, troubleshoot problems, and gain a deeper understanding of your vehicle's fuel system. Remember, this article is just a starting point. Always consult your vehicle's repair manual for specific instructions and torque specifications.
Now, you can download the complete and detailed fuel filter assembly diagram for your 2007 Land Rover LR3. This file provides a visual representation of everything we've discussed, making it even easier to understand and use. Good luck with your projects!