2008 Chevy Silverado Driver Door Wiring Harness
Let's dive into the 2008 Chevy Silverado driver's door wiring harness. Understanding this intricate system is crucial for anyone tackling electrical repairs, adding aftermarket accessories, or simply trying to diagnose a pesky door-related issue. Whether you're dealing with a malfunctioning power window, a temperamental door lock, or a speaker that's gone silent, a solid grasp of the wiring harness is your first step to a successful fix. We'll go through the key specs, how it operates, troubleshooting tips, and vital safety considerations. We will also be offering access to a downloadable wiring diagram to aid your efforts.
Purpose and Importance
The driver's door wiring harness is essentially the central nervous system for all electrical components within the driver's door. It's a bundle of wires that provides power and communication signals to various devices, including:
- Power window motor
- Power door lock actuator
- Door speaker(s)
- Side mirror controls (if equipped)
- Door switch(es) (for interior lighting, etc.)
- Security system sensors (if equipped)
Having a thorough understanding of this harness allows for:
- Accurate Diagnosis: Pinpointing the exact cause of electrical problems within the door.
- Efficient Repairs: Reducing repair time and minimizing the risk of causing further damage.
- Customization: Safely adding aftermarket accessories, such as upgraded speakers or security systems.
- Preventative Maintenance: Identifying potential issues before they escalate into major problems.
Key Specs and Main Parts
The 2008 Chevy Silverado wiring harness consists of a multitude of wires, each serving a specific purpose. Here's a breakdown of some of the key aspects:
- Wire Gauge: The thickness of the wires varies depending on the current they're designed to carry. Thicker wires (lower gauge number, e.g., 12 AWG) are used for higher current components like the power window motor, while thinner wires (higher gauge number, e.g., 18 AWG) are used for lower current components like the door switch.
- Wire Color Coding: GM uses a standardized color-coding system for its wiring, which is critical for identifying wires and tracing circuits. For example, a dark blue wire might indicate a circuit related to the power windows.
- Connectors: The harness connects to various components through multi-pin connectors. These connectors are often keyed to prevent misconnections. Understanding the connector pinout is essential for testing signals and making repairs.
- Grounding Points: Proper grounding is crucial for the proper function of all electrical systems. The door harness typically has a dedicated ground wire that connects to the vehicle's chassis. A bad ground can cause a wide range of intermittent issues.
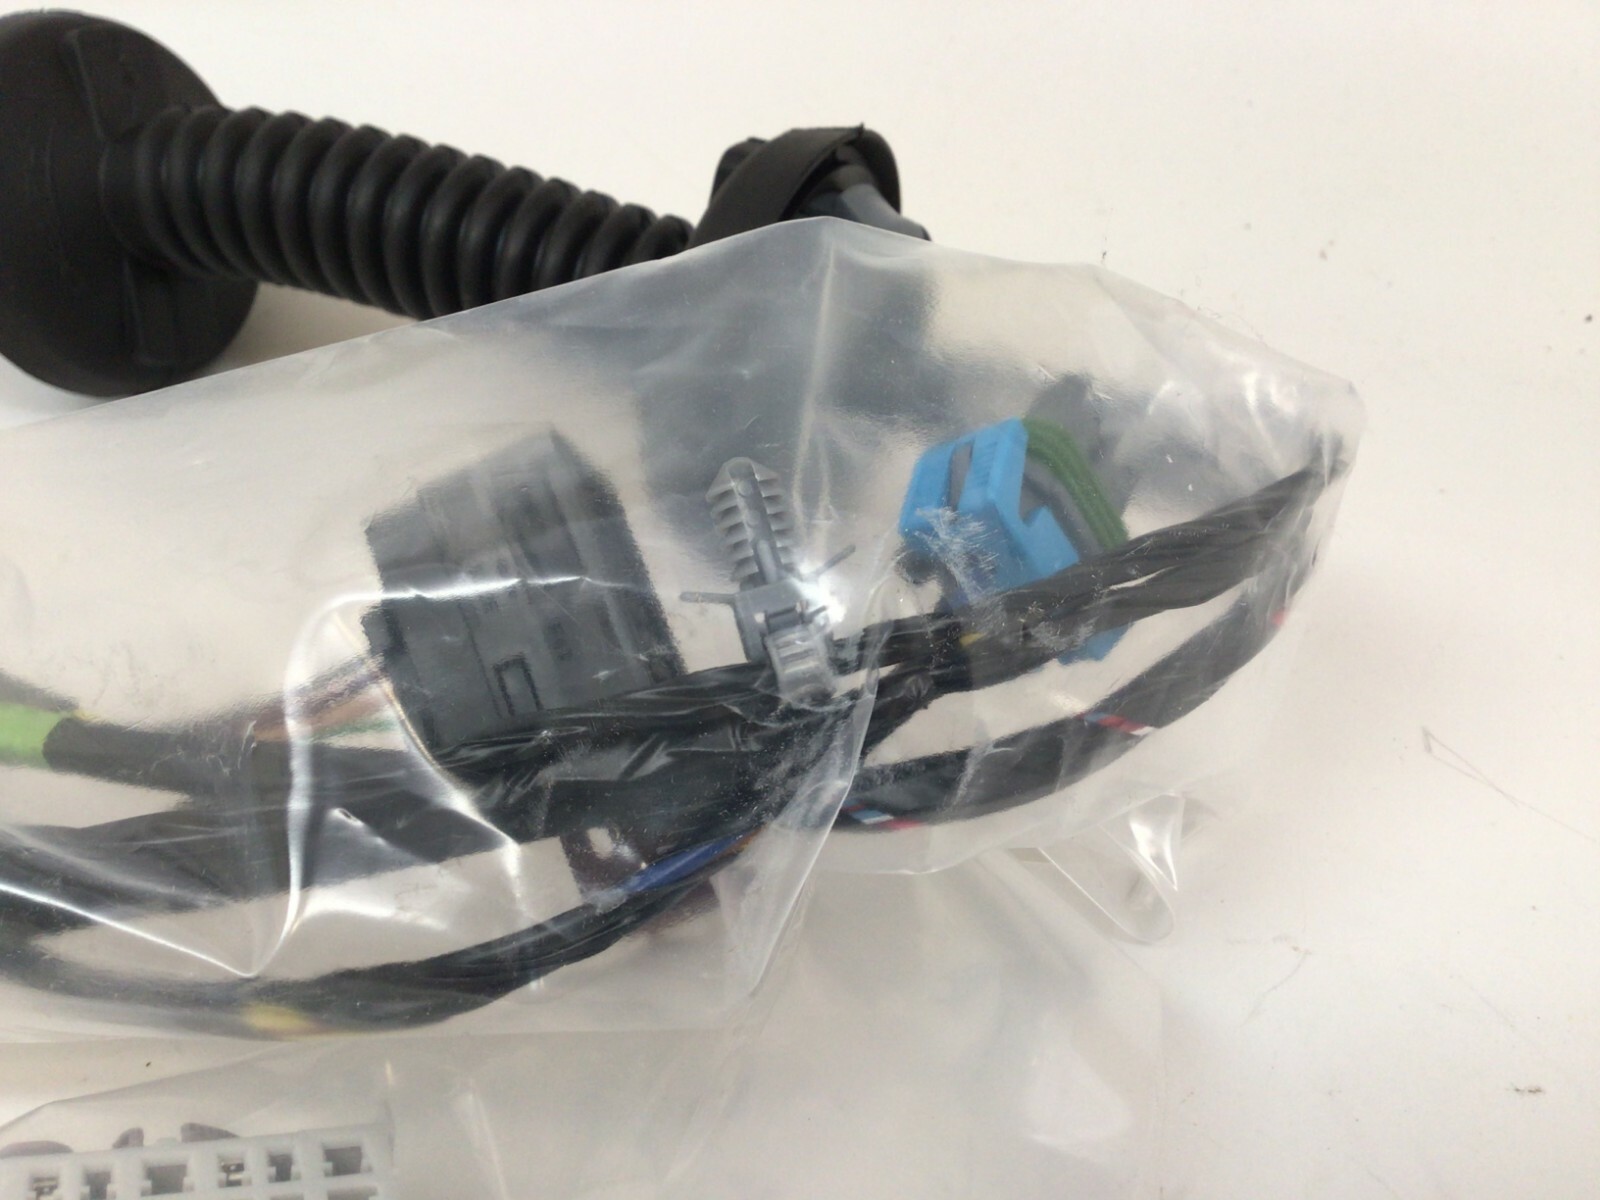
The main components of the door wiring harness include:
- Wiring Bundle: The collection of wires that run from the door's connector(s) to the individual components.
- Connectors: Used to connect the wiring harness to the door module, power window motor, door lock actuator, speaker, and other electrical components within the door.
- Grommets: Rubber seals that protect the wiring harness as it passes through the door frame, preventing chafing and water intrusion.
- Terminals: Metal contacts within the connectors that establish the electrical connection.
Understanding Wiring Diagram Symbols
Wiring diagrams use standardized symbols to represent different components and connections. Here are some common symbols you'll encounter:
- Solid Line: Represents a wire. The color of the wire is usually indicated next to the line (e.g., "BLU" for blue, "BLK" for black).
- Dashed Line: May represent a shielded wire or a connection to ground.
- Circle: Can represent a bulb or other electrical component.
- Rectangle: Often represents a relay, module, or switch.
- Ground Symbol: Represents a connection to the vehicle's chassis ground. It looks like an upside-down triangle with horizontal lines.
- Connector Symbol: A block or shape that indicates where two or more wires meet. The connector will be labeled in the diagram, and the specific pins will also be labeled within the connector diagram.
Color codes are crucial. Common codes include:
- BLK: Black
- RED: Red
- BLU: Blue
- GRN: Green
- WHT: White
- YEL: Yellow
- BRN: Brown
- ORG: Orange
Often, you'll see abbreviations like "LT BLU" for light blue, or "DK GRN" for dark green.
How It Works
The wiring harness acts as a pathway for electrical signals. When you press the power window switch, for example, the switch closes a circuit, sending a signal from the vehicle's power supply (typically through a relay) to the power window motor. The motor then activates, raising or lowering the window. The wiring harness provides the necessary wires and connections for this circuit to function. Similarly, when you press the door lock button, a signal is sent to the door lock actuator, which then locks or unlocks the door. These actions rely on the integrity and proper functioning of the wiring harness. Understanding the flow of electricity through these circuits is essential for troubleshooting.
Real-World Use: Basic Troubleshooting Tips
Here are some basic troubleshooting tips for common issues related to the driver's door wiring harness:
- Power Window Malfunction: If the power window isn't working, start by checking the fuse. If the fuse is good, use a multimeter to check for voltage at the power window motor connector when the switch is activated. If there's no voltage, trace the wiring back to the switch, checking for broken or damaged wires. If voltage is present, the motor may be faulty.
- Door Lock Issues: If the door lock isn't working, check the fuse and then test the door lock actuator for proper operation. Use a multimeter to check for voltage at the actuator connector when the lock/unlock button is pressed. If there's no voltage, trace the wiring back to the switch or door module, checking for damaged wires or faulty connections. If voltage is present, the actuator may be faulty.
- Speaker Problems: If the speaker isn't working, check the speaker connections and test the speaker with a known-good audio source. If the speaker is good, use a multimeter to check for voltage at the speaker connector when the radio is playing. If there's no voltage, trace the wiring back to the radio or amplifier, checking for damaged wires or faulty connections.
- Intermittent Issues: Intermittent electrical problems can be caused by loose connections, corroded terminals, or damaged wiring. Carefully inspect the wiring harness for any signs of damage, such as frayed wires or cracked insulation. Clean and tighten all connections, and apply dielectric grease to prevent corrosion.
Always use a multimeter to test for voltage and continuity. A wiring diagram is invaluable for identifying the correct wires to test.
Safety Considerations
Working with electrical systems can be dangerous. Here are some important safety precautions:
- Disconnect the Battery: Always disconnect the negative battery cable before working on any electrical components. This will prevent accidental shorts and potential electrical shocks.
- Use Proper Tools: Use insulated tools specifically designed for automotive electrical work.
- Be Careful with Airbags: The door may contain side impact airbags. Incorrectly handling the wiring harness could trigger the airbag deployment, causing serious injury. Consult the service manual for proper airbag disabling procedures before working in the door. Consider having a trained professional handle airbag-related repairs.
- Avoid Working in Wet Conditions: Never work on electrical systems in wet or damp conditions.
The airbag system is extremely sensitive and potentially dangerous. If you are not comfortable working with airbags, consult a qualified technician.
Remember, you should always refer to the vehicle's service manual for specific instructions and wiring diagrams. If you're unsure about any aspect of the repair, consult a qualified mechanic.
You can download a detailed wiring diagram for the 2008 Chevy Silverado driver's door wiring harness here to assist in your diagnostics and repairs. Use it wisely and safely!