2008 Chevy Silverado Tail Light Wiring Harness
Alright, let's dive into the 2008 Chevy Silverado tail light wiring harness. Understanding this system is crucial whether you're tackling a repair, installing aftermarket lights, or simply expanding your automotive knowledge. This guide assumes you have some familiarity with basic electrical concepts and automotive repair.
Purpose of the Tail Light Wiring Harness
The tail light wiring harness is the nerve center of your Silverado's rear lighting system. It's responsible for delivering the correct electrical signals to each bulb or LED in the tail light assembly, controlling functions like:
- Brake lights: Indicate when you're slowing down or stopping.
- Turn signals: Signal your intention to turn left or right.
- Running lights (tail lights): Provide visibility at night or in low-light conditions.
- Reverse lights: Illuminate the area behind you when backing up.
Having a grasp of the harness allows for accurate troubleshooting of common problems like a single bulb malfunction, or a complete light failure. Plus, it's essential if you're planning any modifications, like adding LED tail lights or a custom wiring setup.
Key Specs and Main Parts
The 2008 Silverado tail light wiring harness consists of several key components:
- Main Connector: This is the central hub where the harness connects to the vehicle's main wiring system. It's usually located near the rear of the frame, often behind the bumper. Pin-out diagrams are *critical* for understanding which wire does what within this connector.
- Wire Bundles: These are groups of individual wires, each insulated and color-coded, that carry specific signals.
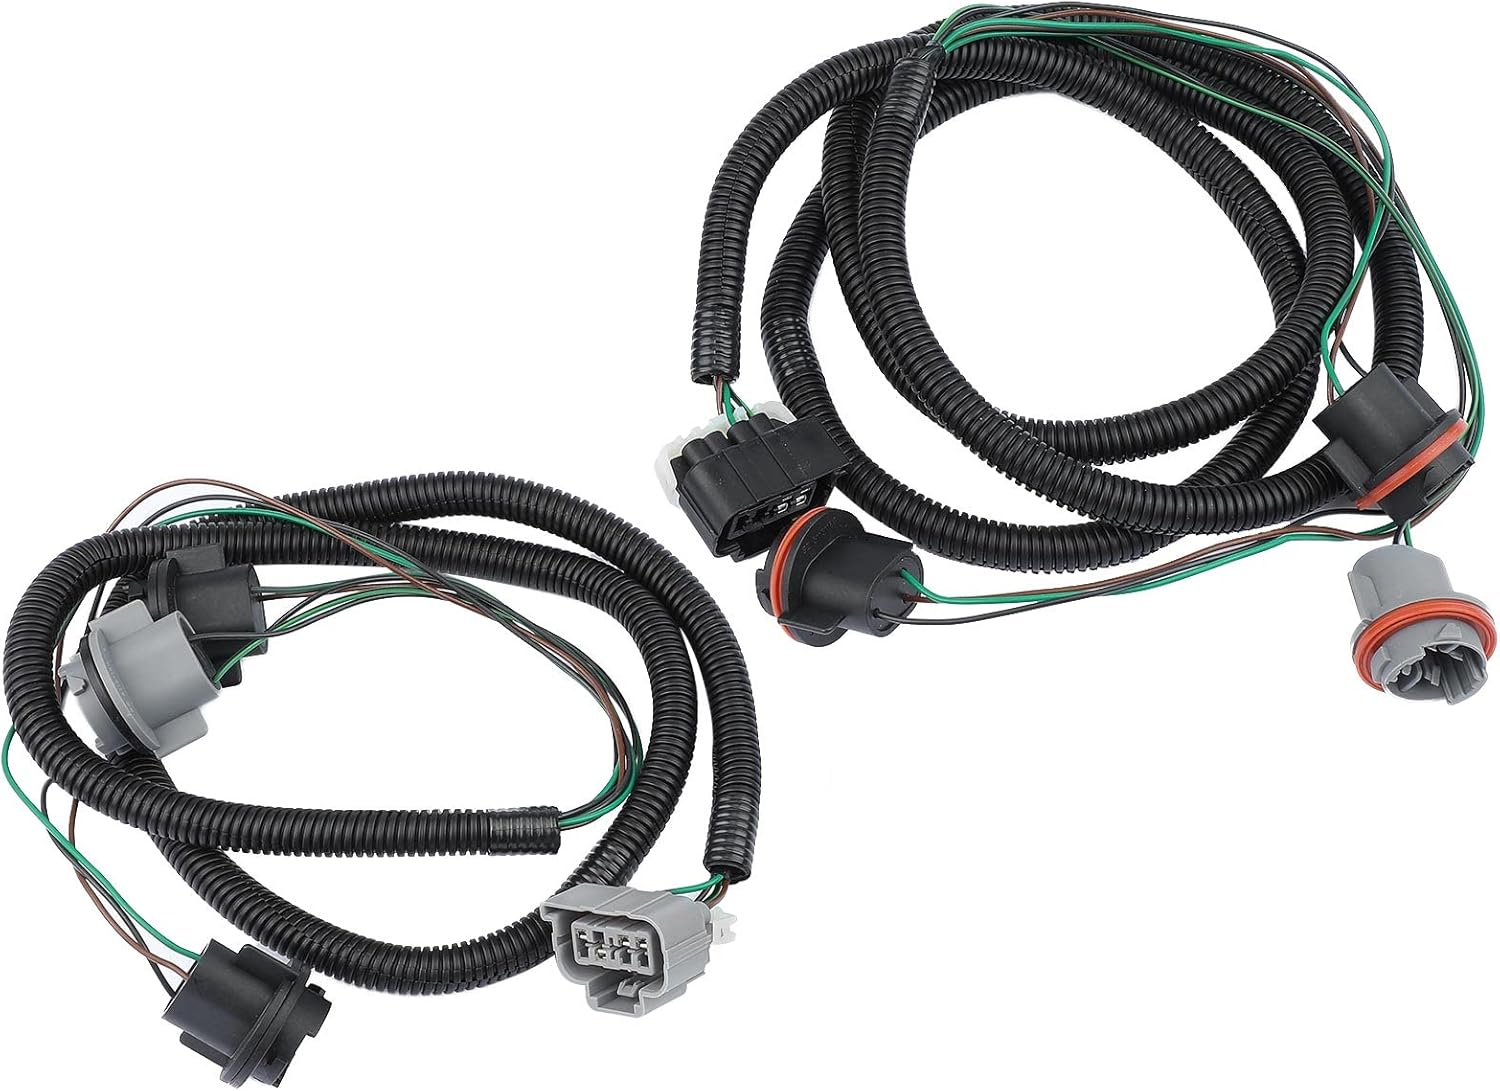
- Connectors to Tail Light Assemblies: Each tail light assembly has its own connector that plugs directly into the harness. These connectors are designed for a secure and weatherproof connection.
- Bulb Sockets/LED Drivers: Where the bulbs themselves are installed or where the circuit driving the LEDs is connected.
- Ground Wire(s): A crucial wire that completes the electrical circuit. Ground wires are almost always black. Good grounding is essential for proper function.
Typical wire gauge (thickness) within the harness can range from 16-18 AWG (American Wire Gauge). This is important to know if you're replacing sections of the harness, as you should use wire of the same gauge or thicker to ensure proper current carrying capacity.
The harness itself is typically wrapped in a protective layer of electrical tape or a corrugated plastic conduit to shield the wires from abrasion and environmental damage.
Symbols – Interpreting the Wiring Diagram
A wiring diagram is the roadmap to understanding the harness. Here’s how to decipher it:
- Solid Lines: Represent wires. The thickness of the line usually doesn't indicate wire gauge, so don't rely on that.
- Dashed Lines: Can represent shielded cables, or occasionally connections that happen *within* a component but aren't directly wired externally.
- Color Codes: Each wire is assigned a color code. Common ones include:
- BK: Black (Ground)
- RD: Red (Power)
- BN: Brown (Tail Lights/Running Lights)
- GN: Green (Turn Signal – Right)
- YE: Yellow (Turn Signal – Left)
- WH: White
- VT: Violet
- DB: Dark Blue
- LB: Light Blue
- Circles/Dots: Indicate connection points or splices where wires are joined.
- Rectangles/Squares: Represent components like switches, relays, or modules.
- Ground Symbol: Usually a series of horizontal lines decreasing in length, indicating a connection to the vehicle's chassis ground.
Understanding the color codes is *absolutely essential*. Never assume the color code! Always refer to the diagram.
How It Works: Signal Flow
The system works by sending signals from the vehicle's electrical system, through the harness, to the individual lights.
- Power Source: The battery provides the initial power.
- Switches and Modules: When you activate a function (like turning on the headlights or pressing the brake pedal), a switch or module (Body Control Module (BCM) in modern vehicles) sends a signal.
- Harness Transmission: The signal travels through the wiring harness along the appropriate wire.
- Light Activation: The signal reaches the corresponding bulb or LED, causing it to illuminate.
- Ground Path: After powering the light, the electricity returns to the battery through the ground wire, completing the circuit.
For example, when you press the brake pedal, the brake light switch sends a signal through the harness to the brake light bulbs, causing them to light up brightly. The turn signal stalk sends a pulsating signal to the appropriate left or right tail light. The BCM controls much of this in newer vehicles, modulating power and managing logic.
Real-World Use: Basic Troubleshooting Tips
Here are some common problems and how to troubleshoot them using your understanding of the wiring harness:
- A Single Bulb Doesn't Work:
- Check the bulb itself: Is it burned out? Replace it.
- Inspect the socket: Is it corroded? Clean it.
- Test for voltage: Use a multimeter to check if voltage is reaching the socket when the function is activated. If not, trace the wire back along the harness using the wiring diagram.
- Entire Tail Light Assembly Doesn't Work:
- Check the main connector: Is it securely connected? Are any of the pins damaged or corroded?
- Check the ground connection: Is it clean and tight? A bad ground can cause all sorts of problems.
- Check for blown fuses: Consult your owner's manual for the correct fuse location.
- Intermittent Problems:
- Inspect the harness for damage: Look for frayed wires, cracked insulation, or loose connections.
- Check the connectors: Especially at the main connector and the tail light assembly connectors. These can become loose or corroded over time.
- Consider a voltage drop test: This can reveal hidden problems in the wiring even if voltage is present.
Using a multimeter is essential. Learn how to use it to test for voltage, continuity (a complete circuit), and resistance. These tests will help you isolate the problem area.
Safety: Respecting Electricity
Working with automotive electrical systems can be dangerous. Always follow these safety precautions:
- Disconnect the Battery: Before working on the wiring harness, disconnect the negative (-) battery cable. This prevents accidental short circuits.
- Use Proper Tools: Use insulated tools designed for electrical work.
- Be Careful with Airbags: Some wiring harnesses may run near airbag sensors. Consult your vehicle's service manual before disconnecting anything in these areas. Airbags can deploy if triggered incorrectly.
- High Amperage circuits: Be extremely careful when working with high amperage circuits that power certain lights or relays. These circuits can cause severe burns if shorted to ground.
- Work in a Well-Ventilated Area: Some electrical cleaners and solvents can be harmful if inhaled.
Remember that any modification you make to the wiring harness can potentially affect other systems in your vehicle. Proceed with caution and consult a qualified technician if you are unsure about anything.
Finally, remember that a seemingly simple wiring issue can sometimes point to a larger problem with the vehicle's electrical system. Don't hesitate to seek professional help if you're unable to diagnose or repair the problem yourself.
Understanding the 2008 Chevy Silverado tail light wiring harness is a powerful tool for any DIYer. With the right information and a bit of care, you can confidently tackle a variety of repairs and modifications.
We have a detailed, downloadable PDF wiring diagram available for your 2008 Chevy Silverado tail lights. Contact us to get access.