2008 Chrysler Town And Country Heater Hose Diagram
Let's dive into the heater hose diagram for the 2008 Chrysler Town and Country. Understanding this system is crucial for maintaining your vehicle's climate control, preventing engine overheating, and tackling common DIY repairs. Whether you're replacing a worn-out hose, diagnosing a coolant leak, or just expanding your automotive knowledge, this guide will help you navigate the intricacies of the heater hose circuit.
Purpose of the Heater Hose Diagram
Why bother with a diagram? Simply put, it's your roadmap for the cooling system's heating circuit. A detailed diagram provides a visual representation of how coolant flows through the engine, heater core, and associated components. Specifically for the heater hose system, the diagram is invaluable for:
- Diagnosis and Repair: Pinpointing the location of leaks, blockages, or damaged hoses.
- Parts Identification: Correctly identifying and ordering replacement hoses and clamps.
- System Understanding: Gaining a better grasp of how the heating system functions.
- Modification and Customization: Planning modifications or upgrades to the cooling system (though less common in heater circuits, the knowledge is still useful).
- Preventative Maintenance: Regular inspection of hoses for wear and tear.
Key Specs and Main Parts
The 2008 Town and Country typically utilizes a standard coolant system design with a dedicated heater circuit. Key components include:
- Engine Coolant: The lifeblood of the system, responsible for transferring heat. Typically a 50/50 mix of antifreeze and distilled water.
- Heater Core: A small radiator located within the vehicle's dashboard. Hot coolant flows through the heater core, and a blower fan forces air across it, providing heat to the cabin.
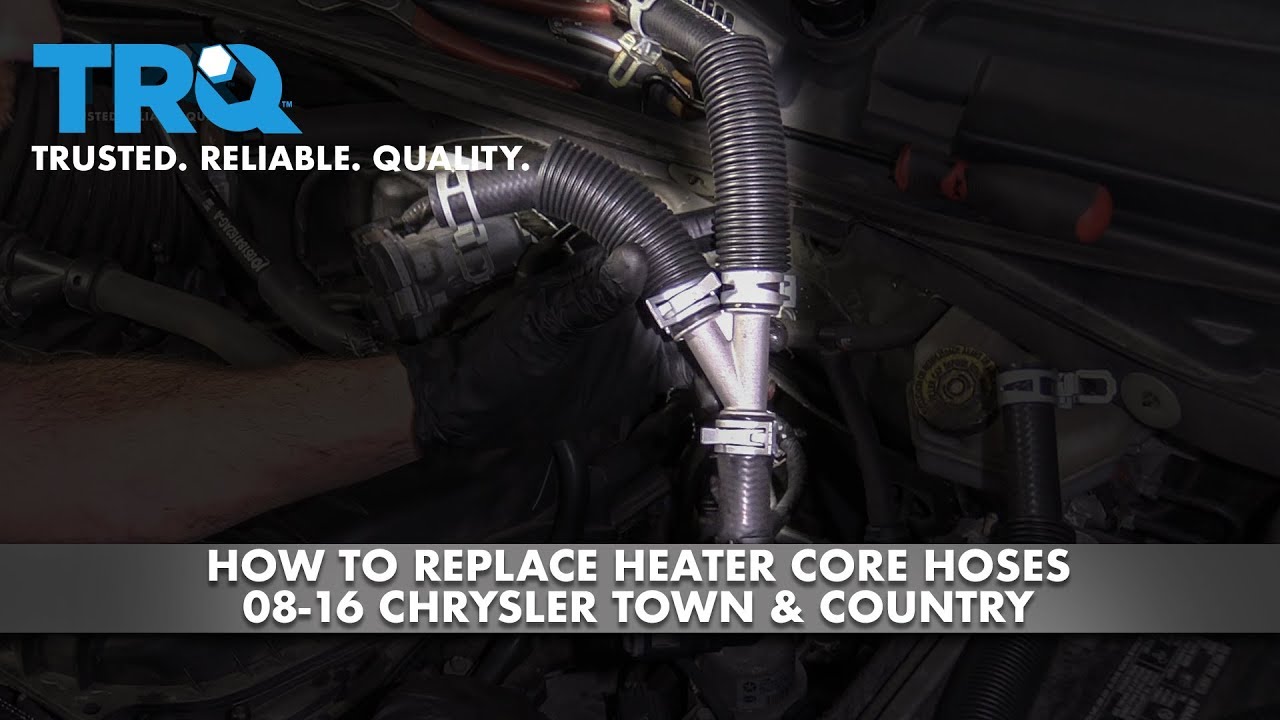
- Heater Hoses: Flexible rubber hoses that connect the engine's cooling system to the heater core. These are specifically designed to handle hot coolant under pressure.
- Heater Control Valve (if equipped): Some models may have a valve that regulates the flow of coolant to the heater core, allowing for temperature control. Many modern systems simply use a blend door to regulate the amount of air passing through the heater core.
- Hose Clamps: Used to securely attach the hoses to the heater core, engine fittings, and any other relevant components. Common types include worm-gear clamps and constant-tension clamps.
- Coolant Reservoir (Overflow Tank): An expansion tank that allows for coolant expansion and contraction as the engine heats up and cools down.
The diameter of the heater hoses is typically around 5/8 inch or 3/4 inch, but always verify with your vehicle's specifications or the replacement part information. The length of the hoses will vary depending on their specific location and routing. Coolant pressure in the heater circuit typically mirrors the overall cooling system pressure, which is generally between 14 and 18 PSI, depending on the radiator cap.
Symbols and Conventions in the Diagram
Understanding the symbols and conventions used in the diagram is vital for accurate interpretation. Here's a breakdown:
- Solid Lines: Typically represent coolant hoses. The thickness of the line may or may not indicate the hose diameter.
- Dotted Lines: Often represent vacuum lines or electrical wiring associated with the heating system (e.g., for the heater control valve, if equipped, or the blend door actuator).
- Arrows: Indicate the direction of coolant flow. Pay close attention to these arrows to understand the flow path.
- Component Symbols: Radiator, heater core, water pump, thermostat housing, and other components are represented by stylized symbols. Consult a legend or key if unfamiliar.
- Color Coding: Some diagrams use color coding to differentiate between supply and return hoses (e.g., red for supply, blue for return). However, color coding isn't always present.
- Abbreviations: Common abbreviations include "HCV" for Heater Control Valve, "HC" for Heater Core, "WP" for Water Pump, and "TH" for Thermostat Housing.
It is also very useful to note any notations in the diagram. These notes may explain the correct orientation of a check valve (if used), how to route the hoses away from high heat objects, or clarify the order of operations between components in the cooling circuit.
How It Works: The Heater Hose Circuit
The heater hose circuit is a relatively simple loop within the larger cooling system. Here's how it works:
- The water pump circulates coolant throughout the engine, absorbing heat from the engine block and cylinder head.
- Hot coolant is directed from the engine (usually near the thermostat housing) through the supply heater hose to the heater core located in the dashboard.
- As hot coolant flows through the heater core, heat is transferred to the core's fins.
- The blower fan forces air across the heated fins of the heater core, warming the air.
- This heated air is then directed into the vehicle's cabin through the vents.
- The cooled coolant exits the heater core through the return heater hose and is directed back to the engine (typically near the water pump inlet) to be reheated.
If the vehicle is equipped with a heater control valve, the valve regulates the amount of coolant flowing to the heater core. When less heat is desired, the valve restricts coolant flow, reducing the heat output. Blend doors within the HVAC system also play a critical role in directing air either through or around the heater core, further controlling the temperature.
Real-World Use: Basic Troubleshooting
The heater hose diagram is essential for diagnosing common heating system problems:
- No Heat: Check for a kinked or blocked heater hose. Verify that the heater control valve (if equipped) is functioning correctly. A clogged heater core can also restrict coolant flow. Visually inspect both hoses, and feel for a drastic temperature difference between the inlet and outlet hoses to the heater core when the engine is warm. A large temperature difference usually means the heater core is plugged.
- Coolant Leaks: Inspect the heater hoses, hose clamps, and connections to the heater core and engine for signs of leaks. Look for coolant residue or puddles. A coolant pressure test can help pinpoint the source of a leak.
- Overheating: Although less directly related to heater hoses themselves, a severely blocked heater core *could* contribute to localized overheating within the cooling system. However, overheating is much more likely caused by a faulty thermostat, radiator issues, or a failing water pump.
- Low Coolant Level: A persistent need to top off the coolant could indicate a leak in the heater hose circuit or elsewhere in the cooling system.
When troubleshooting, always refer to the diagram to ensure you're inspecting the correct components and connections.
Safety Considerations
Working on the cooling system involves inherent risks:
- Hot Coolant: Never remove the radiator cap or loosen hoses while the engine is hot. Pressurized hot coolant can cause severe burns. Allow the engine to cool completely before working on the system.
- Coolant Toxicity: Coolant is toxic if ingested. Wear gloves and eye protection to prevent skin contact and splashes. Clean up any spills immediately. Dispose of used coolant properly at a recycling center.
- Sharp Edges: Be careful when working around hose clamps and metal components, as they can have sharp edges.
- Electrical Components: If the vehicle has an electronically controlled heater control valve or blend door actuators, disconnect the battery's negative terminal before working on those components to prevent electrical shorts.
Always prioritize safety when working on your vehicle.
Now you have a solid understanding of the 2008 Chrysler Town and Country heater hose diagram. Remember to always consult your vehicle's service manual for specific instructions and torque specifications.
We have access to the detailed diagram file and can provide it upon request to aid in your maintenance and repair efforts.