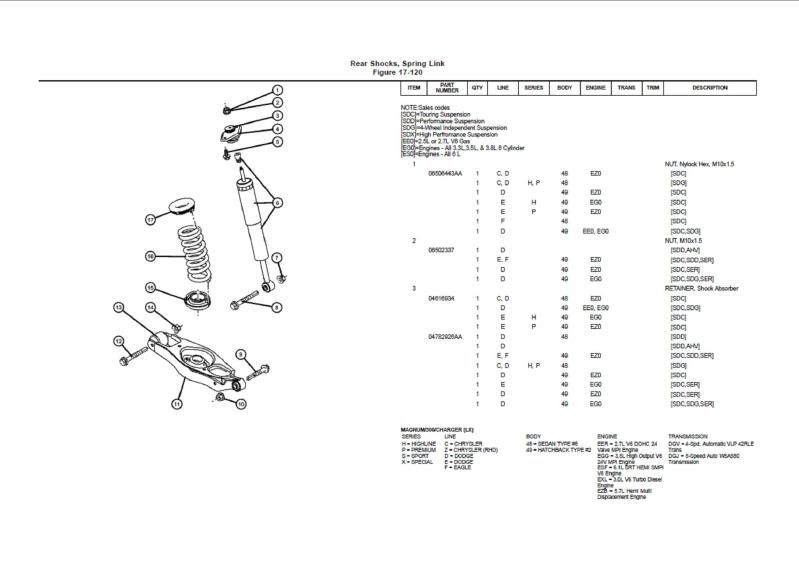
2008 Dodge Charger Front Suspension Diagram
Alright, let's dive into the front suspension of your 2008 Dodge Charger. This isn't just a bunch of metal bolted together; it's a carefully engineered system designed to give you a smooth ride, responsive handling, and most importantly, keep you safe. Understanding the front suspension, and specifically being able to read a diagram of it, is crucial for performing repairs, modifications, or even just routine maintenance.
We've got the full diagram available for download – just look for the link at the end of this article. But before you grab it, let’s walk through how to read it and what all those lines and parts mean.
Why This Diagram Matters
Why bother with a diagram at all? Well, imagine trying to rebuild a carburetor without a schematic! The front suspension is similar – a complex assembly with interdependent parts. A diagram allows you to:
- Identify Components: Quickly pinpoint the location and name of each part. No more guessing!
- Understand Assembly: See how the components fit together, which is vital for reassembly after a repair.
- Troubleshoot Problems: By referencing the diagram, you can trace the cause of suspension issues. Is that a broken sway bar link? A blown ball joint? The diagram will tell you.
- Plan Modifications: Thinking about lowering your Charger or upgrading your shocks? The diagram helps you visualize the changes and plan the installation.
- Order Parts Accurately: Ensure you're ordering the correct replacement parts.
Key Specs and Main Parts of the 2008 Dodge Charger Front Suspension
The 2008 Dodge Charger utilizes an independent front suspension, specifically a SLA (Short-Long Arm) or Double Wishbone design. This design is known for its good handling characteristics and ability to absorb bumps effectively. Let's break down the key components:
- Upper Control Arm: Connects the upper part of the steering knuckle (the assembly that holds the wheel hub) to the vehicle's frame.
- Lower Control Arm: Connects the lower part of the steering knuckle to the frame. Generally larger and more robust than the upper arm because it bears more of the suspension load.
- Steering Knuckle (Spindle): Houses the wheel hub and bearings and connects to the control arms and steering linkage.
- Shock Absorber (Strut): Dampens oscillations of the spring, preventing the car from bouncing excessively. Often integrated with the coil spring in a "coilover" assembly.
- Coil Spring: Provides the primary suspension force, supporting the vehicle's weight and absorbing impacts.
- Sway Bar (Stabilizer Bar): Connects the left and right sides of the suspension to reduce body roll during cornering.
- Sway Bar Links: Connect the sway bar to the control arms or struts.
- Ball Joints: Spherical bearings that allow the control arms to move up and down while also allowing the steering knuckle to pivot for steering.
- Tie Rods (Inner and Outer): Part of the steering linkage, transmitting steering input from the steering rack to the steering knuckles.
- Bushings: Rubber or polyurethane insulators that reduce noise, vibration, and harshness (NVH) by absorbing impacts and preventing metal-on-metal contact between suspension components.
The diagram will clearly show the relative positions and connections of all these components. Look for labels and callouts pointing to each part.
Understanding the Symbols
Suspension diagrams, like most technical drawings, use a set of standardized symbols. Here's a breakdown of what you're likely to see:
- Solid Lines: Generally represent physical components, like control arms, tie rods, and the sway bar. Thicker lines might indicate a more substantial component.
- Dashed Lines: Often indicate hidden components, lines of symmetry, or movement ranges. For example, a dashed line might show the path of the control arm during suspension travel.
- Center Lines: Represented by a long dash followed by a short dash, repeated. Used to indicate the center of a part or assembly.
- Arrows: Indicate the direction of force or movement. For example, an arrow might show the direction of spring compression.
- Hatching: Used to indicate a cross-sectional view of a component. This helps to visualize the internal structure.
- Callouts: These are labels with lines pointing to specific parts, identifying them by name and sometimes including a part number.
- Torque Specifications: Some diagrams include torque specifications for fasteners, which are critical for proper and safe assembly. These will typically be listed in Newton-meters (Nm) or foot-pounds (ft-lbs).
Colors, if present, may indicate different materials or manufacturing processes. However, most diagrams are black and white. Always refer to the diagram's key or legend for clarification on any unusual symbols or color coding.
How It Works: The Suspension in Action
Now, let's briefly explain how the suspension actually works. When your Charger hits a bump, the wheel moves upward. This compresses the coil spring, storing energy. The shock absorber then dampens the spring's oscillations, preventing the car from bouncing excessively. The control arms guide the wheel's movement, keeping it aligned with the road.
The sway bar comes into play when you're cornering. As the body rolls to one side, the sway bar twists, transferring some of the force from the compressed spring on the outside of the turn to the extended spring on the inside. This helps to reduce body roll and improve handling.
The steering linkage, including the tie rods, transmits your steering inputs to the steering knuckles, causing the wheels to turn. The ball joints allow for the necessary articulation between the suspension components and the steering system.
Real-World Use and Basic Troubleshooting
Okay, so you have the diagram. How do you use it in the real world? Here are some basic troubleshooting tips:
- Clunking Noises: Often caused by worn ball joints, sway bar links, or bushings. Use the diagram to locate these components and inspect them for play or damage.
- Squeaking Noises: Can be caused by dry or worn bushings. Lubricating the bushings may temporarily resolve the issue, but replacement is usually necessary.
- Excessive Bouncing: Indicates worn shock absorbers or struts. The diagram shows you where these are located for inspection.
- Uneven Tire Wear: Can be caused by misaligned suspension components. The diagram helps you identify the components that affect alignment, such as the tie rods and control arms.
- Wandering Steering: Can be caused by loose tie rod ends or worn ball joints. Again, use the diagram to pinpoint these parts for inspection.
Before replacing any parts, always consult your vehicle's repair manual for specific procedures and torque specifications.
Safety First! Highlighting Risky Components
Working on the front suspension can be dangerous if you don't take proper precautions. The coil springs are under immense pressure and can cause serious injury if released suddenly. Never disassemble a strut assembly without using a proper spring compressor. Similarly, loosening ball joint nuts without proper support can cause the entire assembly to suddenly drop, potentially causing injury and/or damage.
Always use jack stands to support the vehicle when working underneath it. Never rely solely on a jack. Disconnect the negative battery terminal to prevent accidental electrical shorts. And finally, wear safety glasses to protect your eyes from flying debris.
Caution: Improperly torqued suspension components can lead to catastrophic failure. Always use a torque wrench and follow the manufacturer's specifications.
Remember, if you're not comfortable working on the front suspension, it's always best to take your Charger to a qualified mechanic.
You're now equipped with a solid understanding of the 2008 Dodge Charger front suspension and how to interpret its diagram. With a little knowledge and the right tools, you can tackle many common suspension repairs and maintenance tasks. Remember to consult your repair manual for specific procedures and safety information. Good luck!
The complete 2008 Dodge Charger Front Suspension Diagram file is available for download here: [Insert Download Link Here].