
2008 Dodge Nitro Serpentine Belt Diagram
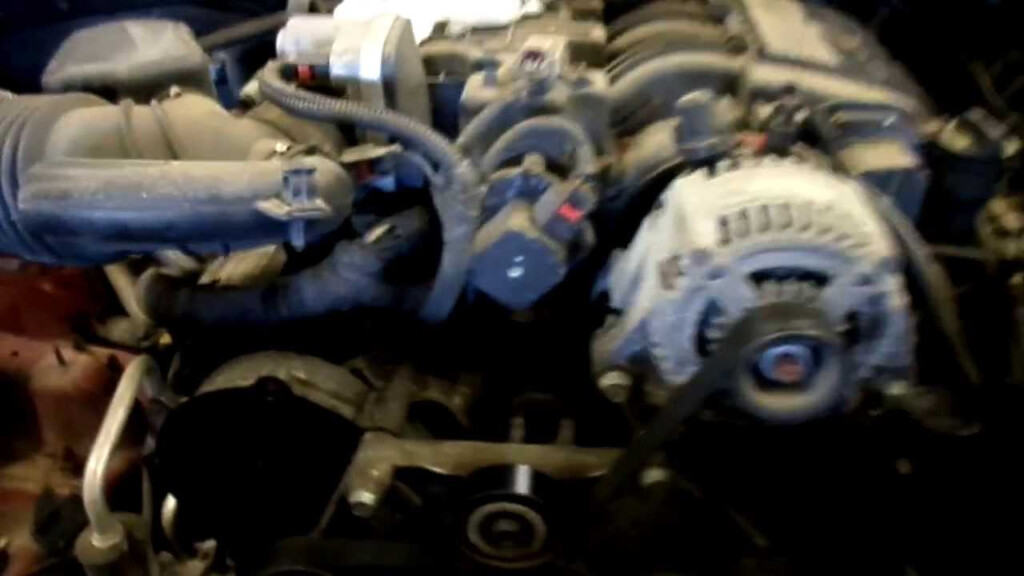
Alright, let's dive into the serpentine belt diagram for the 2008 Dodge Nitro. Understanding this layout is crucial for a few reasons. First, it's essential for routine maintenance like belt replacement. Second, it helps diagnose potential issues like squealing or belt slippage. And third, it's just plain good knowledge for any DIY mechanic to have under their belt (pun intended!). We're going to break this down like I would for a seasoned DIYer – clear, technical, and practical.
Purpose of the Serpentine Belt Diagram
The serpentine belt diagram is your roadmap to understanding how the belt snakes its way around the various engine components. Its primary purpose is to show you the correct routing of the belt. Without this, you risk installing the belt incorrectly, which can lead to serious engine damage. Incorrect routing can cause accessories to malfunction, leading to overheating, loss of power steering, or even a complete engine shutdown. Think of it as a critical reference point, a cheat sheet that prevents costly mistakes.
More specifically, a serpentine belt diagram helps with:
- Belt Replacement: Ensuring the new belt is installed in the correct configuration.
- Troubleshooting: Identifying potential problems like misaligned pulleys or seized components by observing the belt's path and tension.
- Component Identification: Locating various engine accessories driven by the belt, like the alternator, power steering pump, and air conditioning compressor.
- Learning Engine Layout: Gaining a better understanding of how the engine accessories are interconnected.
Key Specs and Main Parts
Before we get to the diagram itself, let's quickly review the key players in this serpentine system for your 2008 Dodge Nitro. Keep in mind there are some variations between the 3.7L V6 and the 4.0L V6 engines. While the general principle remains the same, the specific routing might differ slightly.
Here are the primary components the serpentine belt interacts with:
- Crankshaft Pulley (or Harmonic Balancer): This is the driving force of the whole system. Attached to the crankshaft, it spins the belt.
- Alternator Pulley: Powers the electrical system, charging the battery and running electrical components.
- Power Steering Pump Pulley: Provides hydraulic assistance for steering.
- Air Conditioning (A/C) Compressor Pulley: Compresses the refrigerant for the air conditioning system.
- Idler Pulley(s): Smooth, unpowered pulleys used to guide the belt and maintain the correct wrap angle around other pulleys.
- Tensioner Pulley: This is spring-loaded and crucial. It maintains the correct tension on the belt to prevent slippage. The tensioner pulley is a critical element in the system. A failing tensioner is a common cause of belt squeal.
- Water Pump Pulley: Circulates coolant throughout the engine to regulate temperature. (Note: In some setups, this might be driven by a separate belt, though on the Nitro it's typically part of the serpentine system)
Belt Length and Type: The specific length of the serpentine belt varies depending on your engine (3.7L or 4.0L) and whether you have A/C. Consult your owner's manual or a parts catalog for the correct belt specification (e.g., length, number of ribs). Using the wrong belt length can cause severe issues. The belt type is usually a multi-ribbed v-belt, often referred to as a poly-v belt.
Decoding the Serpentine Belt Diagram: Symbols and Lines
The serpentine belt diagram is a symbolic representation, so understanding the conventions is key. Here's a breakdown:
- Solid Lines: These represent the path of the serpentine belt. Follow the line to see how the belt is routed around each pulley.
- Arrows: These indicate the direction of belt travel. Pay attention to these, as they show which way each pulley is rotating.
- Circles: Represent the pulleys themselves. Some diagrams might indicate the pulley type (e.g., idler, tensioner) within the circle.
- Text Labels: These identify each pulley, usually abbreviated (e.g., ALT for alternator, P/S for power steering). Look for abbreviations you recognize for each component we discussed earlier.
- Tensioner Indicator: The tensioner is often represented with a spring symbol to indicate its spring-loaded function. It may also show the direction of movement as the tension is relieved for belt removal.
Color Coding: Some diagrams might use color coding to differentiate between different sections of the belt's path or to highlight the tensioner. However, most diagrams are black and white. If you encounter a color-coded diagram, a legend will explain the color meanings.
How It Works: The Mechanics of the Serpentine System
The serpentine belt system is a pretty ingenious setup. The crankshaft pulley, driven by the engine's rotation, transfers power to all the other accessories via the belt. The tensioner pulley maintains the correct tension on the belt, ensuring good contact and preventing slippage. Without adequate tension, the belt will slip, causing accessories to underperform or fail altogether. For instance, a slipping alternator belt will result in a low battery charge, while a slipping power steering belt will make steering difficult.
The wrap angle is also important. This refers to the amount of contact the belt makes with each pulley. A larger wrap angle provides more friction and better power transfer. Idler pulleys are often strategically placed to increase the wrap angle on certain pulleys, especially those requiring more power, like the alternator or A/C compressor.
Real-World Use: Troubleshooting with the Diagram
Let's talk about practical application. How do you use the diagram to troubleshoot issues? Here are a few common scenarios:
- Squealing Belt: A squealing belt often indicates slippage. Use the diagram to check the belt's routing and the condition of the tensioner. Is the tensioner arm bouncing excessively? Is the belt glazed or cracked? A visual inspection, guided by the diagram, can pinpoint the problem.
- Accessory Malfunction: If an accessory like the alternator or A/C compressor isn't working, use the diagram to confirm the belt is properly routed and that the pulley is turning when the engine is running. If the pulley isn't turning, the accessory may be seized or the belt may be broken.
- Belt Wear: Check the belt for signs of wear, such as cracks, fraying, or missing ribs. Use the diagram to ensure the belt is aligned correctly. Misalignment can cause premature wear on one side of the belt.
Checking Tensioner: To test the tensioner, locate it visually by referring to the diagram. With the engine off, attempt to move the tensioner arm. It should move smoothly against its spring tension and return to its original position. If it's seized or moves erratically, it needs replacement.
Safety Precautions
Working on the serpentine belt system can be risky, so prioritize safety:
- Disconnect the Battery: Always disconnect the negative battery cable before working on any electrical components, including the alternator.
- Hot Engine: Never work on the engine while it's hot. Allow it to cool completely to avoid burns.
- Moving Parts: Keep your hands and clothing clear of the belt and pulleys when the engine is running. This is especially important when diagnosing a squealing belt. Use a mechanic's stethoscope or a long screwdriver (carefully!) to listen for noises near the pulleys.
- Eye Protection: Wear safety glasses to protect your eyes from debris.
Important Note on Radiator Fan: Be extremely cautious around the radiator fan. Some models have electric fans that can activate even with the engine off if the ignition is on. Others have mechanical fans directly coupled to the engine. Avoid putting your hands near the fan blades under any circumstances.
Understanding the 2008 Dodge Nitro's serpentine belt diagram is a valuable skill for any DIY mechanic. It empowers you to perform routine maintenance, troubleshoot problems, and gain a deeper understanding of your vehicle's engine. Now you know how it all works.
We have a downloadable PDF version of the 2008 Dodge Nitro Serpentine Belt Diagram available. This diagram can be a useful tool when you start working with the serpentine belt.