2008 Honda Accord 3.5 Serpentine Belt Diagram
For the experienced DIY mechanic or car enthusiast tackling repairs or modifications on a 2008 Honda Accord 3.5L, understanding the serpentine belt system is crucial. The serpentine belt diagram is your roadmap to effectively replacing the belt, diagnosing issues, and ensuring your engine accessories are running optimally. Let's dive deep into understanding this critical component.
Purpose of the Serpentine Belt Diagram
The serpentine belt diagram serves several vital purposes. Primarily, it acts as a visual guide for proper belt routing. Incorrect routing can lead to reduced accessory performance, premature belt wear, or even complete system failure. This diagram is invaluable when:
- Replacing a worn or damaged serpentine belt.
- Diagnosing issues like squealing noises or accessory malfunctions.
- Reassembling the engine after maintenance or repairs that involve removing the belt.
- Learning the layout of engine components and how they are driven.
Without the diagram, you're essentially flying blind. Accurate belt installation is paramount for the longevity of your engine and its accessories.
Key Specs and Main Parts
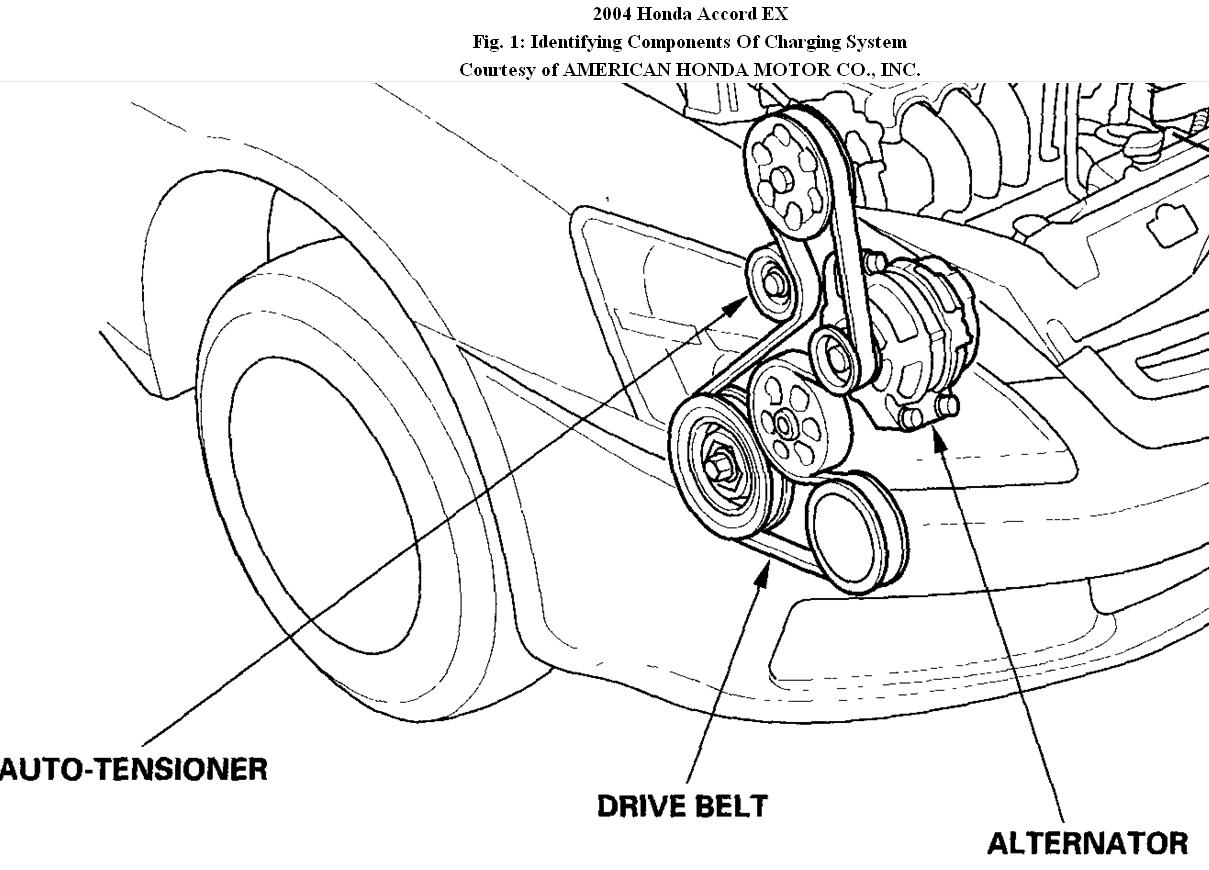
The 2008 Honda Accord 3.5L engine utilizes a single serpentine belt to drive multiple accessories. Understanding these components is essential for interpreting the diagram.
Main Components Driven by the Serpentine Belt:
- Crankshaft Pulley: The driving force of the system, connected directly to the engine's crankshaft. It transmits rotational energy to the serpentine belt.
- Alternator: Generates electrical power to charge the battery and run electrical components while the engine is running. A malfunctioning alternator can lead to a dead battery.
- Power Steering Pump: Provides hydraulic assistance to reduce steering effort. Failure here means very difficult steering.
- Air Conditioning (A/C) Compressor: Compresses refrigerant for the A/C system. A faulty compressor leads to a lack of cold air.
- Idler Pulley(s): Smooth, ungrooved pulleys that guide the belt and maintain proper tension. They are crucial for optimal belt tracking.
- Tensioner Pulley: A spring-loaded pulley that automatically maintains the correct tension on the serpentine belt. Proper tension is crucial to ensure that the belt does not slip.
The belt itself is typically a multi-ribbed belt made of durable rubber. It needs to be in good condition and properly tensioned to avoid slippage or damage to the driven components.
Understanding the Symbols
Serpentine belt diagrams use specific symbols to represent different components and their relationships. Understanding these symbols is key to interpreting the diagram correctly. Although manufacturers will vary, here are the basics:
- Solid Lines: Indicate the path of the serpentine belt. Follow these lines precisely when routing the new belt.
- Arrows: Indicate the direction of belt rotation. This is critical for ensuring correct accessory operation.
- Pulleys: Typically represented as circles. Different pulley types (e.g., grooved vs. smooth) may have slightly different visual representations.
- Component Labels: Abbreviations or full names are used to identify each component (e.g., ALT for Alternator, P/S for Power Steering).
- Tensioner Indicators: Show the proper range for the tensioner's position. This ensures the belt is correctly tensioned after installation.
While color isn't typically used on serpentine belt diagrams, variations exist. The key is to identify the components accurately and follow the path indicated by the solid lines and arrows.
How It Works
The serpentine belt system's operation is relatively straightforward. The crankshaft pulley, driven by the engine, provides the rotational force. This force is then transferred to the serpentine belt, which loops around and drives the various accessory pulleys.
The tensioner pulley plays a crucial role in maintaining proper belt tension. Insufficient tension leads to belt slippage, reducing the efficiency of the driven accessories and generating a squealing noise. Excessive tension, on the other hand, can put undue stress on the belt, pulleys, and accessory bearings, leading to premature failure. The tensioner arm typically includes an indicator that shows if the belt has stretched beyond its useable range.
The idler pulleys help to guide the belt around the various components and ensure proper wrap angle on each pulley. "Wrap angle" refers to the amount of surface contact the belt has with the pulley – sufficient wrap angle is necessary to transfer power effectively.
Real-World Use: Basic Troubleshooting
Knowing the serpentine belt diagram is incredibly useful for troubleshooting common issues. Here are a few examples:
- Squealing Noise: Often indicates a slipping belt. Check the belt for wear and tear (cracks, glazing), and verify the tensioner is functioning correctly. Use the diagram to confirm the belt is properly routed and that no debris is caught within the pulley grooves.
- Accessory Malfunction: If the alternator isn't charging, the power steering isn't working, or the A/C isn't cooling, check the serpentine belt first. A broken or excessively worn belt is a likely cause. Also check the routing based on the diagram in case it has come off the correct path.
- Visual Inspection: Regularly inspect the belt for cracks, fraying, missing ribs, or glazing (a shiny, hard surface). These are all signs of wear and indicate the need for replacement. Compare the belt to the diagram to ensure the routing is correct.
A quick visual inspection and referencing the diagram can often save you time and money in diagnosing accessory issues.
Safety Considerations
Working on the serpentine belt system involves certain risks. Always disconnect the negative battery cable before starting any work to prevent accidental electrical shocks or damage to the electrical system. Remember, the engine must be OFF.
The following components pose a potential hazard:
- Moving Parts: The serpentine belt and pulleys are constantly rotating when the engine is running. Keep your hands and tools clear of these components when the engine is running.
- Hot Engine: Allow the engine to cool completely before working on the serpentine belt system. Exhaust manifolds and other engine components can remain extremely hot for a considerable time.
- Tensioner Spring: The tensioner pulley is spring-loaded and can snap back forcefully when released. Use the correct tools and techniques to relieve tension safely.
Exercise caution and common sense to avoid injury. Wear appropriate safety gear, including eye protection and gloves.
Remember, proper diagnostics and repair procedures are essential. If you're uncomfortable with any aspect of the repair, consult a qualified mechanic.
We have the serpentine belt diagram file available for you to download. This resource will be invaluable for your repairs and maintenance. Good luck, and stay safe!