2008 Nissan Altima Fuse Box Diagram
The 2008 Nissan Altima fuse box diagram is an essential resource for anyone performing electrical repairs, modifications, or even basic troubleshooting on this vehicle. Understanding this diagram allows you to quickly identify and address issues related to faulty circuits, preventing further damage and saving you time and money. It's more than just a map; it's the key to unlocking the electrical system of your Altima.
Purpose of the Fuse Box Diagram
Why bother understanding the fuse box diagram? Several reasons:
- Repairing Electrical Problems: If a circuit isn't working (e.g., headlights, radio, power windows), the first place to check is the corresponding fuse. The diagram tells you exactly which fuse controls which circuit.
- Performing Modifications: Adding aftermarket accessories like a new stereo, alarm system, or lighting requires tapping into the car's electrical system. The diagram helps you identify appropriate power sources and prevent overloading circuits.
- General Troubleshooting: Even without specific malfunctions, understanding the fuse layout can provide valuable insights into the car's electrical design and help you diagnose unexpected behavior.
- Preventing Further Damage: Replacing a blown fuse with one of a higher amperage (the measure of electrical current) can damage wiring and components. The diagram ensures you use the correct replacement fuse.
Key Specs and Main Parts
The 2008 Altima typically has two fuse box locations:
- Interior Fuse Box: Located inside the cabin, usually under the dashboard on the driver's side. This box primarily houses fuses for interior components like the radio, power windows, lights, and various electronic control modules.
- Engine Compartment Fuse Box: Situated in the engine bay, often near the battery. This box protects critical engine components like the fuel pump, ignition system, and cooling fan, along with exterior lighting.
Key specs to note:
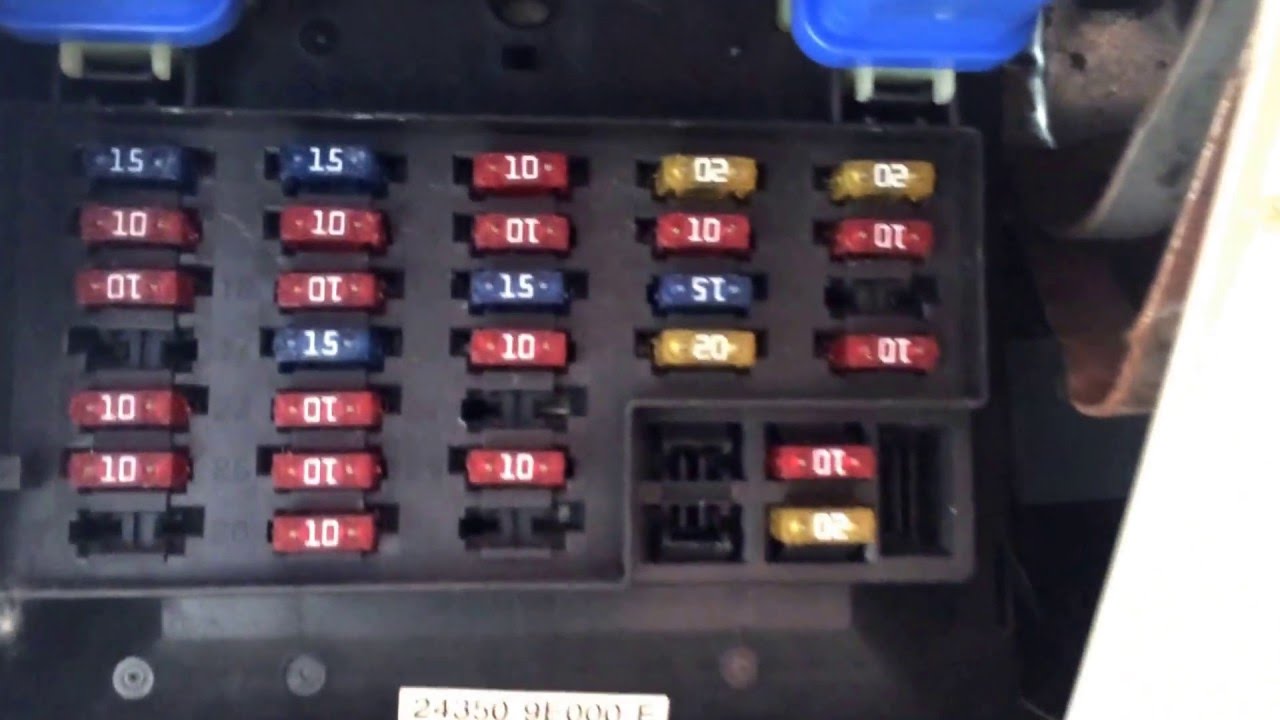
- Fuse Type: Most fuses in the 2008 Altima are blade-type fuses (ATO/ATC). These are small, rectangular fuses with two prongs that plug into the fuse box. There are variations in size (mini, standard, maxi), so it's crucial to use the correct replacement.
- Amperage Rating: Expressed in Amperes (A), this indicates the maximum current a fuse can handle before blowing. Never replace a fuse with one of a higher amperage rating.
- Fuse Box Cover: The fuse box cover itself often contains a simplified diagram. However, a dedicated diagram provides much more detail.
Understanding the Symbols on the Diagram
Fuse box diagrams utilize a range of symbols and conventions to convey information efficiently. Here's a breakdown:
- Lines: Solid lines typically represent direct electrical connections. Dashed lines might indicate connections to ground or shared power sources.
- Colors: Colors usually represent the wire color. Common colors include red (power), black (ground), and various other colors for different circuits. Understanding wire color coding helps when tracing wires within the harness.
- Icons: Icons depict the component protected by each fuse. For example:
- A light bulb icon represents lighting circuits (headlights, taillights).
- A radio icon indicates the audio system circuit.
- A windshield wiper icon denotes the wiper motor circuit.
- A fan icon would be for the cooling fan circuit.
- Various symbols will also represent control modules like the PCM (Powertrain Control Module) or BCM (Body Control Module).
- Fuse Numbers: Each fuse is assigned a unique number, often printed directly on the fuse box. The diagram will correlate this number with the corresponding circuit and amperage rating.
- Relays: While the primary focus is on fuses, the diagram may also show the location of relays within the fuse box. Relays are electromechanical switches that control high-current circuits using a low-current signal.
How It Works: From Power Source to Component
The fuse box acts as a central distribution point for electrical power in the vehicle. Power originates from the battery and alternator, travels through wiring harnesses, and is distributed to various components via the fuse box. Each circuit is protected by a fuse, which is a deliberately weak link in the system. If the current in a circuit exceeds the fuse's amperage rating, the fuse blows, interrupting the flow of electricity and preventing damage to the wiring and connected components.
Think of it like this: the battery provides the water pressure (voltage), the wiring is the pipe, the fuse is a section of pipe designed to burst under too much pressure, and the component is the sprinkler. If the pressure gets too high (overcurrent), the fuse bursts (blows), protecting the sprinkler (component).
The fuse box diagram shows the path of electricity: Battery -> Fuse Box -> Fuse -> Component. This understanding is crucial for troubleshooting electrical problems.
Real-World Use: Basic Troubleshooting
Let's say your 2008 Altima's radio isn't working. Here's how you'd use the fuse box diagram:
- Locate the Fuse Box Diagram: Consult your owner's manual or a reliable online resource to find the specific diagram for your vehicle's year and trim.
- Identify the Radio Fuse: Use the diagram to locate the fuse labeled "Radio" or "Audio System." Note its fuse number and amperage rating.
- Inspect the Fuse: Open the fuse box and visually inspect the fuse. A blown fuse will have a broken filament or a darkened appearance.
- Test the Fuse: Even if the fuse looks okay, it's best to test it with a multimeter set to continuity mode. A good fuse will show continuity (a beep or zero resistance). A blown fuse will show no continuity.
- Replace the Fuse: If the fuse is blown, replace it with a new fuse of the exact same amperage rating.
- Test the System: Turn on the radio to see if it now works. If the fuse blows again immediately, there's a more serious problem in the circuit that requires further investigation. This could be a short circuit (a direct connection between the power wire and ground).
For more advanced troubleshooting, you might need a wiring diagram (which is more detailed than the fuse box diagram) and a multimeter to check for voltage and continuity in the wiring harness.
Safety Considerations
Working with automotive electrical systems can be dangerous. Here are some critical safety precautions:
- Disconnect the Battery: Before working on any electrical component, disconnect the negative terminal of the battery. This prevents accidental short circuits.
- Avoid Water: Never work on electrical systems in wet conditions.
- Use Proper Tools: Use insulated tools designed for automotive electrical work.
- Never Replace a Fuse with a Higher Amperage: This is the most critical safety rule. Using a higher amperage fuse can overload the wiring and cause a fire.
- Identify Risky Components: Be especially cautious around high-current components like the starter motor, alternator, and fuel pump. These circuits can carry significant amounts of electricity.
- Consult a Professional: If you're not comfortable working with electrical systems, or if you encounter a complex problem, consult a qualified mechanic. Electrical issues can be challenging to diagnose and repair, and improper repairs can lead to further damage or even safety hazards.
Remember that the airbag system also runs through fuses. Mishandling these circuits could trigger the airbags, causing injury.
By understanding the 2008 Nissan Altima fuse box diagram and following safe practices, you can effectively troubleshoot and repair electrical problems, saving time, money, and potential hazards.
We have the full resolution 2008 Nissan Altima Fuse Box Diagram file. You can download it from the link provided below.