
2009 Bmw 328i Serpentine Belt Diagram
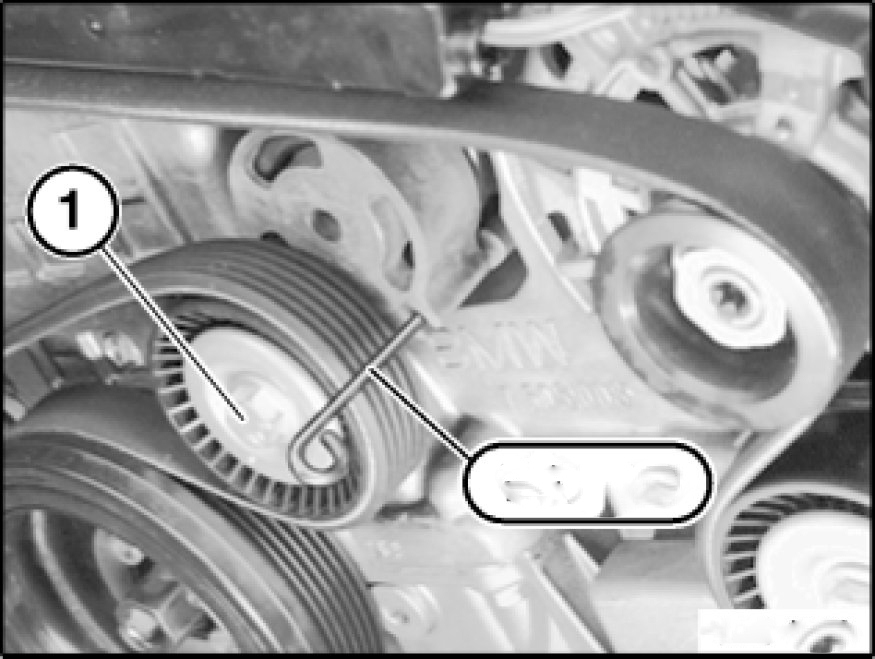
Alright, let's dive into the serpentine belt diagram for your 2009 BMW 328i (E90 chassis). This guide is geared towards those of you who are comfortable getting your hands dirty and have a decent understanding of automotive systems. We'll break down the diagram, its components, and how to use it for maintenance and troubleshooting. Understanding this diagram is crucial for replacing the belt, diagnosing accessory drive problems, and even for some preventative maintenance procedures.
Purpose of the Serpentine Belt Diagram
Why should you care about this diagram? Well, the serpentine belt drives several critical components in your 328i. If it fails, you're in for a world of trouble. The diagram is your roadmap to understanding this system. Specifically, it's invaluable for:
- Belt Replacement: Ensuring the new belt is routed correctly is paramount. An incorrectly installed belt won't function properly and could lead to immediate failure, damaging other components.
- Troubleshooting Accessory Drive Issues: If you're experiencing problems with your power steering, air conditioning, or charging system, the diagram helps you isolate the potential problem by understanding the belt's path and which components it drives.
- Preventative Maintenance: Inspecting the belt's condition and the pulleys it runs on is part of regular maintenance. The diagram lets you easily identify these components.
- Learning the System: Even if you're not currently having problems, understanding how the serpentine belt system works on your 328i deepens your overall automotive knowledge.
Key Specs and Main Parts
Let's get into the specifics of your 2009 328i. While component placement can vary slightly based on specific engine options (N51 or N52), the fundamental layout remains similar. Here's a breakdown of the key components and specs:
- Belt Length: The belt length for a 2009 328i varies slightly depending on the specific engine and if the car is equipped with or without A/C. However, expect it to be approximately between 2200mm and 2300mm. Always double-check the correct part number and specifications for your specific vehicle using your VIN.
- Crankshaft Pulley (Crank Pulley): This pulley, located at the bottom of the engine, is driven directly by the engine and provides the rotational force to the serpentine belt.
- Alternator Pulley: The alternator charges your car's battery and powers its electrical system. A faulty alternator pulley can cause belt slippage or noise.
- Power Steering Pump Pulley: This pulley drives the power steering pump, which provides hydraulic assistance to make steering easier.
- Air Conditioning Compressor Pulley: This pulley drives the A/C compressor, responsible for cooling the car's cabin.
- Idler Pulley(s): These pulleys provide tension and guide the belt along its path. They are smooth and do not drive any components.
- Tensioner Pulley: The tensioner maintains proper belt tension, preventing slippage and ensuring the accessories operate correctly. It's a spring-loaded mechanism that automatically adjusts for belt wear. This is a critical component and a common point of failure.
Symbols and Diagram Conventions
A typical serpentine belt diagram uses specific conventions to represent the system:
- Solid Lines: These lines represent the serpentine belt itself. The thickness of the line generally doesn't have any specific meaning beyond visual clarity.
- Pulleys: Pulleys are usually depicted as circles. Some diagrams might label them with abbreviations like "ALT" for alternator, "P/S" for power steering, "A/C" for air conditioning, "CRANK" for crankshaft, "IDL" for idler, and "TEN" for tensioner.
- Arrows: Arrows indicate the direction of belt travel. This is crucial for ensuring you route the belt correctly.
- Tensioner Symbol: The tensioner is often depicted with a symbol indicating its spring-loaded mechanism. Look for a coil or a wavy line near the tensioner pulley.
How It Works
The serpentine belt system is relatively simple in principle. The engine's rotation turns the crankshaft pulley. The serpentine belt, routed around all the other pulleys, transfers this rotational force to the alternator, power steering pump, and A/C compressor, enabling them to function. The tensioner maintains optimal belt tension to prevent slippage. Without proper tension, the accessories won't operate efficiently or may not operate at all. A worn or cracked belt will also lead to slippage and reduced performance.
The belt's path is specifically designed to maximize contact with each pulley, providing the necessary grip for efficient power transfer. The idler pulleys guide the belt and ensure proper wrap around the driven pulleys.
Real-World Use: Basic Troubleshooting Tips
Let's say you're experiencing some issues. Here's how you can use the diagram to diagnose problems:
- Squealing Noise: A squealing noise, especially when the engine is cold or when the A/C is turned on, is a common symptom of a slipping serpentine belt. Inspect the belt for cracks, glazing (a shiny appearance), or fraying. Check the tensioner to ensure it's functioning correctly. Using the diagram, you can identify each pulley and check for signs of wear, wobble, or damage.
- Power Steering Failure: If your power steering suddenly stops working, and you don't hear the usual pump noise, inspect the serpentine belt to ensure it's intact and properly routed around the power steering pump pulley. A broken belt will immediately disable the power steering.
- Charging System Problems: If your battery isn't charging correctly, and you've ruled out other causes (like a bad battery or alternator), check the serpentine belt's condition and routing around the alternator pulley. A slipping belt might not be turning the alternator fast enough to generate sufficient power.
- A/C Not Working: Similar to power steering, a broken or slipping serpentine belt can prevent the A/C compressor from operating. Check the belt's condition and routing.
When troubleshooting, always remember to visually inspect all components of the serpentine belt system, including the pulleys, tensioner, and the belt itself. Use the diagram as a reference to ensure you're checking the correct parts.
Safety Precautions
Working on the serpentine belt system involves inherent risks. Here are some critical safety precautions:
- Disconnect the Battery: Before working on any electrical components (especially the alternator), disconnect the negative terminal of the battery to prevent accidental shorts.
- Hot Engine: Never work on the serpentine belt system when the engine is hot. Allow the engine to cool down completely before starting any repairs.
- Moving Parts: Keep your hands, clothing, and tools away from moving parts when the engine is running. The serpentine belt can cause serious injury if it catches something.
- Tensioner Spring: The tensioner spring is under significant tension. Use the correct tools to release the tension safely. Consult your vehicle's repair manual for specific instructions. Releasing the tension incorrectly can cause the tensioner to snap back forcefully, potentially causing injury.
Always consult your vehicle's repair manual for specific instructions and torque specifications. This guide provides general information, but your specific 2009 BMW 328i might have unique requirements.
We have the 2009 BMW 328i Serpentine Belt Diagram available for download. Contact us for more information.