
2009 Chevy Impala Radio Wiring Diagram
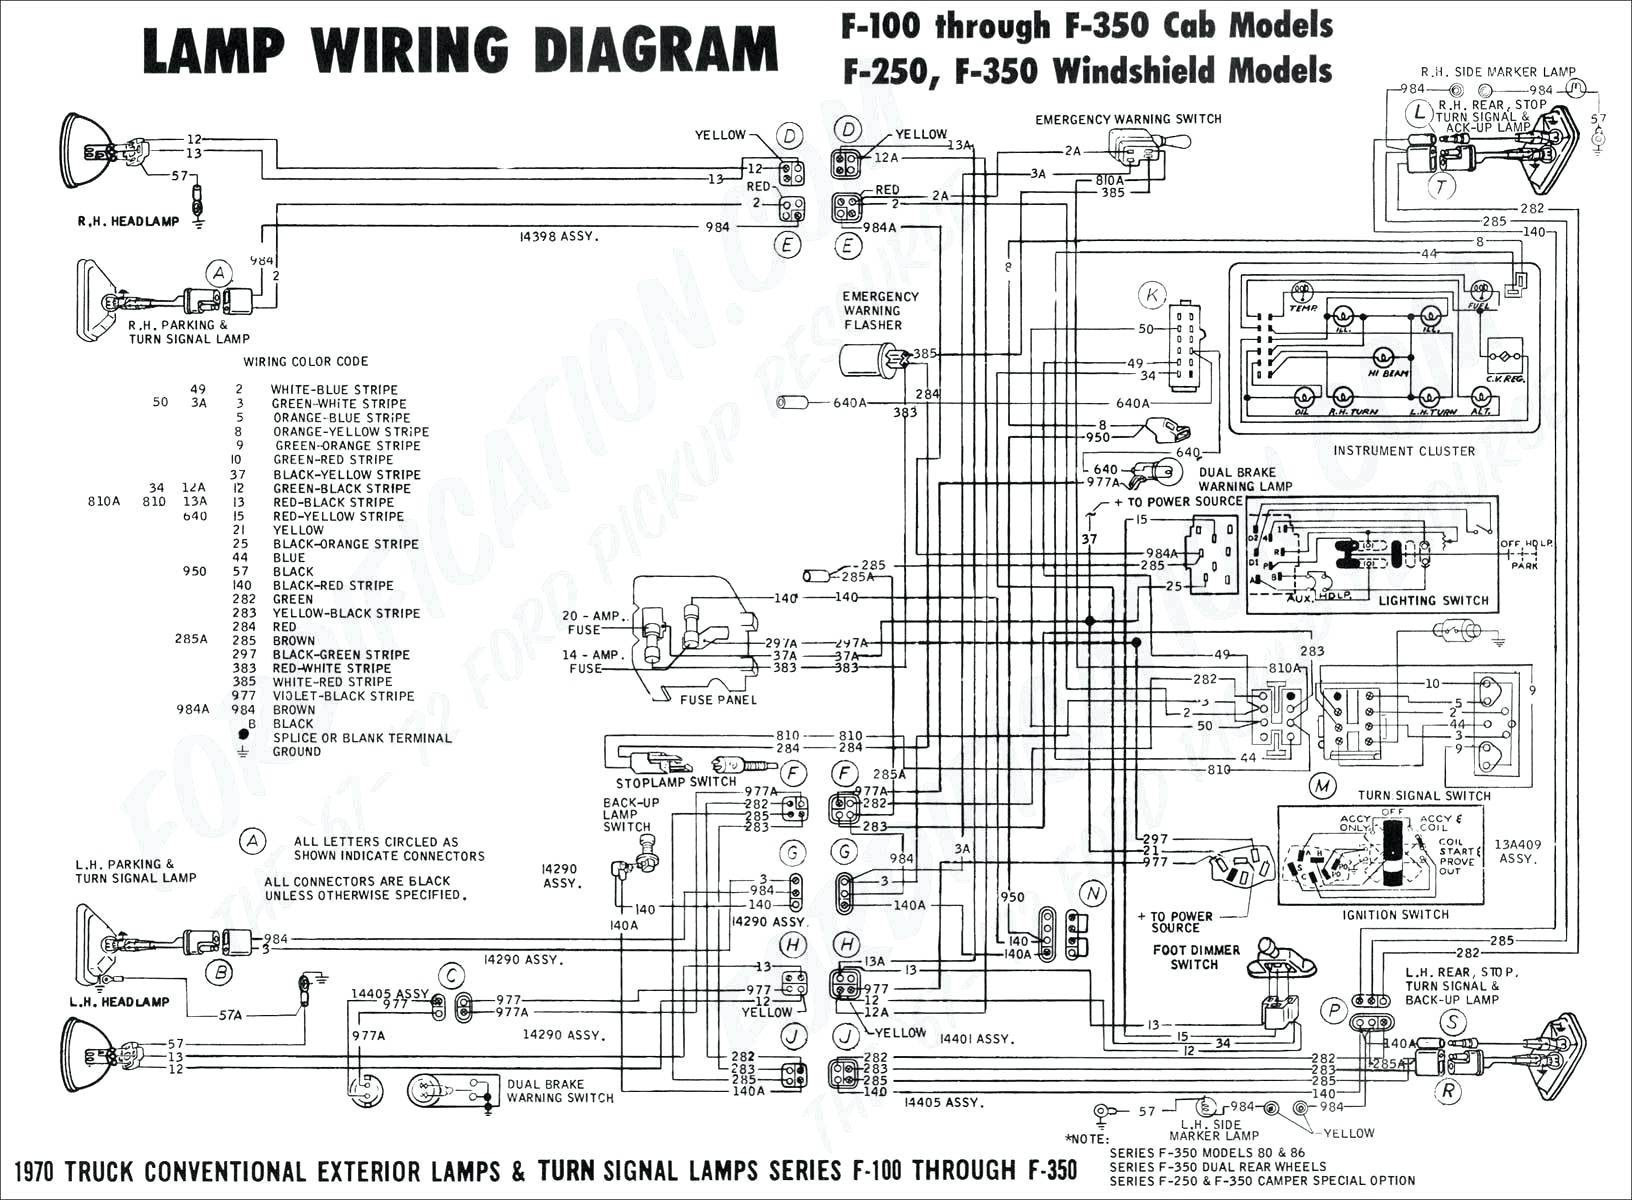
The 2009 Chevy Impala is a solid car, but like any vehicle, its electrical system can develop quirks. Understanding the radio wiring diagram is crucial for a variety of tasks, from diagnosing a blown speaker to upgrading the entire audio system. This guide provides a detailed look at the 2009 Impala radio wiring diagram, explaining its components, symbols, and practical applications. We’ll equip you with the knowledge to confidently tackle radio-related repairs and modifications.
Purpose of the Wiring Diagram
Why bother with a wiring diagram? The radio wiring diagram is your roadmap to the Impala's audio system. It's invaluable for:
- Troubleshooting audio problems: No sound? Speakers cutting out? The diagram helps you trace the signal path and pinpoint the faulty component.
- Radio replacement: Swapping out the factory radio for an aftermarket unit requires understanding the wiring to connect the new unit correctly.
- Speaker upgrades: Knowing the speaker wiring allows you to upgrade speakers or add amplifiers without damaging the system.
- Adding accessories: Integrating features like subwoofers or hands-free calling systems requires tapping into the appropriate wires.
- Learning automotive electrical systems: Studying the diagram enhances your overall understanding of automotive electrical systems.
Key Specs and Main Parts of the 2009 Impala Radio System
Before diving into the diagram, let's define the key components of the 2009 Impala's radio system:
- Head Unit (Radio): The central control unit. It houses the receiver, amplifier, and user interface (buttons, display).
- Speakers: Convert electrical signals into audible sound. The Impala typically has speakers in the front doors, rear deck, and potentially tweeters in the A-pillars, depending on the trim level.
- Antenna: Receives radio signals. Usually located on the roof or embedded in the rear window.
- Amplifier (Optional): Some Impalas, especially those with premium sound systems (like Bose), have a separate amplifier unit located in the trunk or under a seat. This amplifies the signal from the head unit before it reaches the speakers.
- Wiring Harness: A bundle of wires that connects the radio to the car's electrical system. It includes wires for power, ground, speakers, antenna, and other functions.
- Body Control Module (BCM): While not directly part of the audio path, the BCM often interacts with the radio system for features like theft deterrent and chime integration.
- OnStar Module (Optional): If equipped, the OnStar module integrates with the audio system for hands-free calling and other services.
The 2009 Impala radio system is generally a 12V DC system. The factory head unit typically outputs around 15-20 watts per channel. Speaker impedance is usually 4 ohms.
Understanding Wiring Diagram Symbols
The wiring diagram uses a set of standardized symbols to represent electrical components and connections. Understanding these symbols is essential for interpreting the diagram correctly.
- Solid Lines: Represent wires. The thickness of the line doesn't necessarily indicate wire gauge, but it's good practice to consult the wire gauge information if available.
- Dashed Lines: Often indicate shielded cables or connections that are not directly part of the main circuit but are related (e.g., ground connections).
- Circles: Represent connectors. The circle may contain a number indicating the connector pin number.
- Squares: Represent components like fuses, relays, or switches.
- Resistors: Represented by a jagged line.
- Capacitors: Represented by two parallel lines.
- Ground Symbol: Usually a series of horizontal lines descending in size, indicating a connection to the vehicle's chassis ground.
- Fuses: Shown as a straight line with a loop.
Wire Colors: Wire colors are crucial for identifying wires in the car. The diagram will use abbreviations for colors, such as:
- RED: Red
- BLK: Black
- WHT: White
- GRN: Green
- BLU: Blue
- YEL: Yellow
- BRN: Brown
- ORG: Orange
Wires may also have a primary color and a stripe color (e.g., BLU/WHT for a blue wire with a white stripe). Make careful notes when you are removing components and taking pictures.
Important Note: While manufacturers attempt to standardize color coding, variations can occur. Always verify wire functions with a multimeter before making any connections.
How the 2009 Impala Radio System Works
The basic operation of the radio system is straightforward:
- Power Supply: The radio receives power from the car's battery through a fused circuit. There's usually a constant power wire (for memory) and a switched power wire (activated when the ignition is turned on).
- Signal Reception: The antenna receives radio signals and sends them to the head unit.
- Signal Processing: The head unit tunes into the selected radio station, decodes the signal, and amplifies it.
- Output to Speakers: The amplified signal is sent to the speakers, which convert it into sound.
- User Interface: The user controls the radio through buttons, knobs, or a touchscreen.
If your car has a separate amplifier, the head unit sends a low-level audio signal to the amplifier, which then amplifies it and sends it to the speakers. This is typical in cars with a higher-end sound system, such as a Bose system.
Real-World Use: Basic Troubleshooting
Let's consider some common radio problems and how the wiring diagram can help:
- No Power to Radio: Check the radio fuse first. If the fuse is good, use the diagram to trace the power wire from the fuse box to the radio connector. Use a multimeter to verify that the wire is receiving 12V when the ignition is on. Also, check the ground connection. A bad ground can cause all sorts of electrical problems.
- No Sound from One Speaker: Check the speaker wiring and connections. Use a multimeter to test the speaker's continuity (resistance). A broken speaker will typically show infinite resistance. If the speaker is good, trace the speaker wire back to the radio (or amplifier if equipped) and check for breaks or loose connections.
- Static or Interference: This could be caused by a loose antenna connection, a faulty antenna, or interference from other electrical components. Check the antenna connection at the radio and at the base of the antenna.
- Radio Turns On But No Display: This could indicate a problem with the radio's internal circuitry or a loose connection to the display. Check the power and ground connections to the radio.
When troubleshooting, always start with the simplest possible explanation and work your way up. Don't assume the radio itself is bad until you've ruled out all other possibilities.
Safety Precautions
Working with automotive electrical systems can be dangerous. Here are some essential safety precautions:
- Disconnect the Battery: Before working on any electrical components, disconnect the negative terminal of the battery. This prevents accidental shorts and electrical shocks.
- Use Proper Tools: Use insulated tools designed for automotive electrical work.
- Don't Cut Wires Unnecessarily: Only cut wires when absolutely necessary. Use crimp connectors or solder to make secure and reliable connections.
- Be Careful Around Airbags: The Impala's airbag system is sensitive. Avoid working near airbag components unless you are properly trained.
- Be especially careful when dealing with components that can store charge after the vehicle is turned off. Capacitors, for example, can hold a charge after the power is removed.
- Consult a Professional: If you are not comfortable working on electrical systems, consult a qualified automotive technician.
Important: Some circuits, particularly those related to the airbag system, are HIGHLY SENSITIVE. Improper handling can trigger the airbags, causing serious injury. If you are unsure about working on a specific circuit, consult a professional.
Final Thoughts
Understanding the 2009 Chevy Impala radio wiring diagram is a valuable skill for any car owner. It empowers you to diagnose problems, perform upgrades, and gain a deeper understanding of your car's electrical system. Remember to always prioritize safety and consult a professional when needed. This knowledge, combined with careful work, will save you time and money.
To further assist you in your project, we have the complete 2009 Chevy Impala radio wiring diagram available for download. This comprehensive diagram will provide you with all the necessary details to confidently tackle any radio-related repair or modification.