2010 Ford Fusion 2.5 Serpentine Belt Diagram
So, you're looking at tackling the serpentine belt on your 2010 Ford Fusion with the 2.5L engine. Smart move. This article is your guide to understanding the serpentine belt diagram for this specific model. Whether you're replacing a worn belt, diagnosing a squealing noise, or just want to familiarize yourself with your engine bay, knowing how this system works is invaluable.
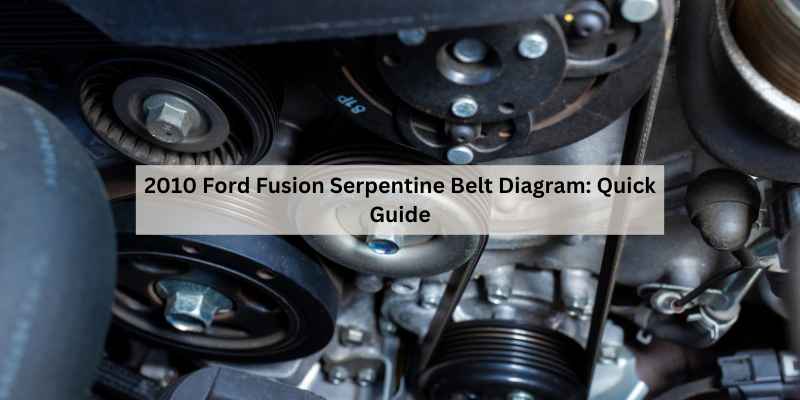
Purpose of the Serpentine Belt Diagram
Why bother with a diagram? Simple. The serpentine belt drives numerous critical engine components. Without it, you're dead in the water. The diagram is your roadmap. It provides a visual representation of how the belt weaves through the various pulleys, ensuring you route the new belt correctly. Incorrect routing can lead to component failure, belt slippage, and even engine damage. It’s also vital for diagnosing issues; a misaligned pulley or a seized component can be spotted by understanding the intended belt path. Understanding the diagram can save you money on mechanic fees and potentially prevent serious problems. We have a downloadable PDF of the serpentine belt diagram for the 2010 Ford Fusion 2.5L, accessible later in this article.
Key Specs and Main Parts
Let’s break down the key components involved in the serpentine belt system on your 2010 Fusion:
- Crankshaft Pulley (Harmonic Balancer): This is the heart of the system, driven directly by the engine's crankshaft. It provides the rotational force for the entire belt system.
- Alternator Pulley: The alternator generates electricity to power your car's electrical system and charge the battery. The serpentine belt turns the alternator pulley to make this happen.
- Power Steering Pump Pulley: Provides hydraulic pressure to assist with steering. Driven by the serpentine belt.
- Air Conditioning Compressor Pulley: Engages and disengages to provide refrigerant compression for your air conditioning system. Also driven by the serpentine belt.
- Water Pump Pulley: Circulates coolant throughout the engine to prevent overheating. Critical to engine health.
- Tensioner Pulley: This is a spring-loaded pulley that maintains the correct tension on the serpentine belt. It's crucial for preventing slippage and ensuring optimal performance of all the driven components. A faulty tensioner is a common cause of serpentine belt issues.
- Idler Pulley: Some configurations have idler pulleys, which are smooth, non-driven pulleys used to guide the belt and optimize its wrap angle around the other pulleys.
The belt itself is typically made of EPDM (Ethylene Propylene Diene Monomer) rubber, a synthetic rubber known for its durability and resistance to heat, cracking, and wear. While specific length and rib count varies, the 2010 Ford Fusion 2.5L generally uses a belt with specifications around 80-82 inches in length. Consult your vehicle's service manual or a parts supplier for the exact belt length.
Symbols and Diagram Interpretation
Understanding the symbols on the diagram is key to using it effectively. Here’s a breakdown:
- Solid Lines: These represent the path of the serpentine belt itself, showing how it wraps around each pulley.
- Dashed Lines: May indicate optional configurations or components not present on all models. In some diagrams, they can also represent the back (smooth) side of the belt.
- Arrows: Indicate the direction of rotation for each pulley. This is critical for ensuring correct belt routing.
- Component Labels: Each pulley will be labeled with an abbreviation or name (e.g., ALT for alternator, P/S for power steering, A/C for air conditioning).
- Tensioner Location: The tensioner pulley is usually indicated with a spring symbol or labeled explicitly. It’s important to note its location and how it interacts with the belt for proper tensioning.
- Diagram Orientation: Diagrams are usually oriented with the front of the engine facing up. However, it’s always a good idea to double-check the diagram against your actual engine bay for correct orientation.
Pay close attention to which side of the belt (ribbed or smooth) makes contact with each pulley. Most pulleys are driven by the ribbed side of the belt, but idler pulleys and the back of the tensioner pulley typically contact the smooth side.
How It Works
The system's function is relatively straightforward. The crankshaft pulley, driven by the engine, provides the rotational force. This force is transferred to the serpentine belt, which then drives all the other components. The tensioner pulley maintains the correct amount of tension on the belt, preventing slippage and ensuring efficient power transfer. Proper tension is critical; too loose, and the belt will slip, leading to reduced performance and potential damage to the driven components. Too tight, and it can overstress bearings and shorten the belt's lifespan.
When the air conditioning is turned on, the A/C compressor engages, adding load to the system. The serpentine belt must be able to handle this increased load without slipping. Similarly, the power steering pump requires constant power to provide hydraulic assistance for steering. The alternator needs a consistent drive to maintain the car's electrical system. All of these components rely on the serpentine belt to function correctly.
Real-World Use and Troubleshooting
Here are a few common scenarios where understanding the serpentine belt diagram comes in handy:
- Squealing Noise: A squealing noise, especially when the engine is first started or when accessories are engaged (like the A/C), is often a sign of a slipping serpentine belt. Check the belt for wear, cracks, or glazing. Also, inspect the tensioner pulley to ensure it's providing adequate tension. A faulty tensioner is a very common culprit.
- Belt Damage: Inspect the belt regularly for signs of wear, such as cracks, fraying, or missing ribs. Replace the belt if you find any damage. Using the diagram, verify that the belt is properly aligned on all the pulleys. Misalignment can cause premature wear.
- Component Failure: If a component driven by the serpentine belt fails (e.g., the alternator stops charging, the power steering fails), inspect the belt and pulleys for signs of damage or seizure. A seized pulley can cause the belt to break.
- Incorrect Belt Routing: If you or a previous mechanic has installed the belt incorrectly, the driven components may not function properly, or the belt may wear out quickly. Use the diagram to verify the correct routing.
When diagnosing problems, it's also important to check the pulleys themselves. A wobbly or noisy pulley can indicate a bad bearing. Replace any faulty pulleys to prevent further damage to the serpentine belt system.
Safety Precautions
Working on the serpentine belt system can be hazardous if you're not careful. Always disconnect the negative battery terminal before working on any electrical components. The alternator can produce a significant electrical shock if mishandled. The engine should be cool before attempting to work on the belt, and ensure the key is out of the ignition.
The crankshaft pulley and the area around it are particularly dangerous. Never put your hands or tools near these components while the engine is running. A spinning belt can cause serious injury. Always wear safety glasses to protect your eyes from debris. Use the correct tools for the job, and consult a repair manual if you're unsure about any step.
Specific Hazard: Be aware that some serpentine belt tensioners use a special tool to relieve tension on the belt for removal and installation. Using improper methods to relieve tension can lead to serious injury or damage to the tensioner. Consult your vehicle's service manual for the correct procedure and tools.
With this information and the diagram, you should be well-equipped to understand and work on the serpentine belt system of your 2010 Ford Fusion 2.5L. Remember to prioritize safety and consult a professional if you're uncomfortable with any aspect of the repair.