2010 Mazda 6 Headlight Wiring Harness Replacement Youtube
Alright, let's dive into the 2010 Mazda 6 headlight wiring harness. This guide will help you understand the wiring diagram, so you can tackle repairs, upgrades, or just gain a deeper understanding of your vehicle's electrical system. We're aiming for clarity here, bridging the gap between technical documentation and real-world application. We'll assume you're comfortable with basic automotive tools and safety precautions. Remember, working with electrical systems can be dangerous, so always disconnect the battery before starting any work!
Purpose of Understanding the Wiring Diagram
Why bother with a wiring diagram? Well, it's the roadmap to your car's electrical system. It's crucial for:
- Troubleshooting Electrical Problems: When your headlights aren't working correctly, the diagram helps you trace the circuit and pinpoint the faulty component (bulb, relay, wire, connector, etc.).
- Performing Repairs: Replacing a damaged connector, repairing a broken wire, or even tracing a short circuit all become significantly easier with a diagram.
- Adding Aftermarket Accessories: Planning to install new fog lights or upgrade to HID/LED headlights? The diagram shows you how to safely tap into the existing wiring.
- Learning and Understanding: It helps you understand how the various electrical components of your headlights interact with each other.
Key Specs and Main Parts of the Headlight Wiring Harness (2010 Mazda 6)
Before we jump into the diagram itself, let's identify the key components:
- Headlight Bulbs: Typically, the 2010 Mazda 6 uses halogen bulbs for both low and high beams. These are typically H11 (low beam) and 9005 (high beam) but always verify the specifications in your owner's manual or the bulb itself.
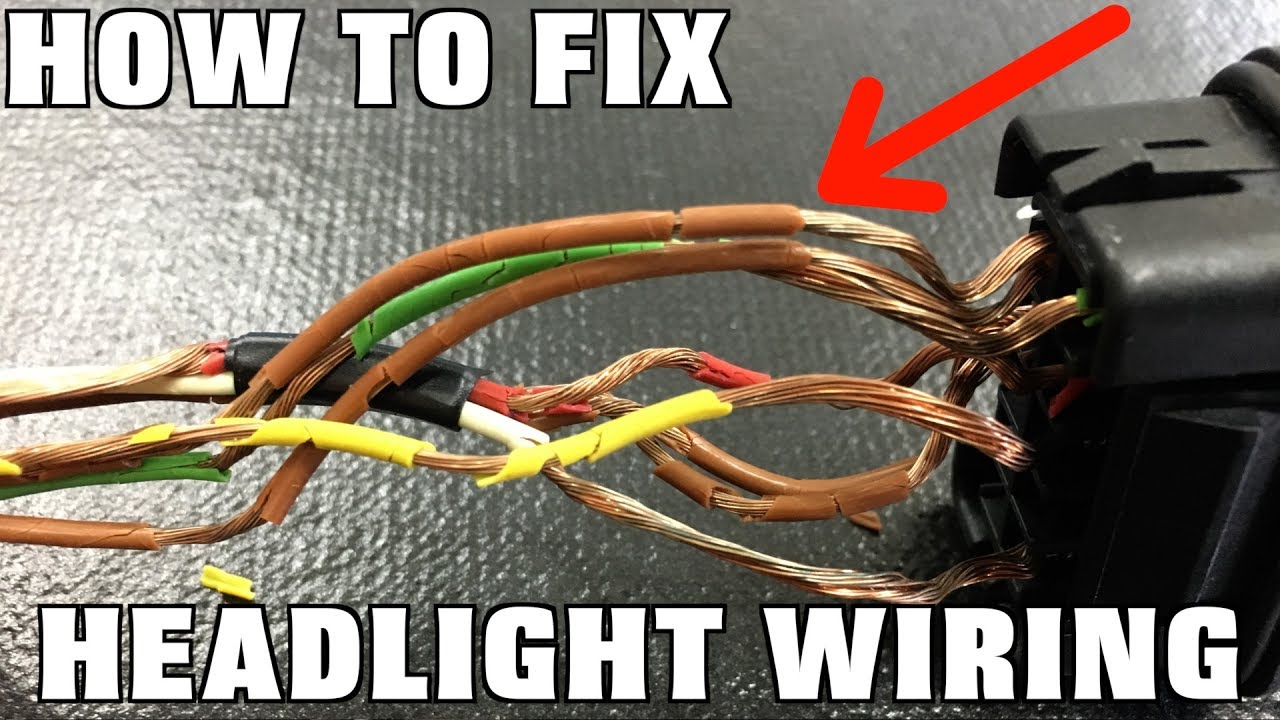
- Headlight Connectors: These connect the headlight bulbs to the wiring harness. They're susceptible to corrosion and damage from heat.
- Wiring Harness: The network of wires that carries the electrical current. It consists of various gauge wires, each responsible for a specific function.
- Fuses: Protect the circuit from overloads. Typically located in the under-hood fuse box and are critical for safety.
- Relays: Electrically operated switches that control high-current circuits with a low-current signal. The headlight relay controls power to the headlights.
- Headlight Switch: Located on the steering column, allows the driver to control the headlights (on/off, high/low beam).
- Ground Connections: Crucial for completing the electrical circuit. Poor grounds are a common cause of electrical problems.
Deciphering Wiring Diagram Symbols
Wiring diagrams use standard symbols to represent electrical components. Here's a breakdown:
- Lines: Represent wires. The thickness of the line doesn't necessarily indicate wire gauge in most automotive wiring diagrams.
- Colors: Each wire has a color code (e.g., BLK for black, RED for red, GRN for green, YEL for yellow). This is crucial for identifying specific wires within the harness. Look for a legend on the diagram explaining these abbreviations.
- Circles: Represent connectors or terminals.
- Rectangles: Can represent various components like relays, switches, or control modules. The internal symbols within the rectangle indicate the component's function.
- Squiggly Lines: Represent resistors.
- Ground Symbol (usually three horizontal lines): Indicates a connection to the vehicle's chassis ground.
- Fuse Symbol: A zigzag line within a small rectangle.
- Relay Symbol: Shows the coil and switch contacts of the relay. You'll typically see the relay coil represented by a looped wire. The contacts will be represented by a switch – normally open (NO) or normally closed (NC).
Understanding these symbols is key to reading the diagram correctly.
How It Works: The Headlight Circuit Explained
The headlight circuit is relatively simple, but it involves several key components. Here's a simplified explanation:
- Power Source: The battery provides the electrical power.
- Headlight Switch: When you turn on the headlight switch, it sends a signal to the headlight relay.
- Headlight Relay: The relay receives the signal from the switch and closes, allowing power to flow to the headlight bulbs.
- Fuses: Fuses are wired inline within the circuit to protect the circuit from excessive current flow. Each headlight (high and low beam) may have its own dedicated fuse.
- Headlight Bulbs: The power flows through the headlight bulbs, illuminating them.
- Ground: The circuit is completed by grounding the headlight bulbs to the vehicle's chassis.
The high beam circuit is similar, but it's controlled by a separate switch position on the headlight stalk and potentially a separate relay and fuse. The wiring diagram will clearly illustrate the differences between the high and low beam circuits.
Real-World Use: Basic Troubleshooting Tips
Here are some common headlight problems and how the wiring diagram can help:
- Headlights Not Working:
- Check the Fuses: Use the diagram to locate the headlight fuses in the fuse box. A blown fuse is a common cause.
- Check the Bulbs: Visually inspect the bulbs for a broken filament.
- Check the Relay: Locate the headlight relay using the diagram. You can try swapping it with a known good relay (of the same type) to see if that fixes the problem.
- Check the Ground Connections: A loose or corroded ground connection can prevent the headlights from working. Use the diagram to locate the ground points and clean them.
- Use a Multimeter: Use a multimeter to test for voltage at the headlight connector. The diagram shows which pins should have voltage when the headlights are turned on.
- One Headlight Not Working:
- Check the Bulb: Start by checking the bulb on the affected side.
- Check the Connector: Inspect the connector for corrosion or damage.
- Trace the Wiring: Use the diagram to trace the wiring from the headlight connector back to the fuse box or relay. Look for any breaks or shorts in the wire.
- Headlights Dim:
- Check the Battery: A weak battery can cause the headlights to be dim.
- Check the Ground Connections: Poor ground connections are a common cause of dim headlights.
- Check the Wiring: Look for corroded or damaged wiring that could be restricting the flow of current.
Remember to always disconnect the negative battery terminal before working on any electrical components.
Safety: Highlighting Risky Components
Working with the headlight wiring harness involves some safety considerations:
- Battery: Always disconnect the negative battery terminal before starting any electrical work. This prevents accidental shorts and potential electrical shock.
- Fuses: Never replace a fuse with a higher amperage fuse. This can overload the circuit and cause a fire.
- Electrical Shock: Be careful when working with electrical components, especially when the ignition is on. Although the voltage is relatively low (12V), it can still cause a shock.
- Airbags: Be cautious when working near the airbag system. Accidental activation of the airbags can cause serious injury. Disconnect the battery and wait at least 15 minutes before working near the airbags.
Working on electrical systems can be dangerous. If you're not comfortable with electrical work, it's best to take your car to a qualified mechanic.
Understanding the 2010 Mazda 6 headlight wiring diagram empowers you to diagnose and repair headlight issues effectively. Use this guide in conjunction with the actual wiring diagram for best results.
We have the full 2010 Mazda 6 headlight wiring diagram available for download. This will give you the detailed information you need to troubleshoot and repair your headlights. Contact us to download the full diagram.