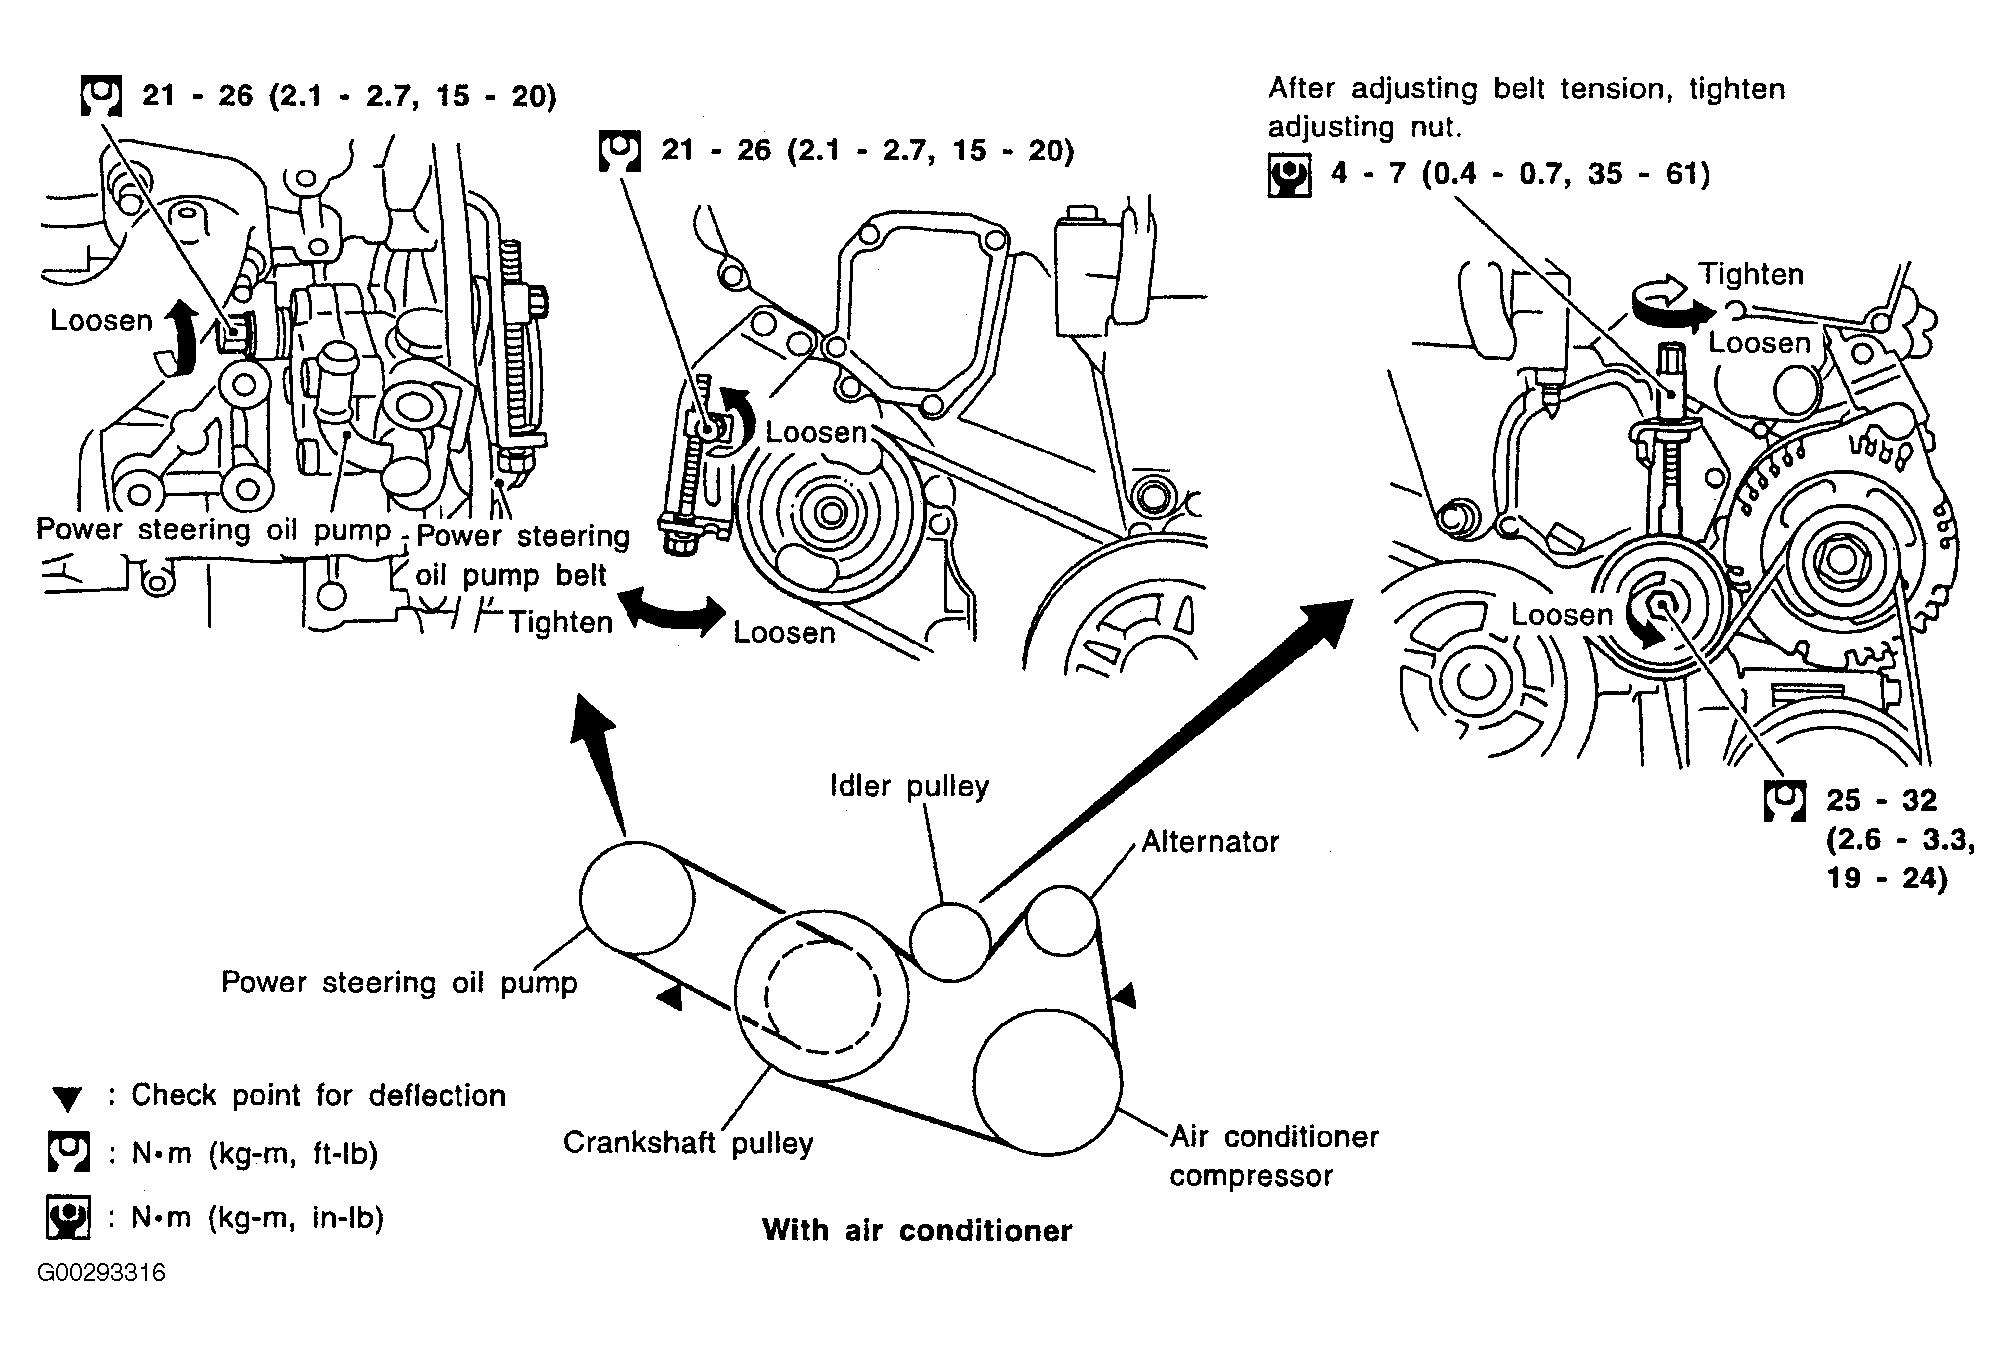
2010 Nissan Altima Serpentine Belt Diagram
Alright, let's dive into the serpentine belt system for the 2010 Nissan Altima. Understanding this system and, crucially, having a clear serpentine belt diagram is essential for any DIY mechanic tackling maintenance or repairs on this popular vehicle. Think of it as your roadmap for keeping your Altima's accessories humming along smoothly.
Purpose of the Serpentine Belt Diagram
Why bother with a diagram? Simple: accuracy and safety. The serpentine belt drives multiple components vital to your car's operation. These include the alternator (which charges your battery), the power steering pump (for easy steering), the air conditioning compressor (for cool air), and sometimes even the water pump (for engine cooling). If the belt fails, you're looking at potential loss of power steering, a dead battery, overheating, and no AC. A diagram is crucial for:
- Proper Installation: Ensuring the belt is routed correctly around all pulleys. A misrouted belt can cause component failure and belt damage.
- Troubleshooting: Identifying potential problems by examining the belt's alignment and condition.
- Belt Replacement: Knowing the correct belt length and routing path for when the time comes for a replacement.
- Understanding the System: Gaining a deeper understanding of how these accessory components work together.
Key Specs and Main Parts of the Serpentine Belt System
Let's break down the core components you'll find in the 2010 Altima's serpentine belt system. Keep in mind that minor variations might exist based on the engine (2.5L inline-4 or 3.5L V6), but the fundamental principles remain the same.
Main Components:
- Serpentine Belt: The heart of the system – a single, continuous belt made of durable rubber compound. This belt transmits power from the crankshaft to all the accessory components.
- Crankshaft Pulley (or Harmonic Balancer): Connected to the crankshaft, this pulley is driven by the engine and provides the rotational force for the entire system.
- Alternator Pulley: Driven by the serpentine belt, the alternator generates electricity to power the car's electrical system and charge the battery.
- Power Steering Pump Pulley: Driven by the serpentine belt, this pump provides hydraulic pressure to assist with steering.
- Air Conditioning Compressor Pulley: Driven by the serpentine belt, the compressor circulates refrigerant to cool the air in the cabin.
- Water Pump Pulley (Engine Dependent): In some engine configurations, the serpentine belt also drives the water pump, which circulates coolant to regulate engine temperature.
- Tensioner Pulley: This is a spring-loaded pulley that maintains the proper tension on the serpentine belt. Crucial for preventing slippage and premature wear. There are two main types:
- Automatic Tensioner: Uses a spring and damping mechanism to maintain constant tension.
- Manual Tensioner: Requires manual adjustment to achieve the correct tension. The 2010 Altima typically uses an automatic tensioner.
- Idler Pulley: A smooth pulley used to guide the belt around corners or provide additional wrap angle on other pulleys. It doesn't drive any components.
Key Specs:
While I can't provide the exact belt length without specifying the engine type, here are some general considerations:
- Belt Length: Measured in inches or millimeters. The correct length is critical. Using the wrong size can lead to installation issues or component damage. Refer to the correct diagram or parts catalog for your specific engine.
- Belt Width: Another important dimension that must match the pulley grooves.
- Groove Type: Serpentine belts typically have multiple V-shaped grooves that mate with corresponding grooves on the pulleys.
- Tension: Specified in foot-pounds or Newton-meters. Proper tension is vital for optimal performance and belt life. The automatic tensioner is designed to maintain this, but the condition of the tensioner itself is crucial.
Understanding the Symbols on the Diagram
A good serpentine belt diagram uses standard symbols to represent different components and directions. Here's a breakdown of what you might encounter:
- Solid Lines: Represent the serpentine belt itself.
- Arrows: Indicate the direction of belt travel. Pay close attention to these to ensure correct routing.
- Circles: Represent pulleys. The diagram will often label them (e.g., "ALT" for alternator, "P/S" for power steering).
- Different Line Thicknesses: May indicate different sections of the belt path.
- Shaded Areas: Can represent the internal components of the engine or accessory drives.
- Tensioner Symbol: A specialized symbol, often a circle with an arrow indicating the direction in which the tensioner arm moves to apply tension.
The diagram you'll download is meticulously crafted to be as clear and unambiguous as possible.
How the Serpentine Belt System Works
The engine's crankshaft drives the crankshaft pulley. The serpentine belt, wrapped around this pulley, transmits rotational force to all the other accessory pulleys. The tensioner pulley is the unsung hero here. It maintains constant tension on the belt, preventing it from slipping, especially under heavy loads or when the belt is slightly worn. Without proper tension, the accessories won't function correctly, leading to problems like a dimming headlights (alternator slippage), difficulty steering (power steering pump slippage), or inadequate cooling (AC compressor slippage).
Real-World Use: Basic Troubleshooting Tips
Here's how you can use the serpentine belt diagram to diagnose common problems:
- Squealing Noise: Often indicates a loose or worn belt. Check the tensioner. If it's bouncing excessively, the tensioner might be failing. Also, inspect the belt for glazing or cracking.
- Belt Slippage: Can cause a loss of power steering, charging problems, or AC malfunction. Visually inspect the belt for wear and tear, proper routing, and tension.
- Belt Breakage: A major problem that requires immediate attention. Check for signs of misalignment or pulley damage that may have caused the belt to snap. Also, check the condition of all pulleys; a seized or damaged pulley can easily shred a belt.
- Visual Inspection: Regularly inspect the belt for cracks, fraying, glazing, or missing chunks. A worn belt is a ticking time bomb.
- Pulley Alignment: Use a straightedge to check that all pulleys are properly aligned. Misalignment can cause premature belt wear and failure.
Safety Precautions
Working on the serpentine belt system involves inherent risks. Here are some crucial safety tips:
- Disconnect the Battery: Always disconnect the negative battery terminal before working on any electrical components or near the engine.
- Hot Engine: Never work on the serpentine belt system when the engine is hot. Allow it to cool completely to avoid burns.
- Moving Parts: Be extremely careful when the engine is running. Keep your hands, tools, and clothing clear of the serpentine belt and pulleys. A spinning belt can cause serious injury.
- Eye Protection: Wear safety glasses to protect your eyes from debris.
- Tensioner Release: Understand how to release the tension on the serpentine belt tensioner before you start. Using the wrong tool or technique can damage the tensioner or cause injury.
Caution: The crankshaft pulley (harmonic balancer) can be difficult to remove and requires specialized tools. If you're not comfortable with this task, it's best to leave it to a professional. Also, be aware that the air conditioning system contains pressurized refrigerant, which should only be handled by certified technicians.
I hope this guide gives you a solid understanding of the 2010 Nissan Altima's serpentine belt system. With the diagram we have available, you should be able to tackle most common maintenance and repair tasks with confidence. Remember to always prioritize safety and consult a qualified mechanic if you're unsure about any aspect of the repair.
You can download the detailed serpentine belt diagram by clicking the link below. This diagram will provide you with a precise visual guide for your specific engine configuration, making your work much easier and safer.
[Download Link Here - Placeholder]