2011 6.7 Powerstroke Serpentine Belt Diagram
For the DIY mechanic tackling engine work on a 2011 Ford Super Duty equipped with the 6.7L Powerstroke diesel, understanding the serpentine belt routing is absolutely crucial. This isn't just about replacing a worn belt; it's about properly diagnosing accessory drive issues, ensuring optimal performance, and avoiding costly damage. This article provides a comprehensive guide to the 2011 6.7L Powerstroke serpentine belt diagram, offering the knowledge you need to confidently handle belt-related maintenance and repairs.
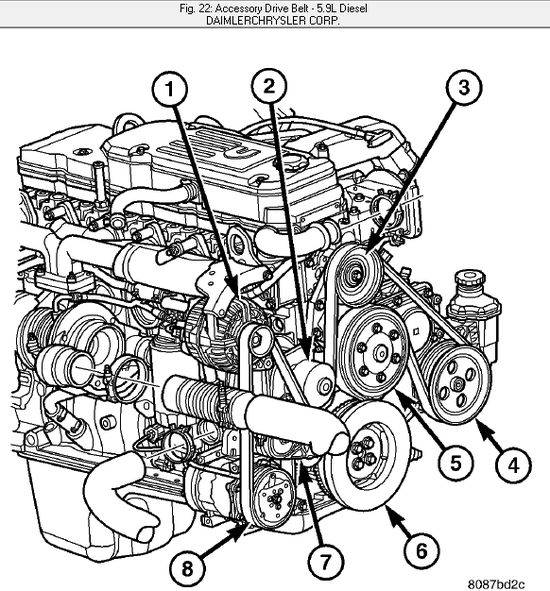
Purpose of the Serpentine Belt Diagram
The serpentine belt diagram serves as your roadmap for understanding how the accessory drive system functions. Here's why it's essential:
- Belt Replacement: The most obvious reason. A worn, cracked, or squealing belt needs replacing, and the diagram shows you the correct routing.
- Accessory Drive Troubleshooting: If your alternator isn't charging, your A/C isn't blowing cold, or your power steering is weak, the belt and its components are primary suspects. The diagram helps you visualize the entire system and identify potential issues.
- Component Replacement: When replacing components like the alternator, water pump, or tensioner, you'll need to remove and reinstall the belt correctly.
- Preventing Damage: An incorrectly routed belt can damage accessories, cause premature wear, and even lead to catastrophic engine failure if the belt snaps and gets caught in other components.
- Learning the System: Even if you're not actively working on the system, understanding the belt routing provides valuable insight into how your engine operates.
Key Specs and Main Parts
The 2011 6.7L Powerstroke serpentine belt system consists of several key components:
- Serpentine Belt: A single, long belt responsible for driving multiple engine accessories. Exact belt length varies, but it is typically around 120 inches for standard setups. Always refer to the manufacturer's specifications and part number when replacing.
- Crankshaft Pulley (Damper): Attached to the crankshaft, this pulley provides the rotational power that drives the entire system.
- Alternator: Generates electricity to power the vehicle's electrical system and charge the battery.
- Water Pump: Circulates coolant through the engine to prevent overheating.
- Power Steering Pump: Provides hydraulic pressure to assist with steering.
- A/C Compressor: Compresses refrigerant to provide cooling for the air conditioning system.
- Idler Pulley(s): Smooth, non-driven pulleys that guide the belt and maintain proper tension and wrap angle around the driven pulleys.
- Belt Tensioner: A spring-loaded pulley that automatically maintains the correct tension on the serpentine belt. This is a crucial component; a failing tensioner can cause belt slippage and premature wear.
Symbols and Conventions on the Diagram
Serpentine belt diagrams use specific symbols to represent the various components and the belt's routing. Understanding these symbols is key to interpreting the diagram correctly.
- Solid Lines: Typically represent the front (smooth) side of the serpentine belt. The belt runs against the smooth surface of the idler pulleys and the tensioner pulley.
- Dashed Lines: Usually indicate the grooved side of the belt. The grooved side always engages with the grooved pulleys of the driven accessories (alternator, water pump, A/C compressor, power steering pump, and crankshaft pulley).
- Arrows: Indicate the direction of belt travel around each pulley. Pay close attention to these arrows, as they are critical for correct routing.
- Component Icons: Each component (alternator, water pump, etc.) is represented by a specific icon or a simplified drawing. These icons are usually labeled with abbreviations (e.g., "ALT" for alternator, "WP" for water pump).
- Tensioner Identification: The tensioner is typically identified by the word "Tensioner" or an abbreviation like "TENS," along with an arrow indicating the direction it moves to release tension on the belt.
How the Serpentine Belt System Works
The 6.7L Powerstroke serpentine belt system is a closed-loop system driven by the crankshaft. The crankshaft pulley's rotational energy is transferred to the serpentine belt. The belt, in turn, wraps around and drives each of the accessory pulleys (alternator, water pump, etc.). The belt tensioner maintains constant pressure on the belt, preventing slippage and ensuring efficient power transfer to all the accessories.
The routing of the belt is carefully designed to maximize the wrap angle on each pulley. Wrap angle refers to the amount of contact the belt makes with the pulley's surface. A larger wrap angle provides more grip and prevents slippage. Idler pulleys are strategically placed to increase the wrap angle on specific components, especially those that require significant power, such as the A/C compressor.
Real-World Use: Basic Troubleshooting Tips
Here's how you can use the serpentine belt diagram to troubleshoot common issues:
- Squealing Noise:
- Possible Causes: Worn belt, loose belt, misaligned pulleys, glazed belt.
- Troubleshooting: Inspect the belt for cracks, glazing, or fraying. Check the tensioner for proper operation. Use the diagram to ensure the belt is correctly routed and that all pulleys are aligned. A belt dressing can temporarily quiet a squealing belt, but it's a temporary fix. Replacement is usually necessary.
- Accessory Failure:
- Possible Causes: Belt slippage, broken belt.
- Troubleshooting: Check the belt for proper tension and routing. If the belt is loose or damaged, it may not be effectively driving the accessory. If an accessory fails suddenly, inspect the belt for signs of damage or slippage, which may indicate a seized component.
- Belt Slippage:
- Possible Causes: Loose belt, worn tensioner, contaminated belt (oil, coolant).
- Troubleshooting: Inspect the tensioner for proper spring tension. Check the belt for contamination and clean or replace it as needed. Ensure the belt is routed correctly according to the diagram.
Safety Considerations
Working on the serpentine belt system involves inherent risks. Take these precautions:
- Disconnect the Battery: Always disconnect the negative battery cable before working on any electrical components, including the alternator.
- Engine Off and Cool: Ensure the engine is completely off and cool before working on the serpentine belt system. The engine bay can be very hot, and moving parts can cause serious injury.
- Moving Parts: The serpentine belt system contains numerous moving parts. Keep your hands and tools clear of the belt and pulleys while the engine is running.
- High-Pressure Components: The A/C system contains high-pressure refrigerant. Do not attempt to disconnect any A/C lines unless you are a qualified technician with the proper equipment.
- Belt Tensioner: The belt tensioner is under spring pressure and can snap back forcefully when released. Use the correct tools and techniques to safely release the tension on the belt. Follow the manufacturer's instructions carefully.
Working with the serpentine belt and its components on a 2011 6.7L Powerstroke requires care and attention to detail. Consulting the diagram and understanding the system will empower you to handle routine maintenance and troubleshooting tasks with confidence.
For your convenience, we have a high-resolution, printable PDF of the 2011 6.7L Powerstroke serpentine belt diagram available for download. (Download Link Here - Placeholder. Replace with actual link). This diagram will serve as a valuable reference guide when you're working on your truck.