
2011 Chevy Cruze Cooling System Diagram
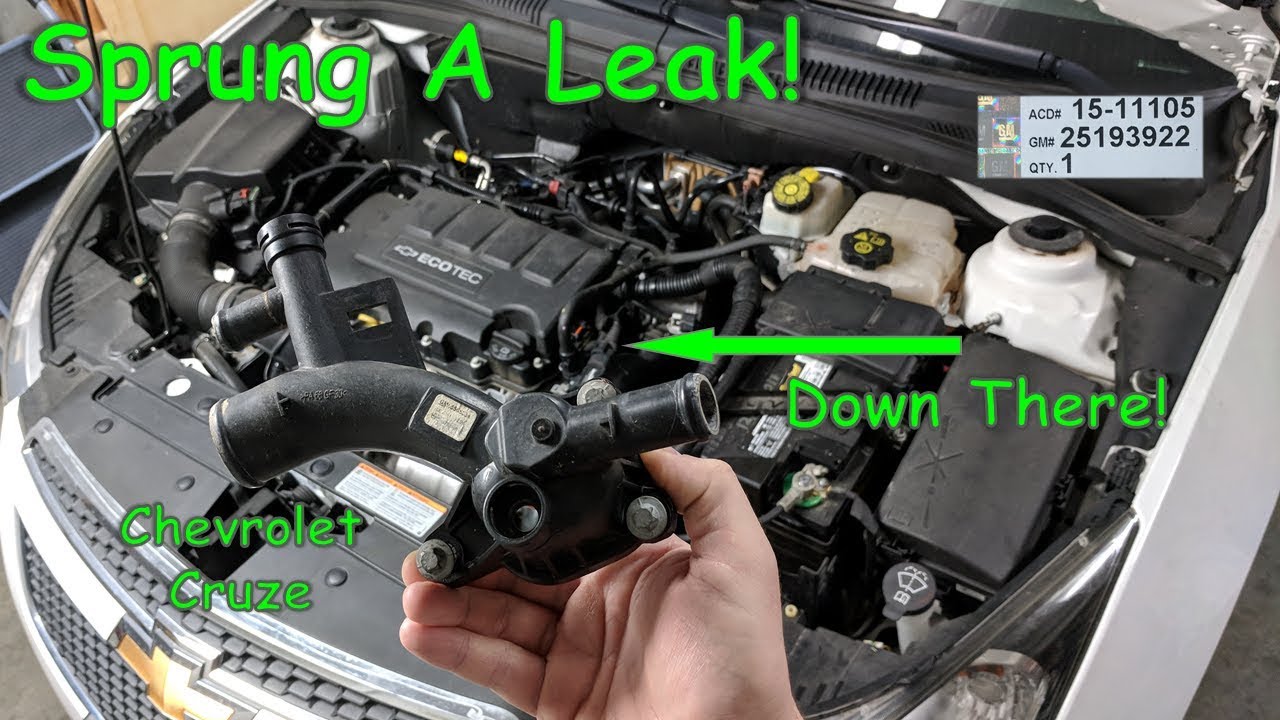
The 2011 Chevy Cruze cooling system is a crucial component responsible for maintaining the engine's optimal operating temperature. Understanding its diagram is invaluable for troubleshooting issues, performing maintenance, and even planning modifications. This article will delve into the intricacies of the 2011 Cruze cooling system diagram, empowering you with the knowledge to diagnose and address common problems like a seasoned mechanic.
Why Understand the Cooling System Diagram?
Having access to and understanding the cooling system diagram is more than just a convenience – it's a necessity for anyone performing anything beyond basic maintenance on their 2011 Cruze. Specifically, it's useful for:
- Troubleshooting: Pinpointing leaks, identifying faulty components (thermostat, water pump, etc.), and tracing flow restrictions.
- Repairing: Accurately replacing hoses, radiators, and other parts. Knowing the correct routing is critical.
- Learning: Understanding the overall function of the cooling system and how each component contributes.
- Modifications: Planning and executing modifications to the cooling system, such as adding an auxiliary cooler or upgrading the radiator.
- Preventative Maintenance: Identifying potential weak points and proactively addressing them before they lead to breakdowns.
Key Specs and Main Parts
The 2011 Chevy Cruze cooling system is a liquid-cooled system, meaning it uses a coolant mixture (typically a 50/50 mix of antifreeze and distilled water) to transfer heat away from the engine. Key specs to note include:
- Coolant Type: Dex-Cool (OAT – Organic Acid Technology) is the specified coolant. Using a different type can lead to corrosion and damage.
- Coolant Capacity: Approximately 6.9 quarts (6.5 liters). This varies slightly depending on the engine.
- Operating Temperature: Typically between 195-220°F (90-104°C). The thermostat plays a crucial role in maintaining this temperature.
- System Pressure: Typically around 15-18 PSI (pounds per square inch).
The main components of the 2011 Cruze cooling system, as depicted on the diagram, include:
- Radiator: The primary heat exchanger. Coolant flows through the radiator's core, and air flowing through the fins dissipates heat.
- Water Pump: Circulates the coolant throughout the engine and cooling system. Powered by the engine's belt drive.
- Thermostat: A temperature-sensitive valve that regulates coolant flow to the radiator, maintaining the engine's optimal operating temperature.
- Coolant Reservoir (Expansion Tank): A container that allows for coolant expansion and contraction due to temperature changes. Also allows for topping off coolant.
- Hoses: Flexible tubes that connect the various components, allowing coolant to flow between them. There are upper and lower radiator hoses, heater hoses, and bypass hoses.
- Cooling Fan(s): Helps to increase airflow through the radiator, especially at low speeds or when the engine is idling. Often electrically driven.
- Heater Core: A small radiator located inside the vehicle's cabin, providing heat to the interior.
- Pressure Cap: Maintains system pressure and allows excess pressure to escape, preventing damage.
- Temperature Sensors: Provide temperature readings to the ECU (Engine Control Unit), which controls various engine functions, including fan operation.
Understanding the Symbols in the Diagram
Cooling system diagrams use a standardized set of symbols to represent different components and pathways. While the exact layout can vary slightly, here's a general guide:
- Solid Lines: Typically represent coolant hoses. The thickness of the line may indicate the diameter of the hose.
- Dashed Lines: Often represent vacuum lines or control lines related to the cooling system (e.g., vacuum lines controlling a bypass valve).
- Arrows: Indicate the direction of coolant flow.
- Colors: While not always present, different colors may be used to distinguish between hot and cold coolant lines. For example, red might indicate hot coolant flowing from the engine, and blue might indicate cooler coolant returning from the radiator.
- Component Icons: Each component has a standardized icon. For example, the radiator is typically depicted as a rectangular shape with fins. The water pump is shown with a impeller symbol. The thermostat is often shown with a symbol indicating a temperature-controlled valve.
Pay close attention to the legend or key accompanying the diagram. This legend will define the specific symbols used in that particular diagram.
How the Cooling System Works
The cooling system operates in a continuous loop. The water pump circulates coolant from the engine, where it absorbs heat, to the radiator. As coolant flows through the radiator's core, air passing over the fins dissipates the heat. The cooled coolant then returns to the engine, completing the cycle.
The thermostat plays a critical role in regulating this process. When the engine is cold, the thermostat remains closed, preventing coolant from flowing to the radiator. This allows the engine to warm up quickly. Once the engine reaches its optimal operating temperature, the thermostat opens, allowing coolant to flow to the radiator and maintain a stable temperature.
The coolant reservoir accommodates the expansion and contraction of the coolant as its temperature changes. It also provides a convenient place to add coolant when needed. The pressure cap maintains a specific pressure within the system, raising the boiling point of the coolant and preventing cavitation (formation of vapor bubbles) which could reduce the pump efficiency and damage the engine.
The cooling fan(s) supplement airflow through the radiator, especially when the vehicle is stationary or moving slowly. The ECU controls the fans, activating them when the engine temperature reaches a certain threshold.
Real-World Use: Basic Troubleshooting Tips
Here are a few common cooling system problems and how the diagram can help you diagnose them:
- Overheating: Check the coolant level in the reservoir. If low, inspect hoses and connections for leaks, referring to the diagram to identify potential leak points. A faulty thermostat (stuck closed) is another possibility; the diagram shows its location for easy access. Check also the fan operation.
- Coolant Leaks: Use the diagram to trace the coolant flow path and identify the source of the leak. Common leak locations include hose connections, the water pump, the radiator, and the thermostat housing.
- No Heat in Cabin: A clogged heater core or air trapped in the system could be the culprit. The diagram shows the heater hose routing, which can help you identify points where air might be trapped.
- Coolant Overflow: A faulty pressure cap or a blown head gasket can cause coolant to overflow. Inspect the pressure cap and consider a block test to test for exhaust gases in the coolant.
Safety Precautions
Working on the cooling system can be hazardous. Always observe the following safety precautions:
- Never open the pressure cap when the engine is hot. The system is under pressure, and hot coolant can spray out, causing severe burns. Let the engine cool down completely before attempting to open the cap.
- Be careful when working with coolant. It is toxic and can be harmful if swallowed. Wear gloves and eye protection. Clean up any spills immediately.
- Disconnect the negative battery terminal before working on any electrical components, such as the cooling fan motor.
- Dispose of used coolant properly. It should not be dumped down the drain or into the environment. Take it to a recycling center or auto parts store.
- Always verify the cooling system is properly bled of air after performing any maintenance or repairs. Trapped air can cause overheating and damage. Use the bleeder screw on the thermostat housing if available.
Working on the 2011 Chevy Cruze's cooling system requires knowledge and care. When handling the radiator and fan assembly, be extremely cautious, as these parts can be fragile and sharp, respectively.
By understanding the 2011 Chevy Cruze cooling system diagram and following proper safety procedures, you can confidently tackle a wide range of cooling system repairs and maintenance tasks. Remember, the diagram is your roadmap to a properly functioning and reliable cooling system.
We have a high-resolution PDF file of the 2011 Chevy Cruze cooling system diagram available for download. It provides a detailed view of the system's components and their interconnections. Contact us for access.