2011 Chevy Silverado Headlight Wiring Harness
Alright, let's dive into the 2011 Chevy Silverado headlight wiring harness. Understanding this system is crucial for a few reasons. Whether you're wrestling with a faulty headlight, planning an aftermarket lighting upgrade, or simply trying to wrap your head around your truck's electrical system, knowing how this harness is wired is invaluable. We'll break down the diagram, explain the components, and give you practical troubleshooting tips. You can download the full, high-resolution diagram at the end of this article – keep an eye out for the link!
Purpose
The headlight wiring harness serves as the nervous system for your Silverado's front lighting. It's the network of wires and connectors that delivers power and control signals to the headlights, parking lights, turn signals, and sometimes fog lights. Understanding the harness allows you to:
- Diagnose electrical problems: Isolate issues like flickering lights, dead bulbs, or non-functional turn signals.
- Perform repairs: Replace damaged wires, connectors, or components within the harness.
- Install aftermarket lights: Safely and correctly integrate new headlights, fog lights, or other lighting accessories.
- Understand vehicle electronics: Gain a deeper understanding of how the electrical system functions.
Key Specs and Main Parts
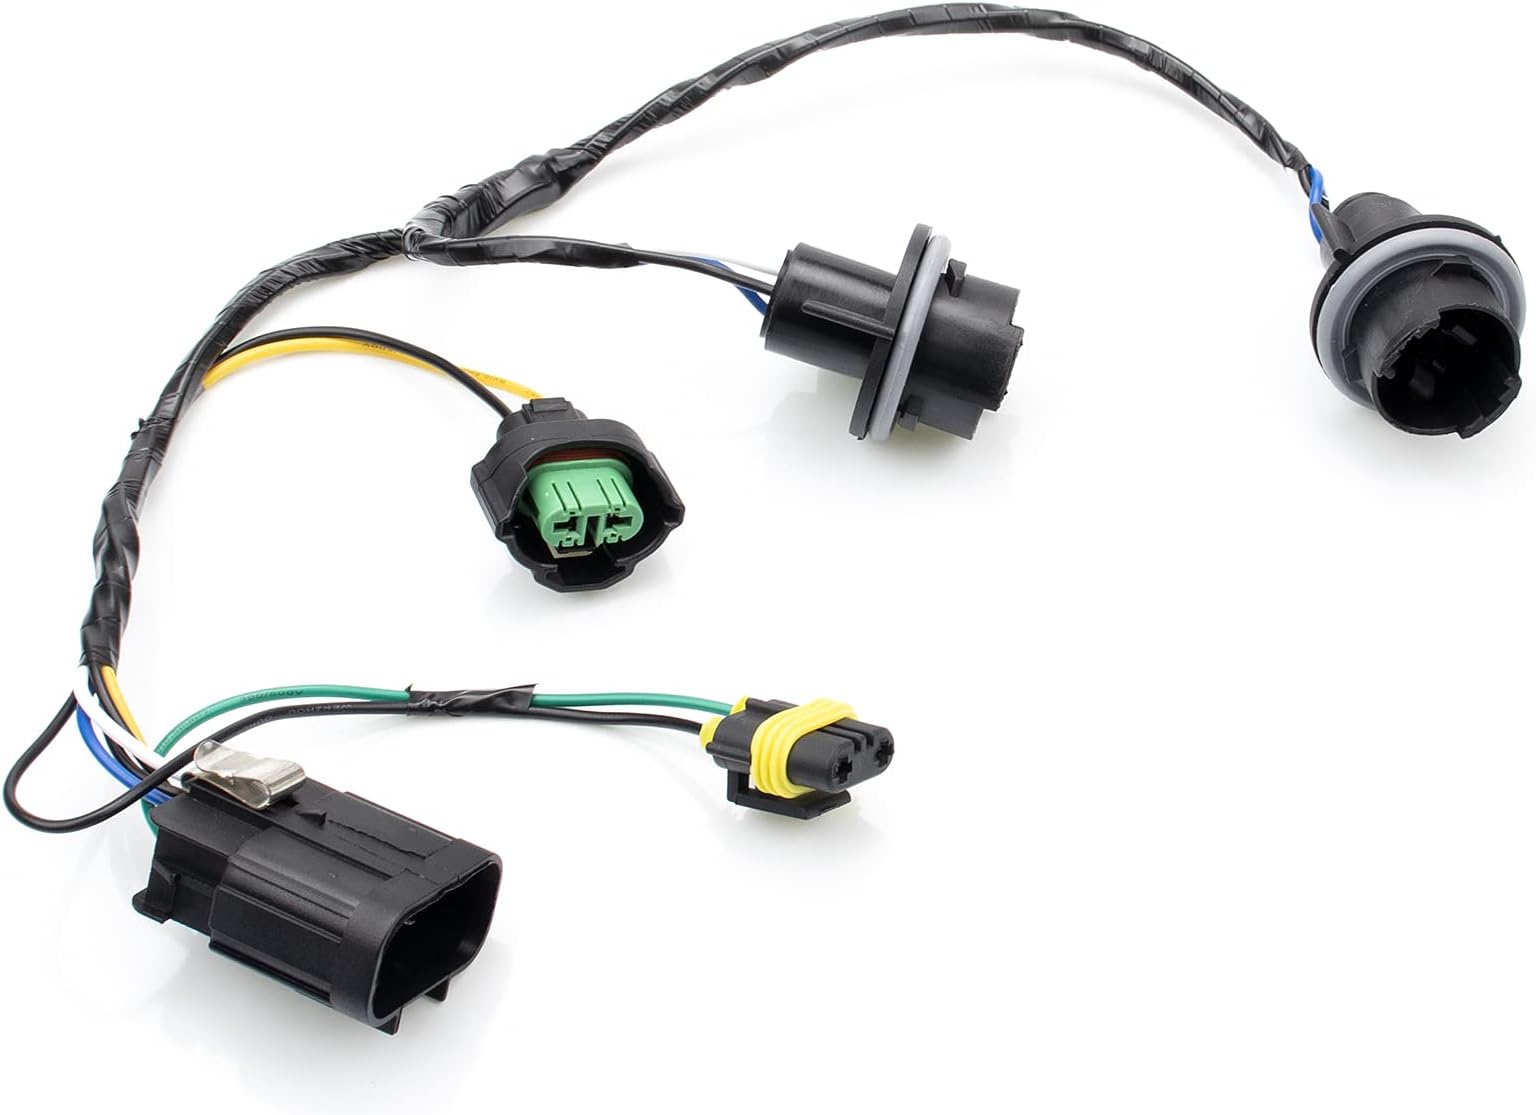
The 2011 Silverado's headlight wiring harness is a complex system, but here are the key components you'll encounter in the diagram:
- Battery Positive (+) Terminal: This is the power source for the entire system. Everything starts here.
- Ground (GND): The return path for the electrical current. Crucial for a properly functioning circuit. Typically connected to the chassis.
- Headlight Switch: Controls the activation of headlights, parking lights, and sometimes fog lights.
- Multi-Function Switch (Turn Signal/Dimmer): Located on the steering column, this controls turn signals, high beam activation, and sometimes the fog light switch.
- Headlight Bulbs (High Beam, Low Beam): The actual light-emitting components. Pay attention to the bulb type (e.g., 9005, 9006, H11).
- Parking Light Bulbs: Provide illumination when the headlights are not on.
- Turn Signal Bulbs (Front): Indicate the intended direction of travel.
- Fog Light Bulbs (If Equipped): Provide auxiliary lighting in foggy conditions.
- Relays: Electrically operated switches that allow a low-current circuit (like the headlight switch) to control a high-current circuit (like the headlights themselves). This protects the switch from overload.
- Fuses: Safety devices that protect the circuit from overcurrent. They blow when the current exceeds a certain limit, preventing damage to the wiring and components.
- Connectors: Provide secure and reliable connections between different parts of the harness.
- Wiring: The individual wires that carry electrical current. The gauge (thickness) of the wire is important, as it determines how much current the wire can safely carry.
Symbols – Understanding the Diagram
Wiring diagrams use a standardized set of symbols to represent different components and connections. Here's a breakdown of the most common symbols you'll see in the 2011 Silverado headlight wiring diagram:
- Solid Lines: Represent wires. The thickness of the line sometimes indicates the wire gauge (thicker line = thicker wire).
- Dashed Lines: May represent wires but can also indicate ground connections or shielded cables. Check the legend on the specific diagram you're using.
- Circles: Often represent bulbs or other light sources.
- Squares/Rectangles: Usually represent switches, relays, or control modules.
- Triangles: Can represent diodes or other electronic components.
- "T" Junctions: Indicate where wires are connected together.
- "X" or Crossed Wires: Indicate where wires cross each other but are not connected.
- Color Codes: Each wire is typically identified by a color code (e.g., BLU = Blue, BRN = Brown, GRN = Green, BLK = Black). This makes it easier to trace wires through the harness. Pay close attention to this!
Color Coding: The wire colors are extremely important. Here are some common ones and their typical function:
- Black (BLK): Usually Ground
- Red (RED): Often Battery Positive (+)
- White (WHT): Can be used for various functions, often signals
- Blue (BLU): Often headlights or auxiliary lighting
- Brown (BRN): Often parking lights or tail lights
- Green (GRN): Often turn signals
How It Works
The headlight circuit is relatively straightforward. When you turn on the headlight switch, it sends a signal to the headlight relay. The relay then closes, allowing power to flow from the battery, through a fuse (for protection), and to the headlight bulbs. The ground wire completes the circuit, allowing the current to flow back to the battery.
The high beam circuit works similarly, but it uses a separate relay and wiring. When you activate the high beams using the multi-function switch, it sends a signal to the high beam relay, which then closes the circuit and allows power to flow to the high beam bulbs.
Turn signals are controlled by the multi-function switch and a flasher unit. The switch sends a signal to the flasher unit, which then pulses the power to the turn signal bulbs, causing them to blink.
Real-World Use – Basic Troubleshooting Tips
Here are a few common problems and how the wiring diagram can help you troubleshoot them:
- Headlights Not Working:
- Check the Bulbs: Obvious, but start here. Replace if necessary.
- Check the Fuses: Locate the headlight fuse in the fuse box (refer to your owner's manual or the fuse box cover). If the fuse is blown, replace it with a fuse of the same amperage.
- Check the Relay: Swap the headlight relay with a known good relay (e.g., the horn relay). If the headlights now work, the relay is bad.
- Check the Headlight Switch: Use a multimeter to test the headlight switch for continuity. If the switch is faulty, it needs to be replaced.
- Trace the Wiring: Use the wiring diagram to trace the wiring from the battery, through the fuse, relay, switch, and to the headlights. Look for any breaks, shorts, or corrosion.
- Turn Signals Not Working:
- Check the Bulbs: Make sure the bulbs are good.
- Check the Flasher Unit: This is a common culprit. Replace the flasher unit.
- Check the Multi-Function Switch: Test the switch for continuity.
- Trace the Wiring: Use the wiring diagram to trace the wiring from the battery, through the flasher unit, switch, and to the turn signal bulbs.
- Flickering Headlights:
- Check the Ground Connections: Loose or corroded ground connections can cause flickering. Clean and tighten the ground connections.
- Check the Wiring: Look for loose or damaged wiring.
- Check the Voltage Regulator: A faulty voltage regulator can cause voltage fluctuations that lead to flickering.
Safety – Highlight Risky Components
Working with electrical systems can be dangerous. Always disconnect the negative battery terminal before working on the headlight wiring harness. This will prevent accidental shorts and electrical shocks.
- Battery: The battery can deliver a large amount of current, which can cause serious burns or electrocution. Be careful when working around the battery terminals.
- Fuses: Never bypass a fuse with a wire or a higher amperage fuse. This can overload the circuit and cause a fire.
- Relays: Relays can get hot when they are operating. Be careful when handling them.
Important Note: Always double-check your work before reconnecting the battery. Make sure all connections are secure and that there are no exposed wires. If you are not comfortable working with electrical systems, it is best to consult a qualified mechanic.
Now that you’re armed with this knowledge, you're much better equipped to tackle headlight wiring issues on your 2011 Chevy Silverado. Remember to always prioritize safety and take your time. Good luck!
We have the full 2011 Chevy Silverado Headlight Wiring Diagram available for download. It's a high-resolution file that will be invaluable for your repairs and upgrades. Click here to download the diagram.