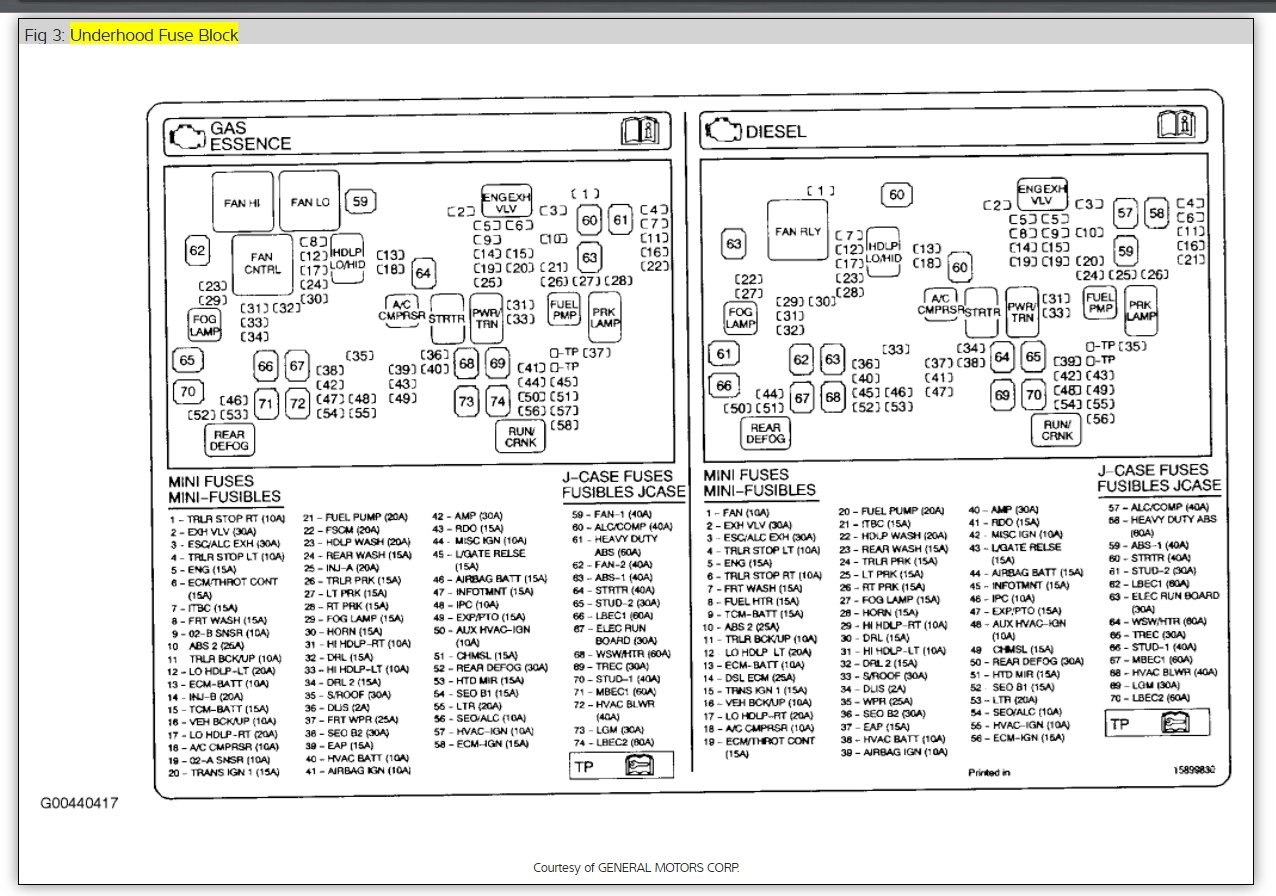
2011 Chevy Traverse Interior Fuse Box Diagram
Let's dive into the often-overlooked but absolutely crucial component of your 2011 Chevy Traverse: the interior fuse box. Knowing your way around this little hub of electrical protection can save you time, money, and a whole lot of frustration. Whether you're troubleshooting a malfunctioning accessory, planning an electrical modification, or simply trying to understand your vehicle's systems better, understanding the fuse box diagram is essential.
Purpose of the Interior Fuse Box Diagram
Why bother with a fuse box diagram? The answer is simple: it's your roadmap to the Traverse's electrical system. Without it, you're essentially guessing when a circuit fails. The diagram allows you to quickly identify the fuse responsible for a specific circuit, like the radio, interior lights, power windows, or even critical systems like the anti-lock braking system (ABS). Using the diagram helps you:
- Diagnose Electrical Problems: Pinpoint the cause of a non-functioning component.
- Replace Blown Fuses: Identify the correct fuse for replacement, preventing further damage.
- Plan Electrical Modifications: Safely tap into existing circuits for adding aftermarket accessories.
- Understand Vehicle Systems: Gain a deeper understanding of how your Traverse's electrical components are interconnected.
Key Specs and Main Parts of the 2011 Traverse Interior Fuse Box
The interior fuse box on a 2011 Chevy Traverse is typically located on the driver's side, often behind a panel on the lower part of the dashboard, near the steering column. Accessing it usually involves prying off the cover with a flathead screwdriver or by releasing a few retaining clips. The fuse box itself is a plastic housing that contains a series of fuses and relays. Here's a breakdown of the key specs and parts:
- Fuse Types: The 2011 Traverse uses primarily blade-type fuses, also known as spade fuses. These come in various sizes, each with a specific amp rating. Common types include:
- ATO/ATC Fuses: Standard blade fuses.
- Mini Fuses: Smaller versions of ATO/ATC fuses.
- Maxi Fuses: Larger blade fuses used for high-current circuits.
- Amp Ratings: Fuses are rated in amperes (amps), which indicates the maximum current the fuse can handle before blowing (interrupting the circuit). Common ratings include 5A, 7.5A, 10A, 15A, 20A, 25A, 30A, and 40A.
- Relays: Relays are electromechanical switches that control high-current circuits using a low-current signal. They are used for components like the headlights, starter motor, and fuel pump.
- Fuse Puller: A small plastic tool designed to safely remove fuses without damaging them or the fuse box.
- Fuse Box Cover: The cover that protects the fuses and usually contains a diagram showing the function of each fuse and relay.
Crucially, the fuse box diagram on the inside of the cover is your primary source of information. It will show the location of each fuse and relay, as well as its corresponding function. While aftermarket diagrams may exist, the one provided by GM is usually the most accurate.
Understanding Fuse Box Symbols
Fuse box diagrams aren't just a random collection of lines and numbers. They use a system of symbols to represent different components and their functions. Here's a breakdown of common symbols you'll encounter:
- Lines: Lines represent electrical circuits or wires. A thicker line generally indicates a higher-current circuit.
- Colors: While the diagram itself may not be in color, the actual wires connected to the fuse box are color-coded. The diagram often includes a wire color code legend, allowing you to identify specific wires. For example, a blue wire with a white stripe might be designated as the power wire for the rear window defogger.
- Icons: Icons represent specific components or systems. Common icons include:
- Lightbulb: Represents a lighting circuit (headlights, taillights, interior lights).
- Radio: Represents the audio system.
- Window: Represents power windows.
- Fan: Represents the blower motor for the climate control system.
- Steering Wheel: Represents the power steering system.
- ABS: Represents the anti-lock braking system.
The diagram will also use abbreviations and numerical designations to identify each fuse and relay. For instance, a fuse labeled "IGN 10A" would likely be a 10-amp fuse for the ignition circuit.
How the Fuse Box Works
The fuse box serves as a central distribution point for electrical power in your Traverse. Power from the battery flows through the fuse box, and each circuit is protected by a fuse. A fuse is a sacrificial device containing a thin wire or strip of metal designed to melt and break the circuit if the current exceeds a certain level. This protects the wiring and components from overheating and potential damage.
When a component malfunctions or a short circuit occurs, the current draw increases, causing the fuse to blow. This isolates the faulty circuit and prevents further damage. Relays, on the other hand, act as remote switches. A small current from the control circuit energizes the relay coil, which closes the high-current circuit to the component being controlled. This allows the vehicle's computer or a switch to control powerful electrical loads without directly handling the high current.
Real-World Use: Basic Troubleshooting Tips
Here's how you can use the fuse box diagram to troubleshoot common electrical problems:
- Identify the Problem: Determine which component is not working.
- Consult the Diagram: Locate the fuse or relay associated with that component on the fuse box diagram.
- Inspect the Fuse: Visually inspect the fuse. If the wire inside is broken or blackened, the fuse is blown. You can also use a multimeter to check continuity across the fuse. A reading of 0 ohms indicates a good fuse.
- Replace the Fuse: Replace the blown fuse with a new fuse of the exact same amp rating. Using a higher amp rating can damage the circuit and cause a fire.
- Test the Component: After replacing the fuse, test the component to see if it now works.
- If the Fuse Blows Again: If the fuse blows again immediately after replacement, there is likely a short circuit or other underlying problem in the circuit. This requires further investigation by a qualified mechanic.
Example: Your radio suddenly stops working. You consult the fuse box diagram and locate the fuse labeled "Radio." You pull the fuse and see that the wire inside is broken. You replace the fuse with a new one of the same amp rating, and the radio starts working again. Problem solved!
Safety Considerations
Working with electrical systems can be dangerous. Here are some important safety precautions:
- Disconnect the Battery: Before working on any electrical components, disconnect the negative terminal of the battery to prevent accidental short circuits.
- Use the Right Tools: Use insulated tools to avoid electrical shock.
- Never Replace a Fuse with a Higher Amp Rating: This can overload the circuit and cause a fire.
- Identify High-Risk Components: Be extra cautious when working with circuits related to critical safety systems like the ABS, airbags, and fuel pump. Improper handling of these circuits can have serious consequences.
- If in Doubt, Consult a Professional: If you are not comfortable working with electrical systems, seek assistance from a qualified mechanic.
We have a downloadable PDF file containing the 2011 Chevy Traverse Interior Fuse Box Diagram. This resource provides a detailed visual aid to assist in your troubleshooting and repair endeavors.
Note: Modifying or tampering with your vehicle's electrical system can void your warranty. Always consult the vehicle's owner's manual and follow proper safety procedures.