2011 Chrysler 200 2.4 Serpentine Belt Diagram
Alright folks, let's dive into the serpentine belt system on the 2011 Chrysler 200 with the 2.4L engine. If you're wrenching on your own car, understanding this system is crucial for maintenance, troubleshooting, and avoiding some potentially expensive repairs. This article will break down the serpentine belt diagram, explaining its components, function, and how to use it effectively. And, because having the actual diagram handy is key, we've got it available for you to download.
Purpose of the Serpentine Belt Diagram
The serpentine belt diagram is your roadmap to understanding the 2.4L engine's accessory drive system. It serves several important purposes:
- Repair and Replacement: The most common use is for replacing a worn or broken serpentine belt. The diagram shows you the correct routing of the new belt around all the pulleys. Incorrect routing can lead to component damage and premature belt wear.
- Troubleshooting: A squealing belt? The diagram helps you identify potential issues like a seized idler pulley or a failing accessory (like the alternator or power steering pump).
- General Maintenance: Understanding the belt's path allows you to visually inspect each component for wear and tear. Early detection of problems can prevent breakdowns.
- Learning & Modification: If you're planning on upgrading or modifying your accessories, understanding the belt system is essential to ensure compatibility and proper operation.
Key Specs and Main Parts
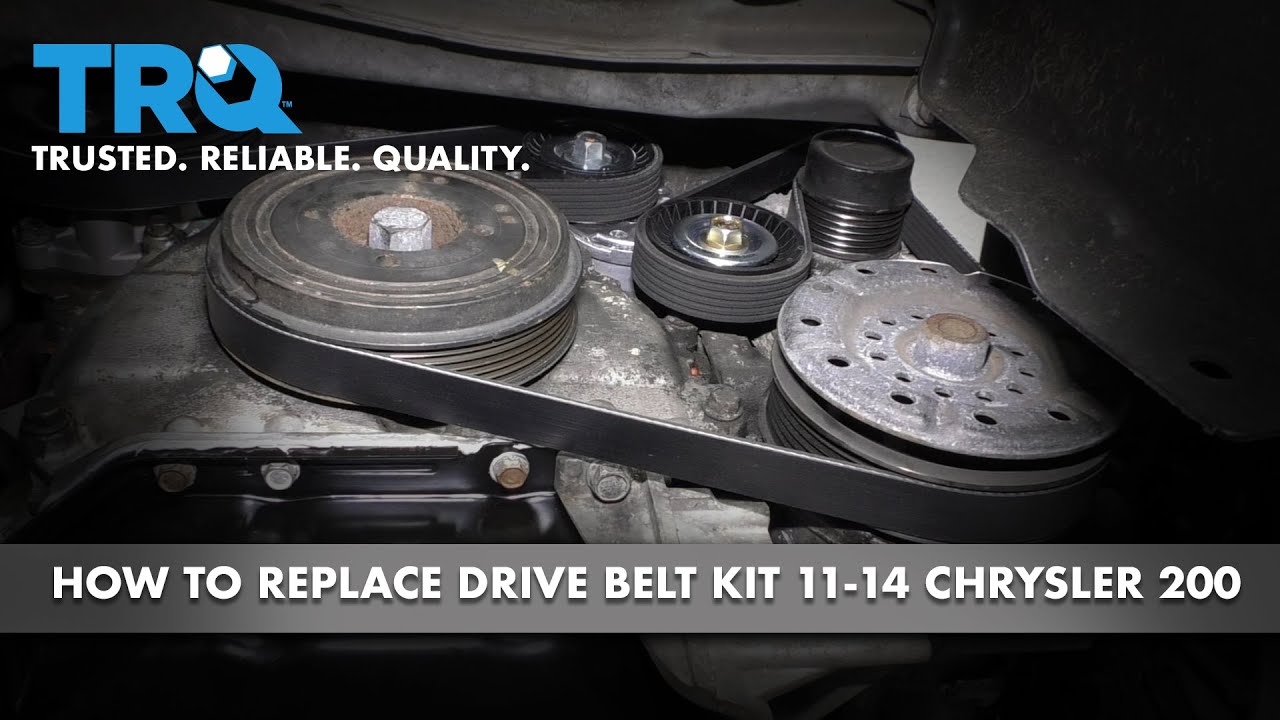
The 2011 Chrysler 200 2.4L engine utilizes a single, long serpentine belt to drive multiple engine accessories. The diagram will clearly show the following components:
- Crankshaft Pulley (Damper): The primary drive pulley, connected directly to the crankshaft. This is where the engine's rotational force is transferred to the belt.
- Alternator: Provides electrical power to the car. The belt drives the alternator, which in turn generates electricity.
- Power Steering Pump: Provides hydraulic assistance for steering. Driven by the belt, the pump generates the necessary pressure.
- Air Conditioning Compressor: Compresses refrigerant to cool the passenger cabin. Another accessory driven by the belt.
- Tensioner Pulley: This is a crucial component. The tensioner maintains the correct tension on the serpentine belt. It's spring-loaded and often has a pulley on it. A faulty tensioner is a common cause of belt issues.
- Idler Pulley(s): Smooth pulleys that guide the belt and help maintain proper wrap around the other pulleys. They do not drive any accessories.
Key Specs: While the diagram itself won't specify the exact belt length, you'll need to know the correct belt part number for your specific vehicle. This is crucial! Using the wrong belt can lead to slippage, damage, and even component failure. Always double-check the part number against your vehicle's VIN. Common belt sizes will be around 85-90 inches, but always verify. Furthermore, torque specifications for the tensioner pulley bolts are vital for proper installation and functionality. Consult your repair manual or a reliable online database for these values.
Symbols in the Serpentine Belt Diagram
The serpentine belt diagram uses specific conventions to represent the system. Here’s a breakdown of common symbols:
- Solid Lines: Typically represent the serpentine belt itself. The thickness of the line may or may not indicate the actual belt width, but it's more for visual clarity.
- Pulleys: Represented as circles. Usually labeled with abbreviations (e.g., ALT for Alternator, P/S for Power Steering).
- Arrows: Indicate the direction of rotation of each pulley. This is extremely important for understanding how the belt wraps around the pulleys.
- Tensioner Symbol: The tensioner pulley is often represented with a spring symbol or a curved arrow indicating the direction of tension application. The diagram should clearly show the location and type of tensioner (manual or automatic).
- Labels: Each component is typically labeled with its name or abbreviation.
Colors, if used, might highlight specific sections or illustrate the belt's path more clearly. However, color-coding isn't universally used. Pay close attention to the labels and arrows.
How It Works
The 2.4L engine's serpentine belt system is relatively straightforward. The crankshaft pulley, driven by the engine's rotation, transfers that rotational energy to the serpentine belt. The belt then wraps around the various accessory pulleys, causing them to rotate. Each accessory performs its function: the alternator generates electricity, the power steering pump provides steering assistance, and the A/C compressor cools the cabin. The tensioner pulley plays a critical role in maintaining the proper tension on the belt. Without adequate tension, the belt will slip, reducing the efficiency of the accessories and potentially causing damage. The idler pulleys ensure the belt has sufficient contact, or "wrap," around each accessory pulley. This good "wrap" maximizes the transfer of energy.
The tensioner pulley is spring loaded, and its designed to keep the belt tight as it stretches over time. When you are replacing the belt, you will typically need to use a wrench to relieve the tension on the tensioner so that you can remove and install the belt. There will be a specific spot on the tensioner that the wrench needs to be placed so the tension can be safely removed.
Real-World Use: Basic Troubleshooting Tips
Here are some common issues you might encounter with your serpentine belt system and how the diagram can help:
- Squealing Belt: This is often caused by a loose belt, a worn belt, or a failing pulley. The diagram helps you visually inspect the belt for cracks, glazing, or wear. Also, check the tensioner pulley for proper operation. It should move smoothly and maintain tension on the belt.
- Belt Slippage: Symptoms include dimming headlights, difficulty steering, or poor A/C performance. Slippage can be caused by a loose belt, a worn pulley, or a failing accessory that is putting too much load on the system.
- Belt Breaking: A broken belt is a serious issue, as it will disable all the accessories driven by the belt. Check for signs of misalignment, excessive wear, or damage to the pulleys.
- Component Failure: If an accessory, such as the alternator or power steering pump, fails, it can put excessive strain on the serpentine belt, causing it to wear prematurely or even break.
When troubleshooting, always visually inspect the entire system using the diagram as a guide. Look for signs of wear, damage, or misalignment. Also, pay close attention to the sound the system is making. Unusual noises can often indicate a specific problem. Before you start disassembling anything, take a picture of the belt routing with your phone. This will be a huge help when you are putting the new belt on!
Safety Considerations
Working on the serpentine belt system can be dangerous if you're not careful. Here are some key safety precautions:
- Disconnect the Battery: Always disconnect the negative battery cable before working on any electrical components, including the alternator.
- Hot Engine: Never work on the serpentine belt system when the engine is hot. The engine components can be extremely hot and cause burns.
- Moving Parts: The serpentine belt and pulleys are moving parts that can cause serious injury. Never put your hands or tools near the belt while the engine is running.
- Tensioner Spring: The tensioner pulley is spring-loaded and can snap back forcefully if released improperly. Use the correct tools and techniques to relieve the tension on the belt.
- Eye Protection: Wear safety glasses to protect your eyes from debris.
Specifically, the alternator and A/C compressor contain high voltage electrical components and pressurized refrigerant, respectively. These components should only be serviced by qualified technicians. Improper handling can lead to electric shock or refrigerant leaks, both of which can be dangerous.
By using the serpentine belt diagram and following these safety precautions, you can safely and effectively maintain and troubleshoot your 2011 Chrysler 200 2.4L engine's accessory drive system. Remember to take your time, double-check your work, and consult a qualified mechanic if you're unsure about anything.
And as promised, we have the 2011 Chrysler 200 2.4L Serpentine Belt Diagram available for download. It's a valuable resource to keep handy when you're working on your car.