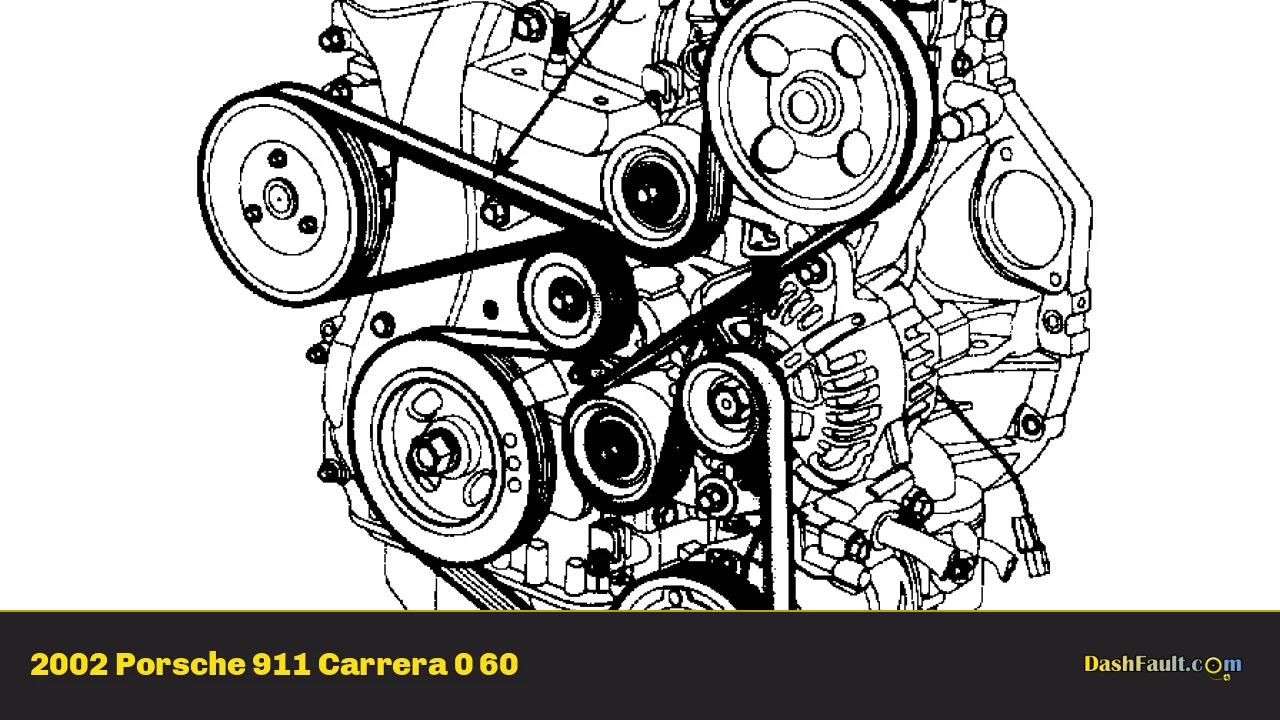
2011 Hyundai Sonata 2.4 Serpentine Belt Diagram
The serpentine belt on your 2011 Hyundai Sonata with the 2.4L engine is a critical component, responsible for powering several key accessories. Understanding its layout and function is essential for preventative maintenance, troubleshooting, and performing certain repairs yourself. This article will provide a detailed explanation of the serpentine belt diagram for your specific vehicle, empowering you to tackle potential issues with confidence. We'll cover the purpose of the diagram, key specs, symbols used, how the system works, practical troubleshooting, and important safety considerations.
Purpose of the Serpentine Belt Diagram
Why is a serpentine belt diagram so important? The primary purpose is to provide a visual guide for the correct routing of the belt. The serpentine belt, unlike older v-belts, snakes around multiple pulleys, each driving a different accessory. Incorrect routing will lead to system failure, potential damage to components, and a non-functional vehicle. The diagram is useful for:
- Belt Replacement: Ensuring the new belt is installed correctly. A misaligned belt can wear prematurely or even snap.
- Troubleshooting: Identifying if the belt is routed correctly, especially after other work has been performed.
- Accessory Servicing: Understanding which accessories are driven by the belt to diagnose related problems. For instance, if the power steering is weak, the diagram can help you quickly identify if the power steering pump is on the serpentine belt circuit.
- General Learning: Familiarizing yourself with the engine's accessory drive system. This knowledge is invaluable for preventative maintenance and informed decision-making regarding repairs.
Key Specs and Main Parts of the Serpentine Belt System
The serpentine belt system on the 2011 Sonata 2.4L comprises several key components, each playing a crucial role:
- Serpentine Belt: The elastomeric belt itself, typically made of EPDM rubber. The length and width are specific to the 2011 Sonata 2.4L and should be matched when replacing. While exact dimensions vary slightly based on manufacturer, you'll typically find it around 83 inches in length.
- Crankshaft Pulley (Harmonic Balancer): Driven directly by the engine's crankshaft, providing the rotational force for the entire system.
- Alternator Pulley: Drives the alternator, which generates electricity to power the vehicle's electrical system and charge the battery.
- Power Steering Pump Pulley: Drives the power steering pump, providing hydraulic assistance for steering.
- Air Conditioning Compressor Pulley: Drives the A/C compressor, which circulates refrigerant for the air conditioning system.
- Tensioner Pulley: A spring-loaded pulley that maintains proper tension on the serpentine belt. This is crucial for preventing slippage and ensuring all accessories are driven effectively. A worn tensioner can cause noise, belt slippage, and premature belt wear.
- Idler Pulley(s): Smooth pulleys that guide the belt around the system and prevent it from contacting other components.
Understanding Serpentine Belt Diagram Symbols
Serpentine belt diagrams use a standardized set of symbols to represent the various components and the belt routing. Here's a breakdown:
- Solid Line: Represents the serpentine belt itself. The thickness of the line doesn't typically denote anything specific, although some diagrams may use a slightly thicker line.
- Circles: Represent pulleys. Different types of pulleys may be labeled with abbreviations (e.g., ALT for alternator, P/S for power steering).
- Arrows: Indicate the direction of belt travel. Pay close attention to these arrows to ensure correct routing.
- Text Labels: Identify each component, such as "Crankshaft Pulley," "Alternator," "Tensioner," etc. These labels are crucial for understanding the diagram.
- Dashed Lines (Less Common): In some diagrams, dashed lines may represent the backside of the belt contacting a pulley. This is less common but important to recognize if present.
- Specific Icons: While less common on basic serpentine belt diagrams, some diagrams might use icons to represent specific components. For example, an alternator might be depicted with a stylized icon resembling an alternator.
How the Serpentine Belt System Works
The serpentine belt system is designed for efficiency and reliability. Here's a simplified explanation of how it functions:
- The engine's crankshaft rotates, driving the crankshaft pulley.
- The serpentine belt wraps around the crankshaft pulley and transfers this rotational force to all the other pulleys in the system.
- Each pulley drives its respective accessory (alternator, power steering pump, A/C compressor).
- The tensioner pulley maintains the correct tension on the belt, preventing slippage and ensuring efficient power transfer.
- Idler pulleys guide the belt along the optimal path, preventing interference and ensuring smooth operation.
The tensioner is crucial. If the belt is too loose, it will slip, leading to reduced performance from the accessories (e.g., weak power steering, poor A/C performance, low battery charging). If the belt is too tight, it can put excessive strain on the accessory bearings, leading to premature failure.
Real-World Use: Basic Troubleshooting Tips
Here are some common issues you might encounter with the serpentine belt system and how the diagram can help:
- Squealing Noise: Often indicates a slipping belt. Check the belt tension. If the tensioner seems weak or the belt is glazed (shiny), it likely needs replacement. Refer to the diagram to ensure the belt is routed correctly.
- Battery Not Charging: Could be a faulty alternator, but also check the serpentine belt. If the belt is slipping or broken, the alternator won't be driven properly. The diagram confirms the alternator is indeed powered by the serpentine belt.
- Weak Power Steering: Similar to the battery issue, a slipping belt can prevent the power steering pump from functioning correctly. The diagram confirms the pump's connection to the belt.
- A/C Not Working: Again, check the belt and tension. The diagram shows the A/C compressor's pulley.
- Visible Belt Damage: Cracks, fraying, or missing chunks of the belt indicate it needs replacement. Use the diagram to confirm the correct routing of the new belt.
Safety Precautions
Working around the serpentine belt system can be dangerous if proper precautions aren't taken:
- Disconnect the Battery: Always disconnect the negative battery terminal before working on any part of the engine. This prevents accidental starting of the engine while your hands are near moving parts.
- Allow Engine to Cool: The engine components, especially the exhaust manifold, can get extremely hot. Let the engine cool down completely before starting any work.
- Keep Hands Clear: Never put your hands near the serpentine belt or pulleys while the engine is running. The belt can easily pull in loose clothing or body parts, causing serious injury.
- Use Proper Tools: Use the correct tools for the job. This includes a serpentine belt tool for releasing tension on the tensioner pulley and sockets/wrenches for removing and installing components.
- Wear Safety Glasses: Protect your eyes from debris.
The tensioner pulley has a strong spring. When releasing the tension on the belt, be prepared for the tensioner to spring back quickly. Keep your hands clear of the path of the tensioner arm. A damaged or failing tensioner can be especially risky, as it might not release smoothly.
We have a downloadable PDF file of the 2011 Hyundai Sonata 2.4L Serpentine Belt Diagram. Please follow the link below to access the file. Use this diagram in conjunction with the information provided above to safely and effectively maintain your vehicle's serpentine belt system.
Important Note: While this article provides general guidance, always consult your vehicle's repair manual for specific instructions and torque specifications. Improper installation or tightening of components can lead to damage. If you are not comfortable performing these repairs yourself, seek the assistance of a qualified mechanic.